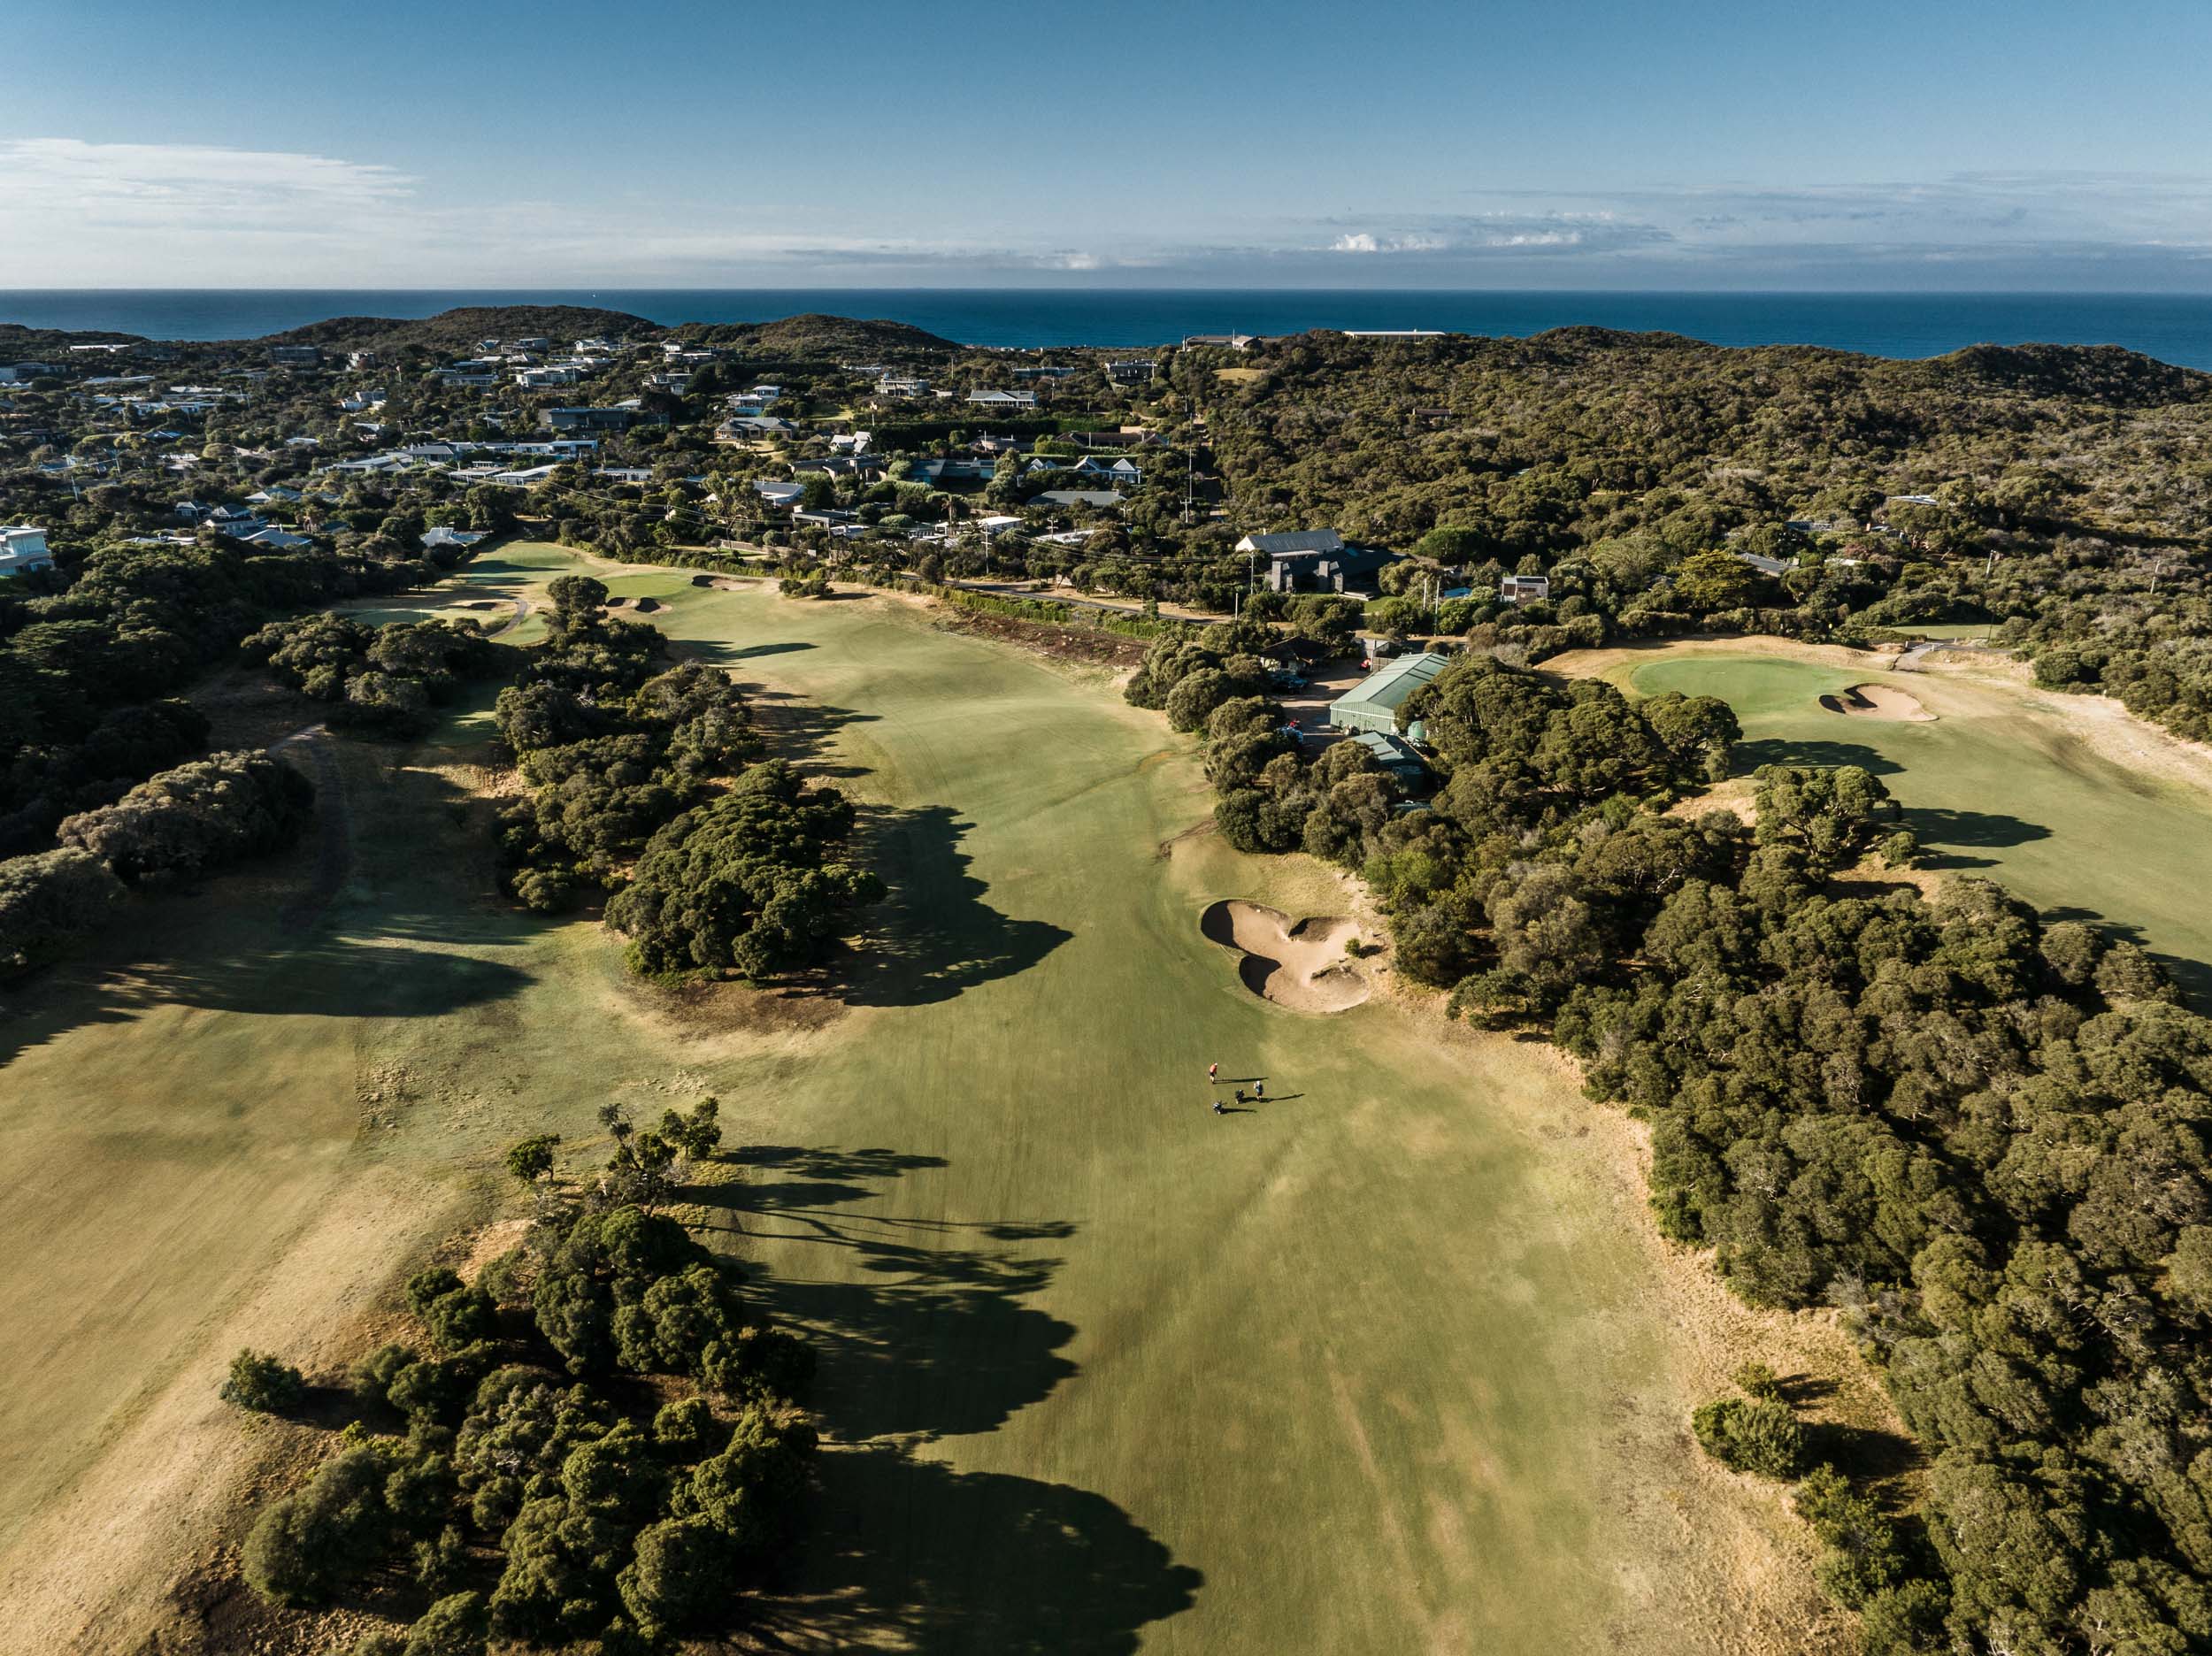
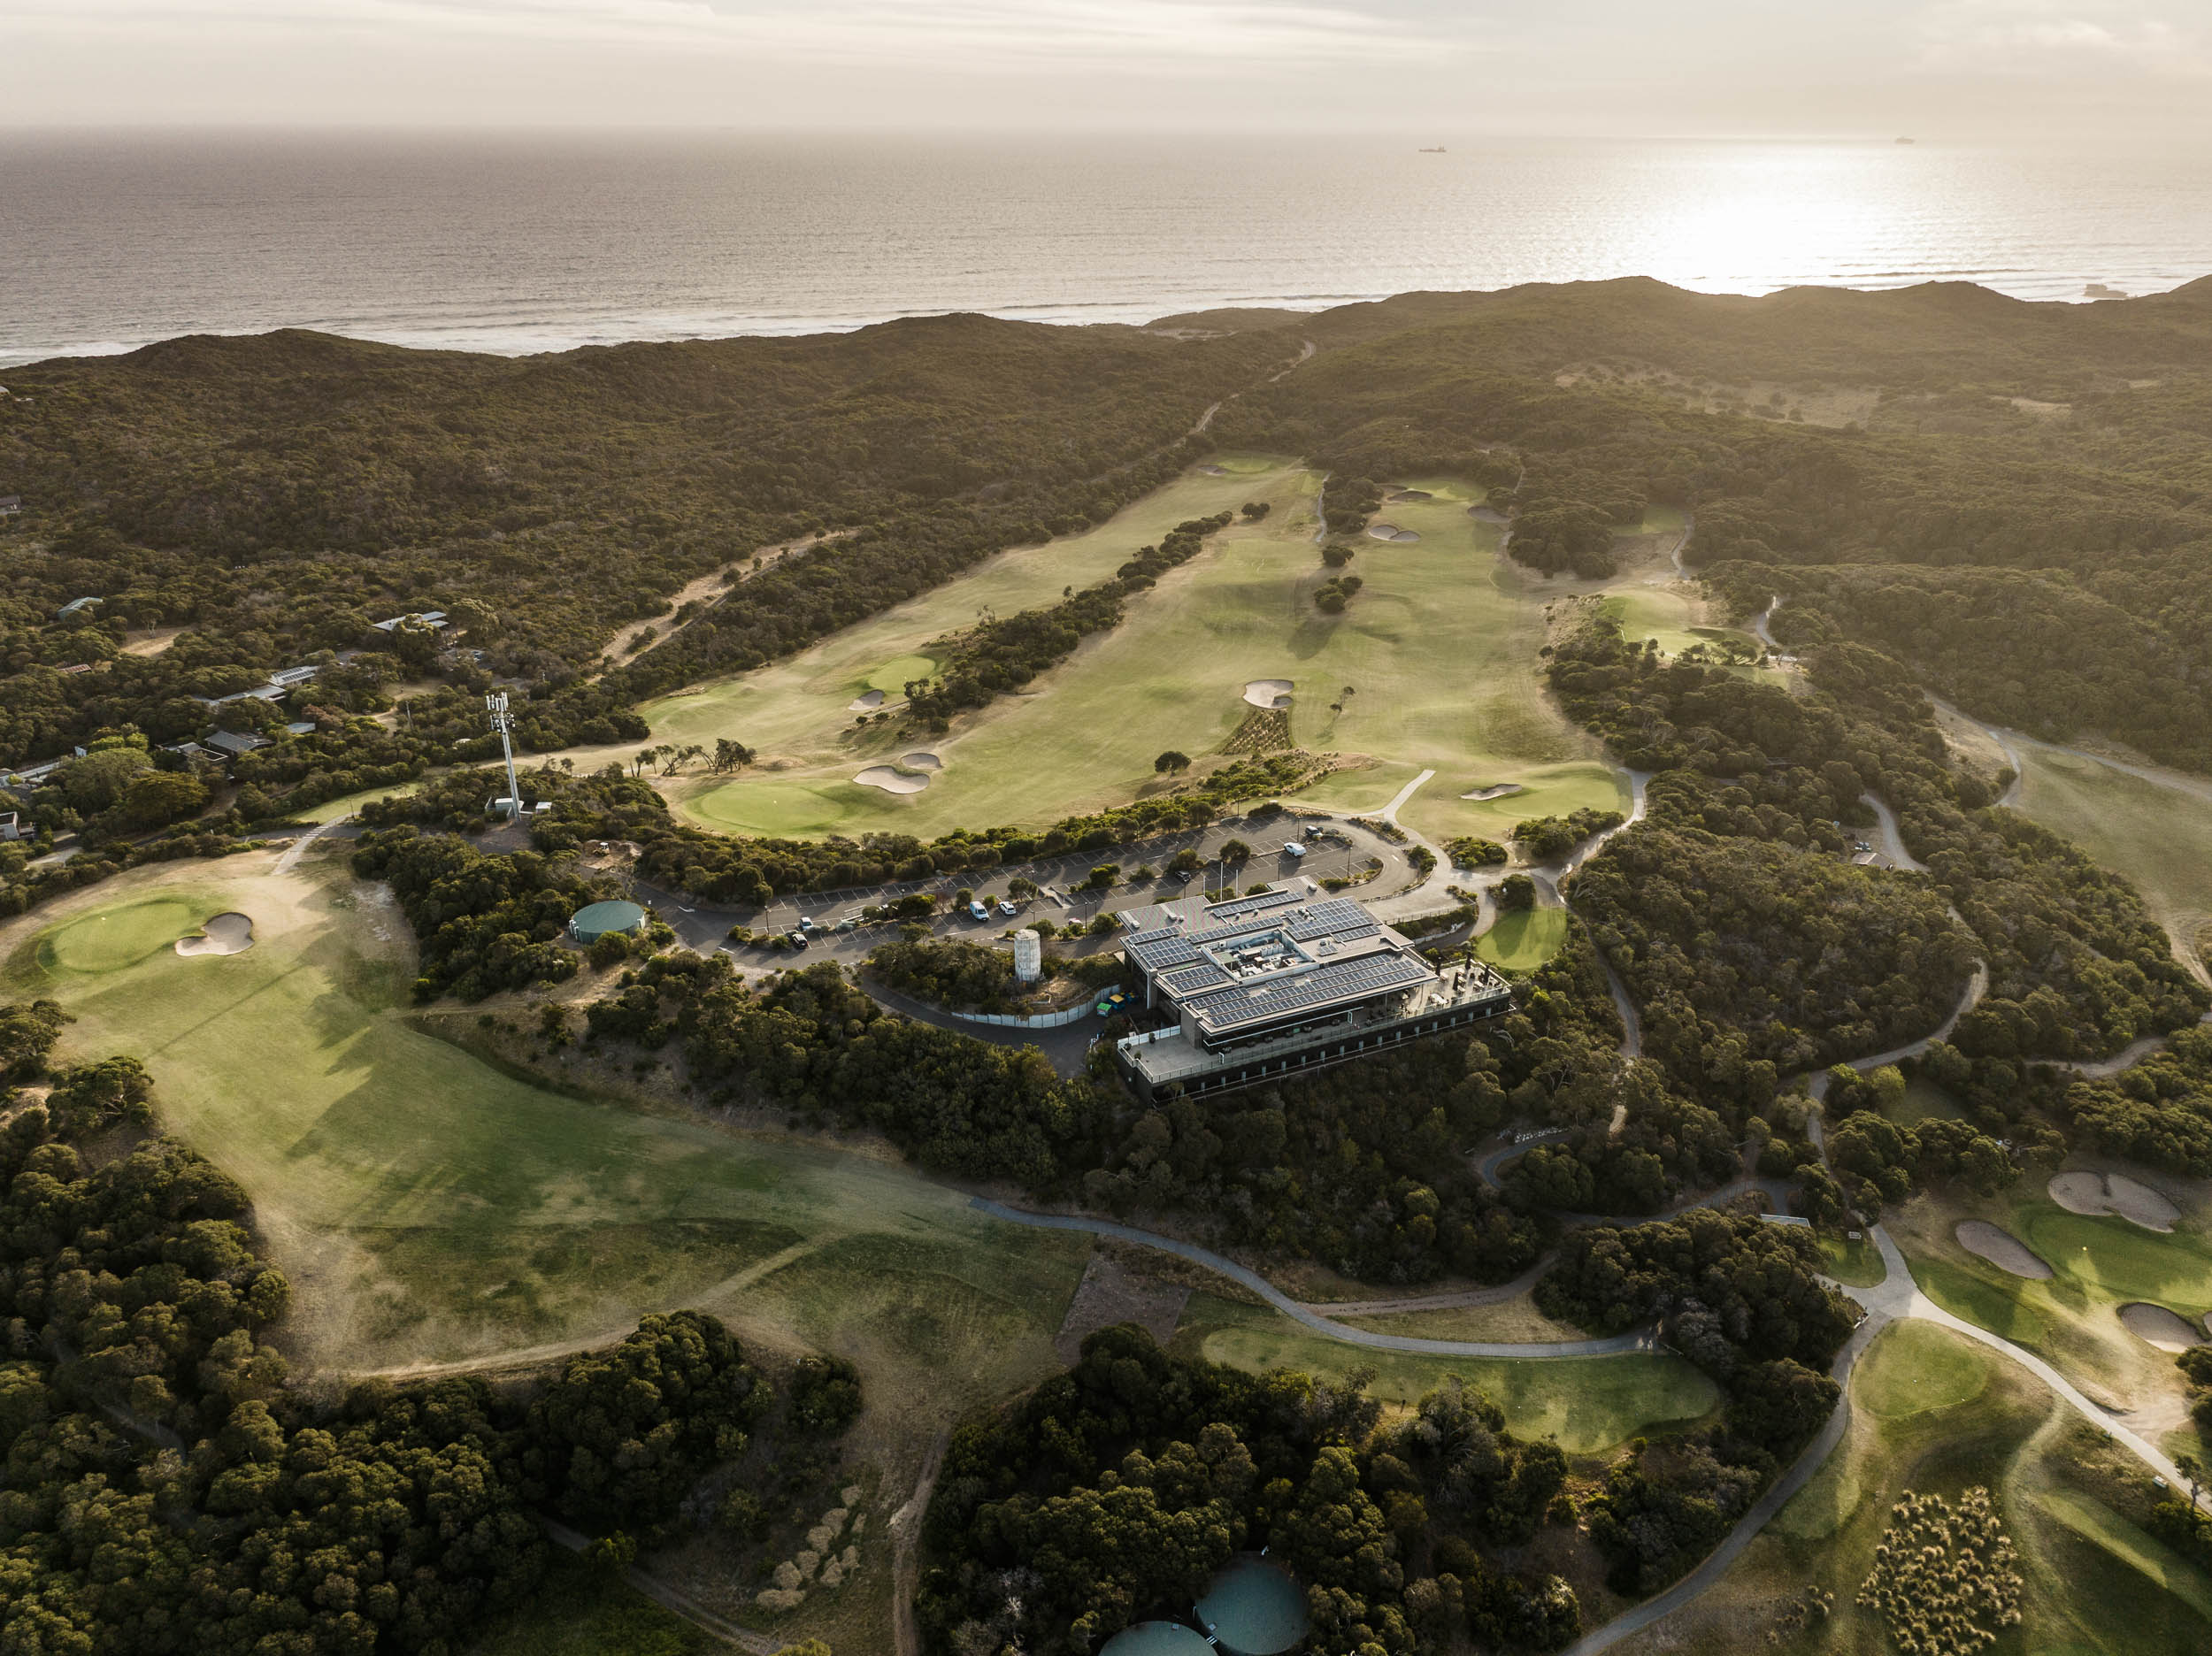
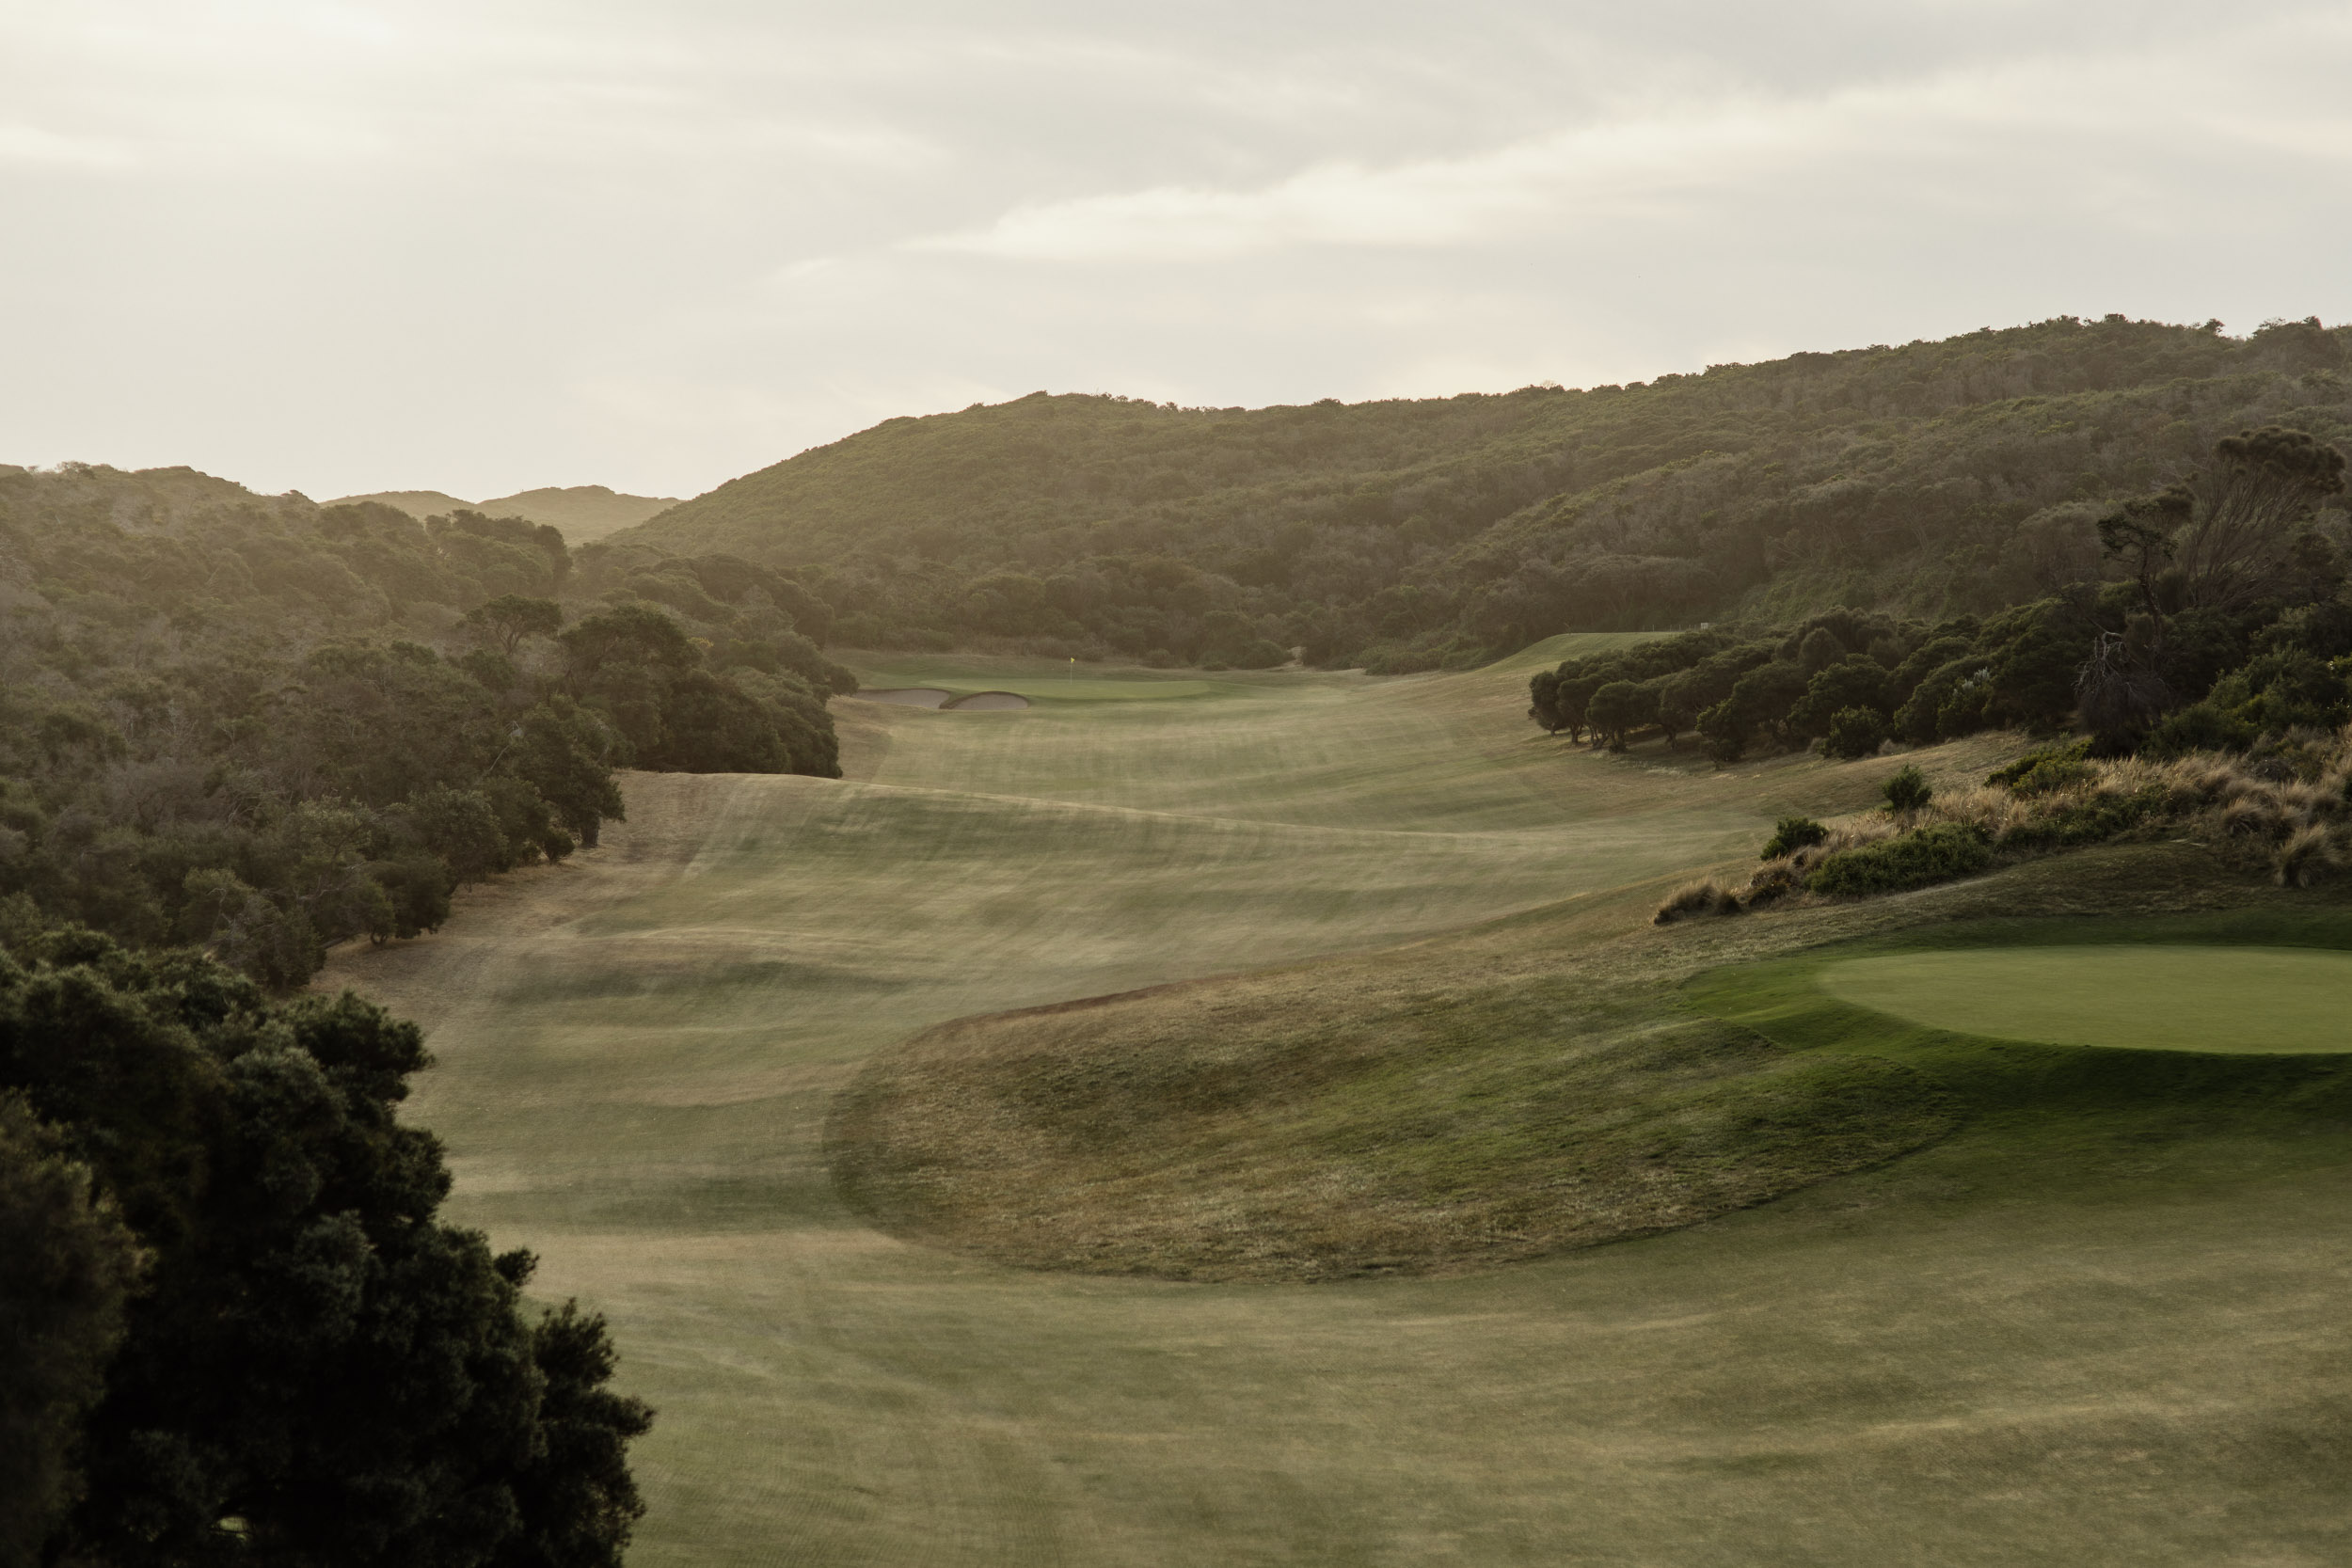
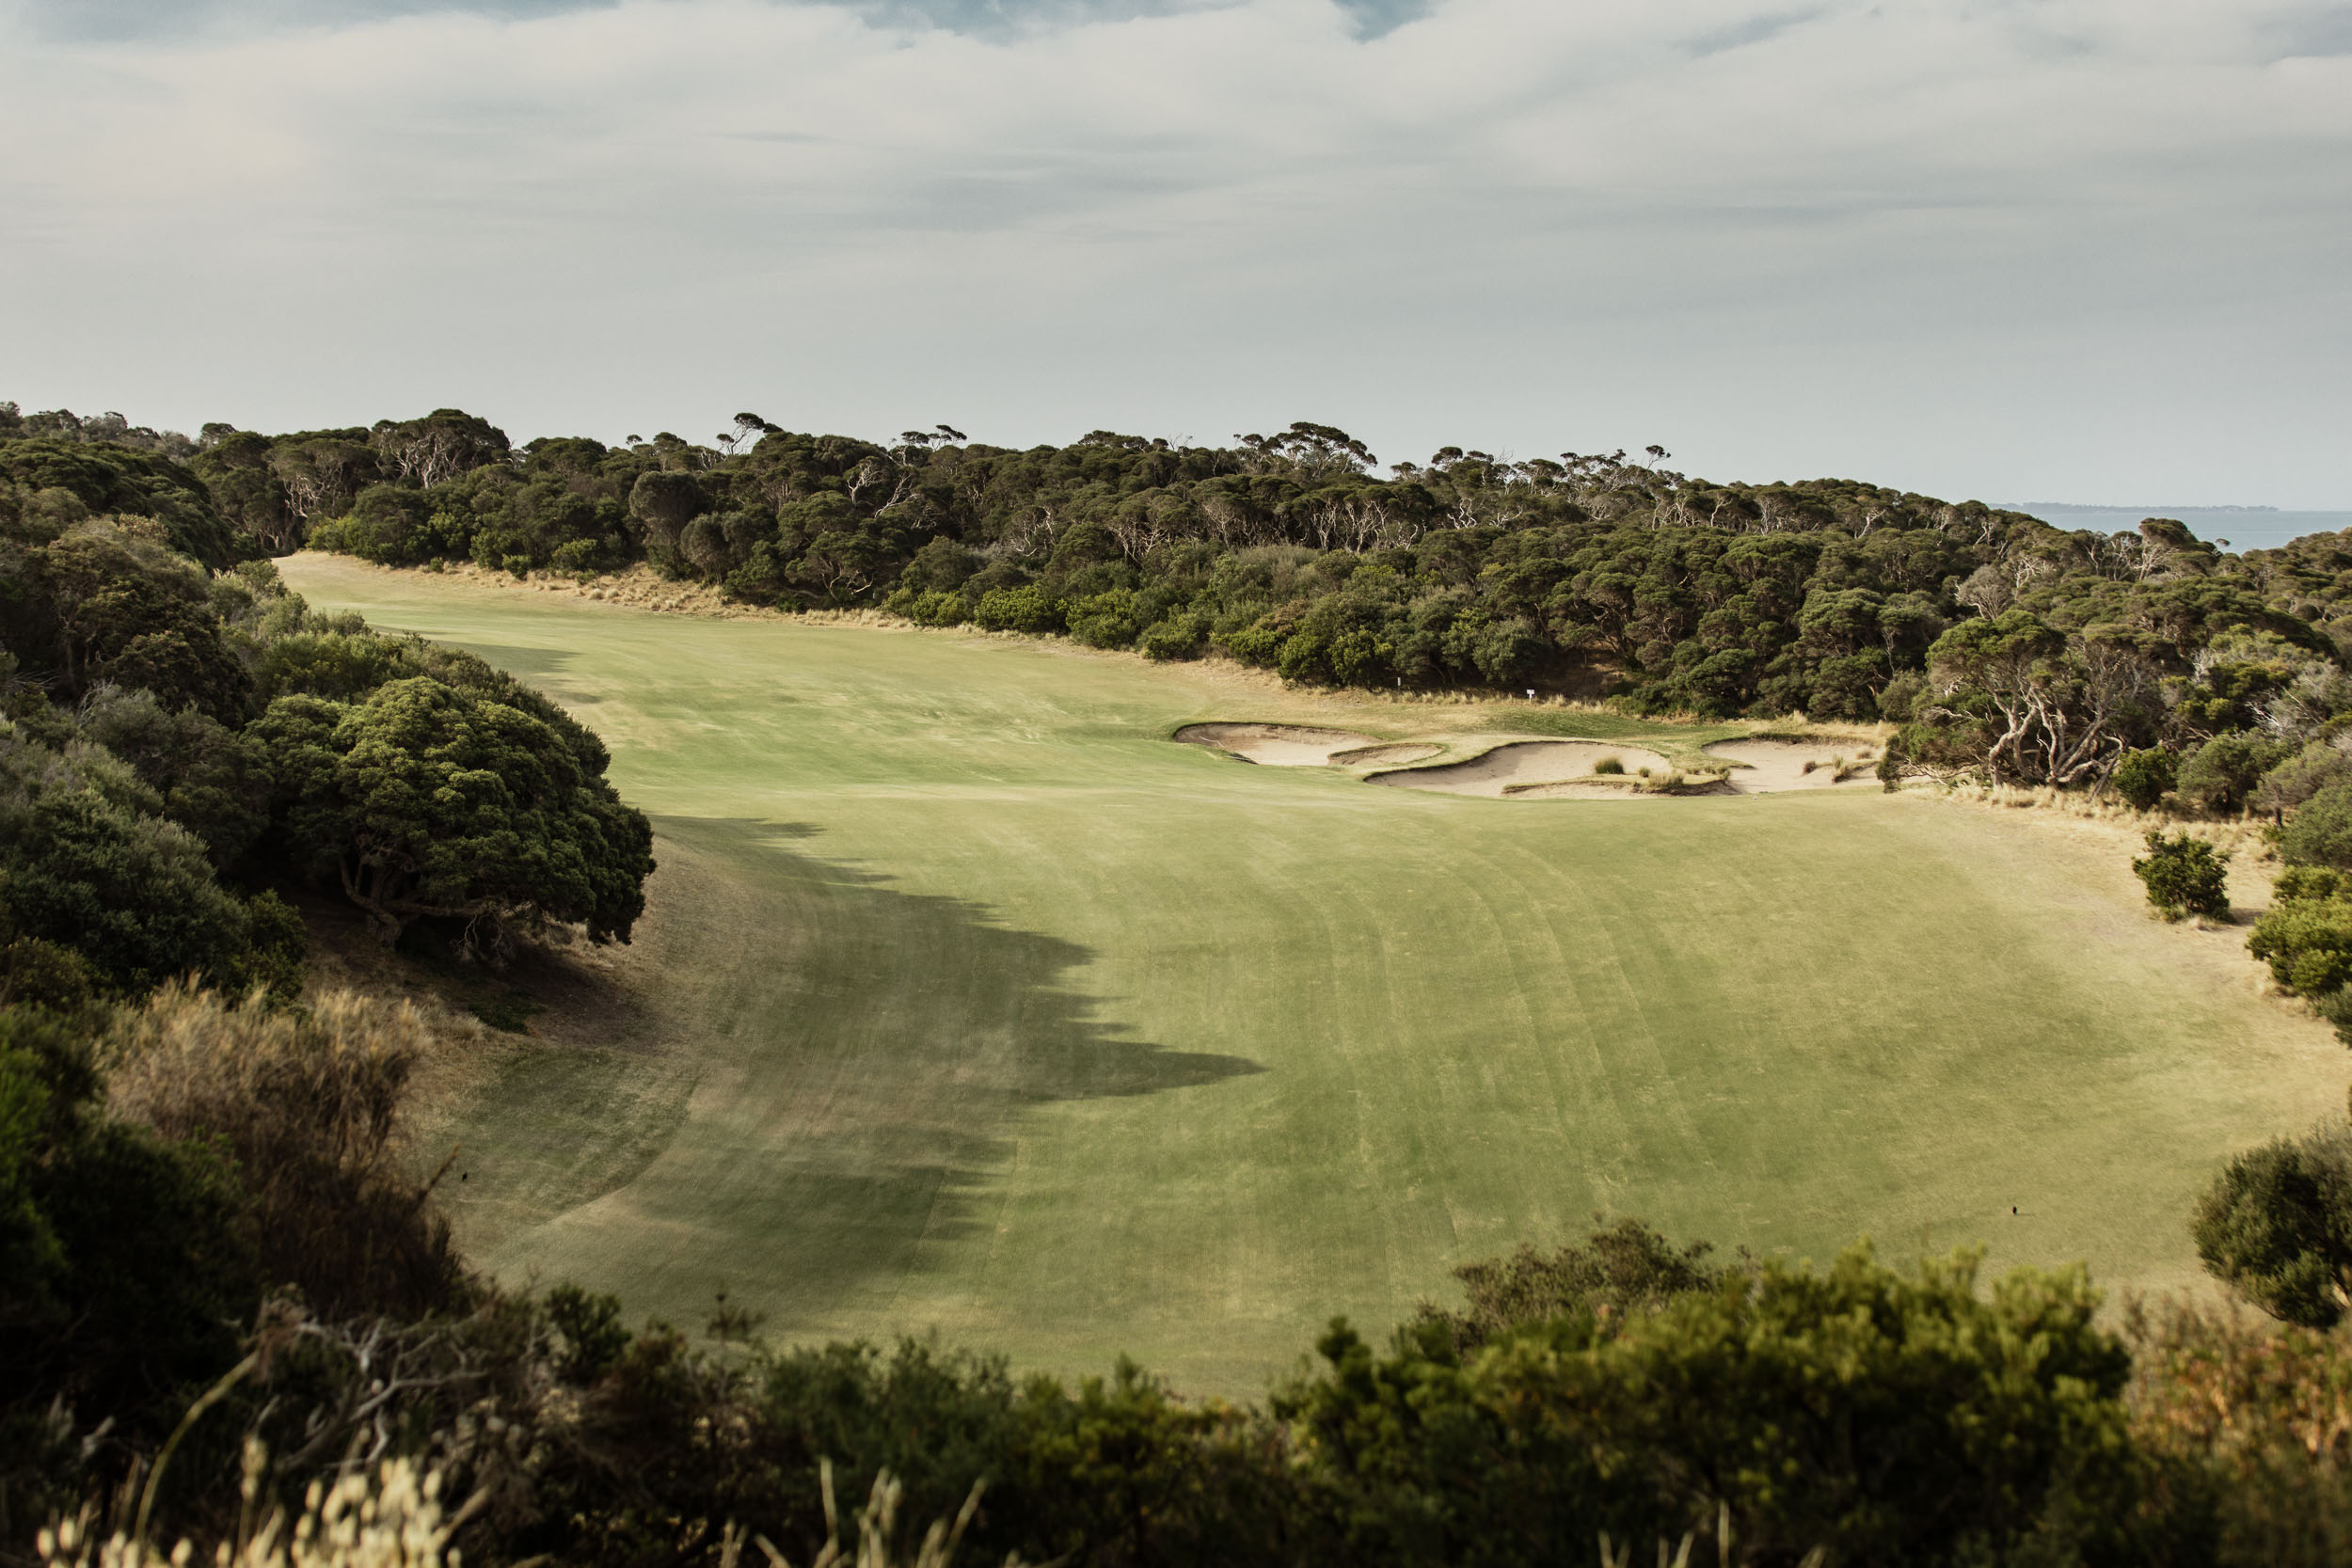
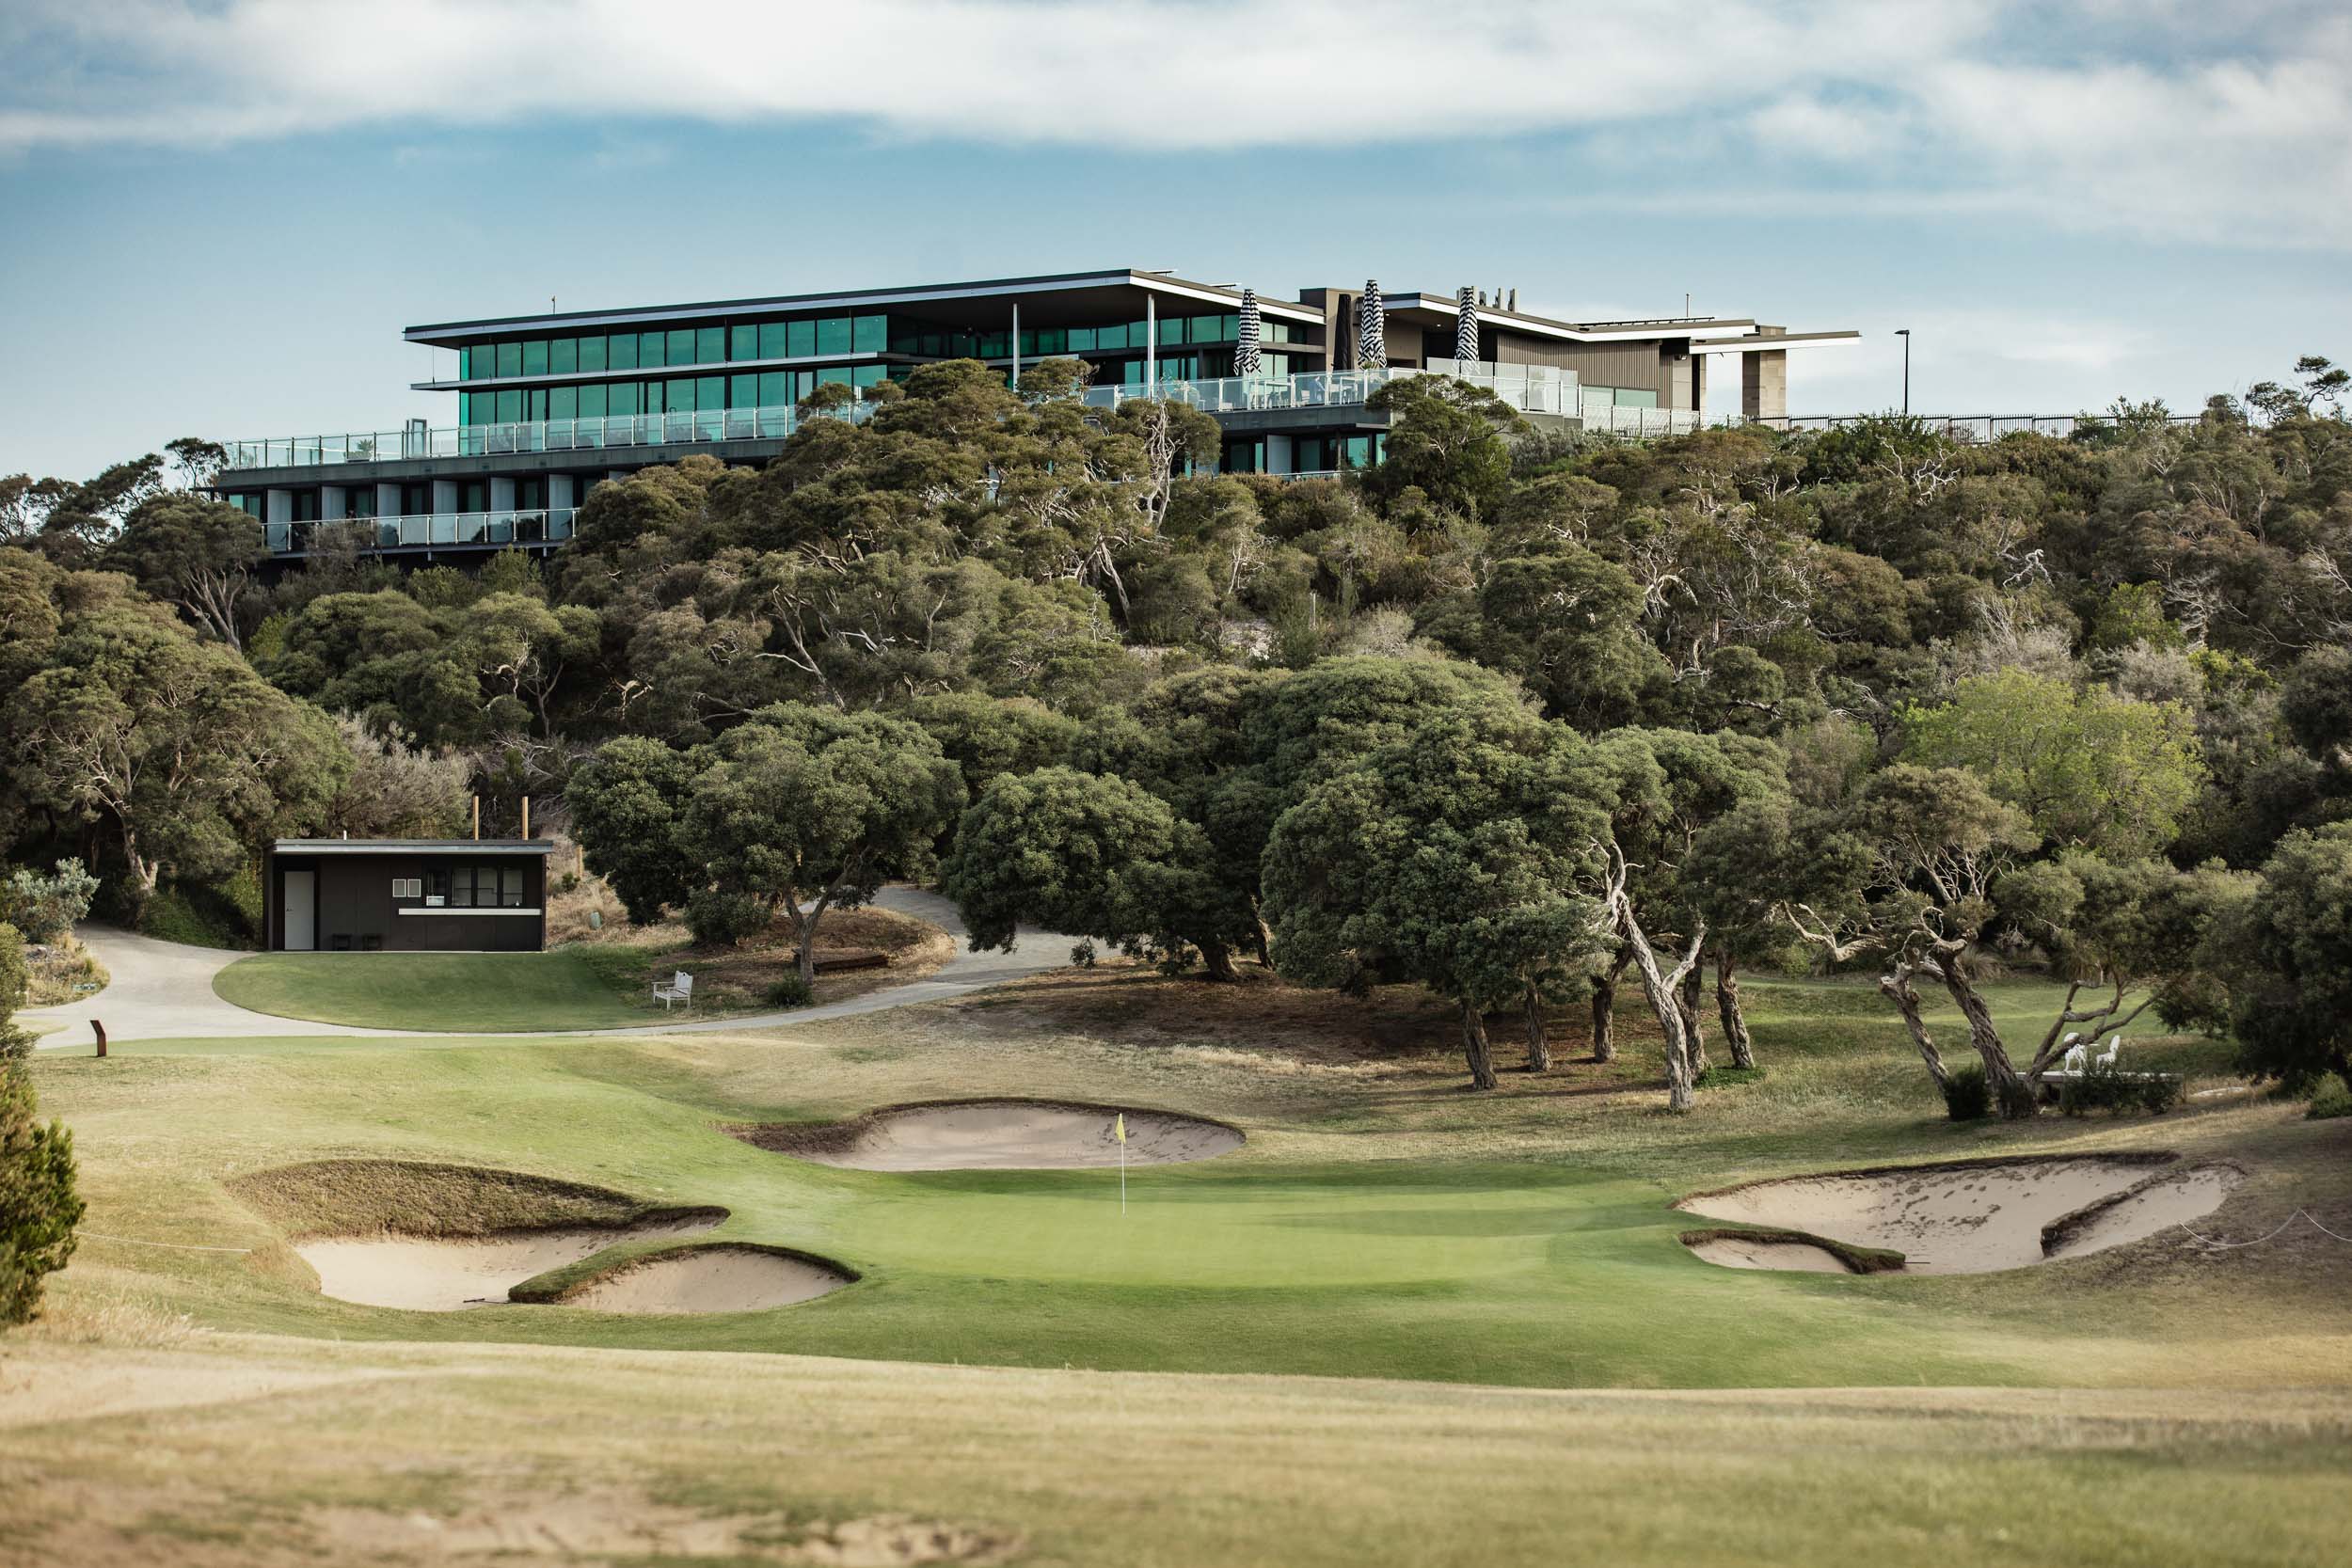
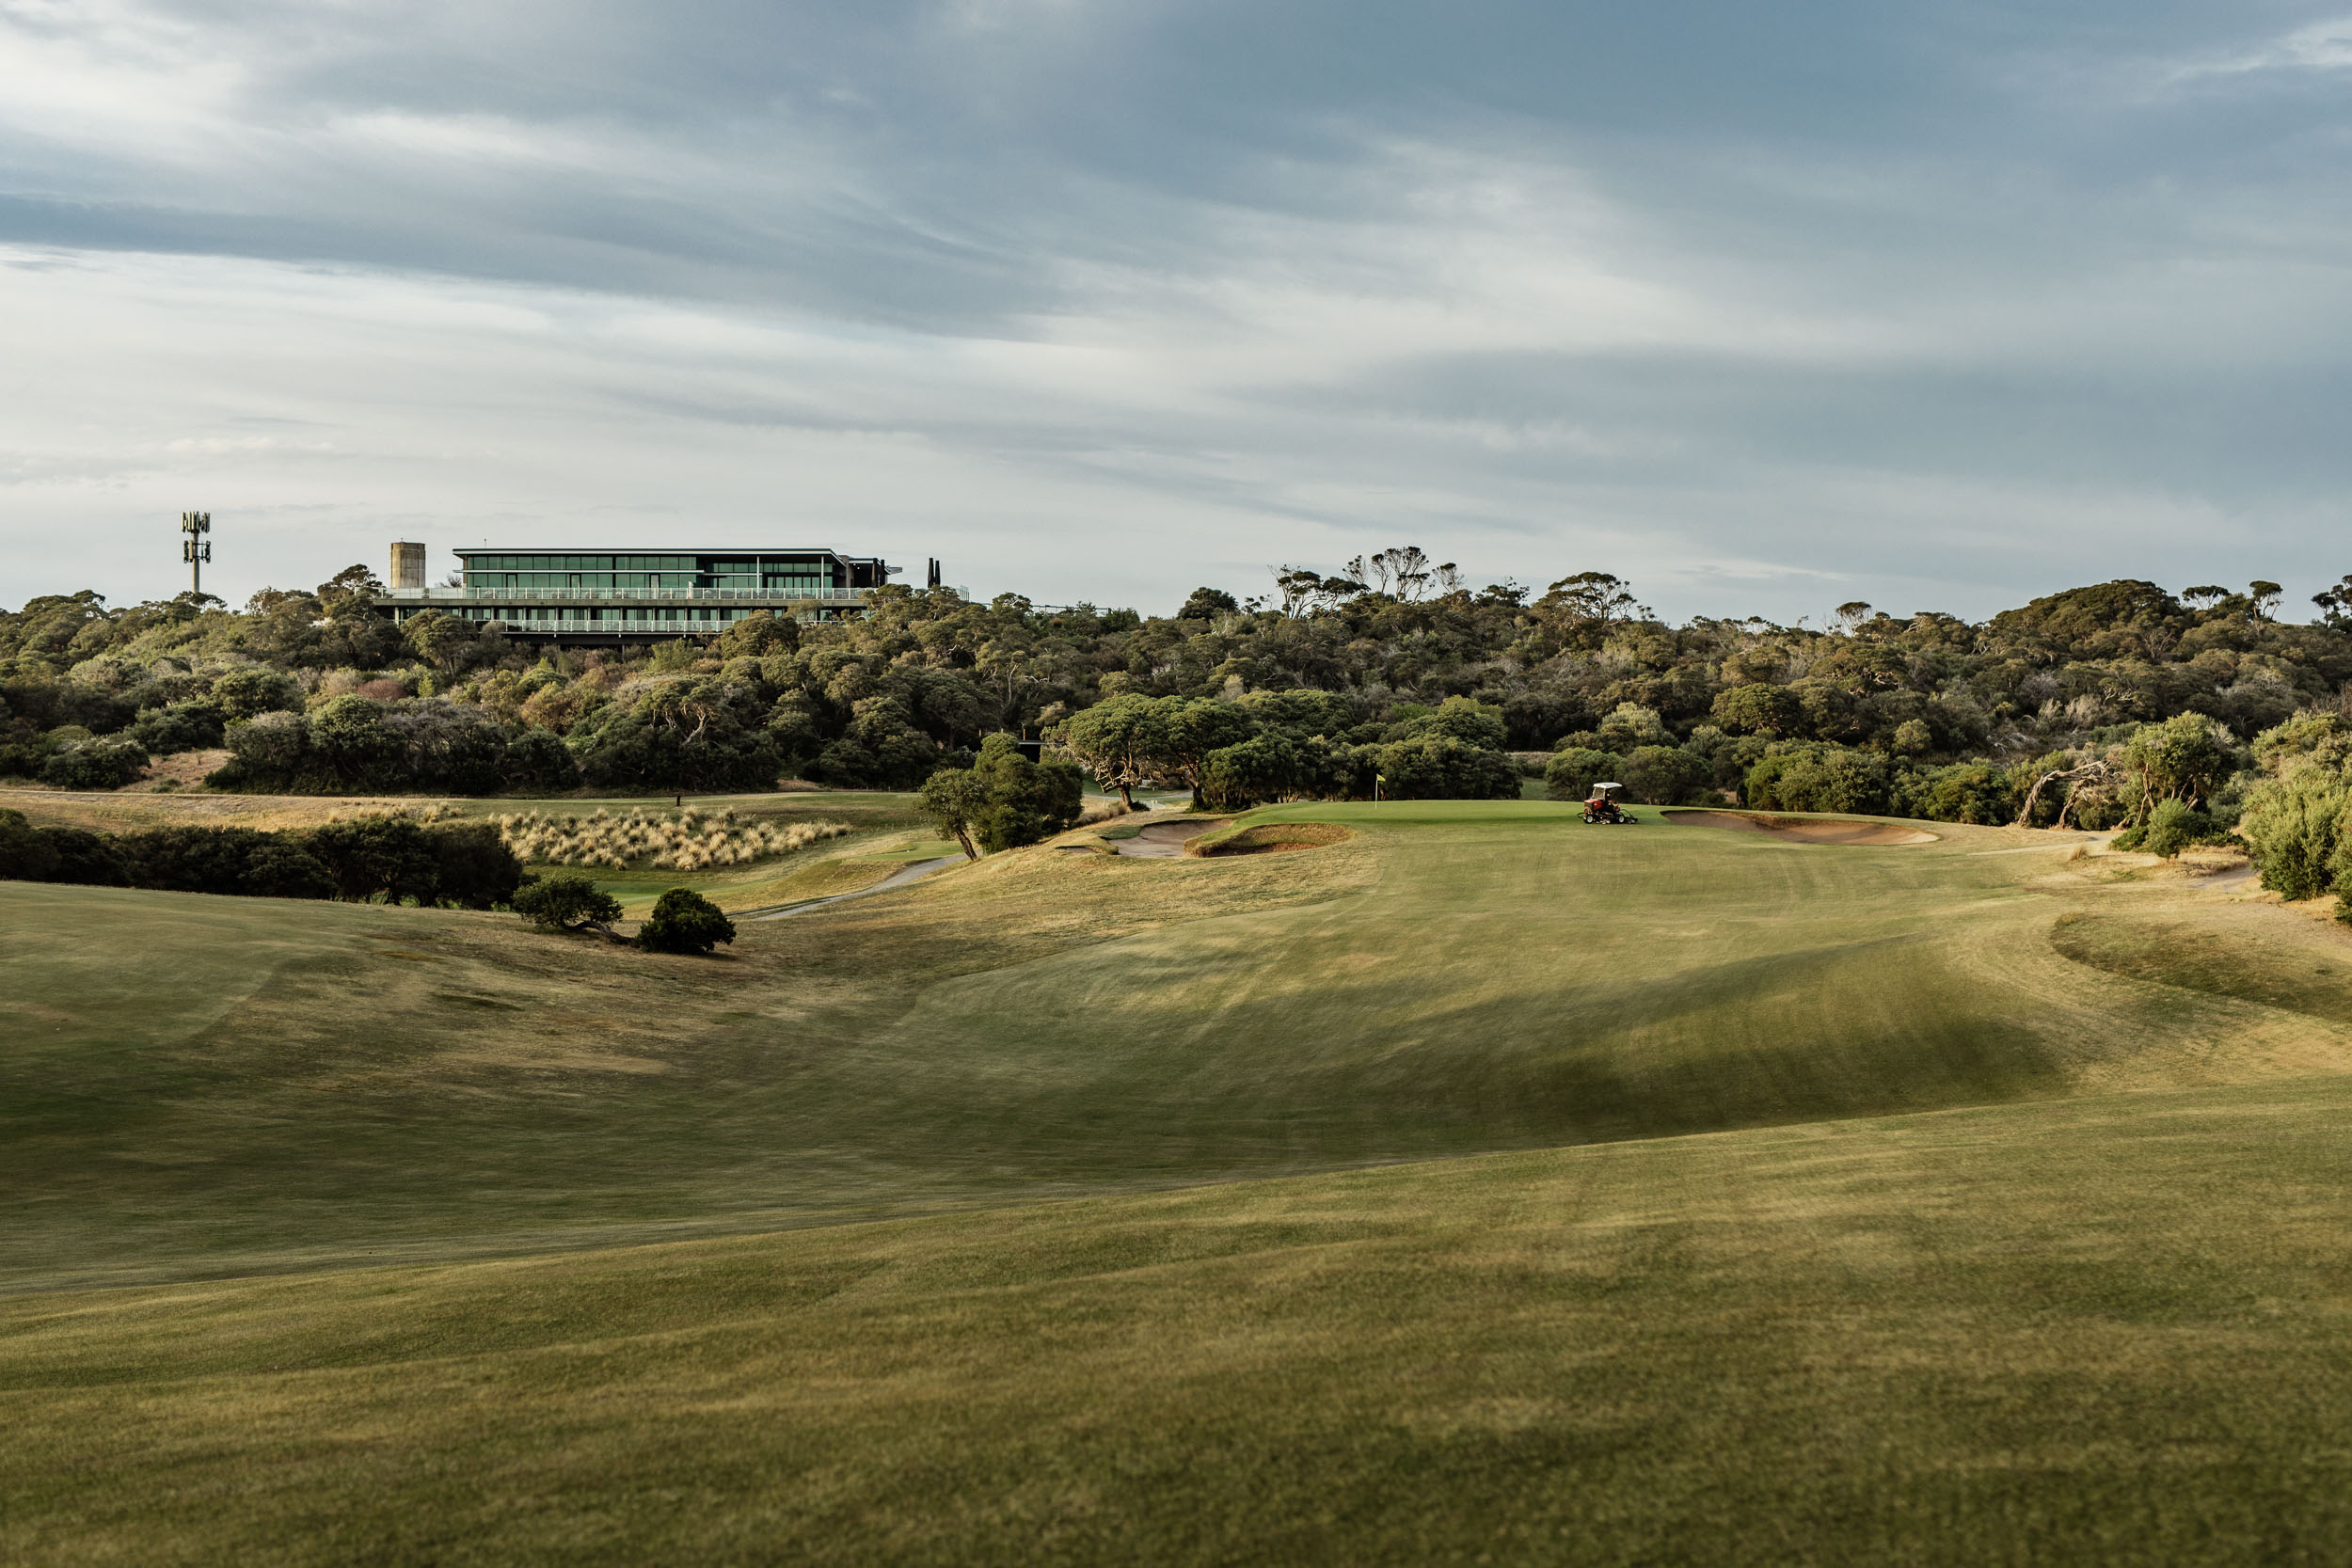
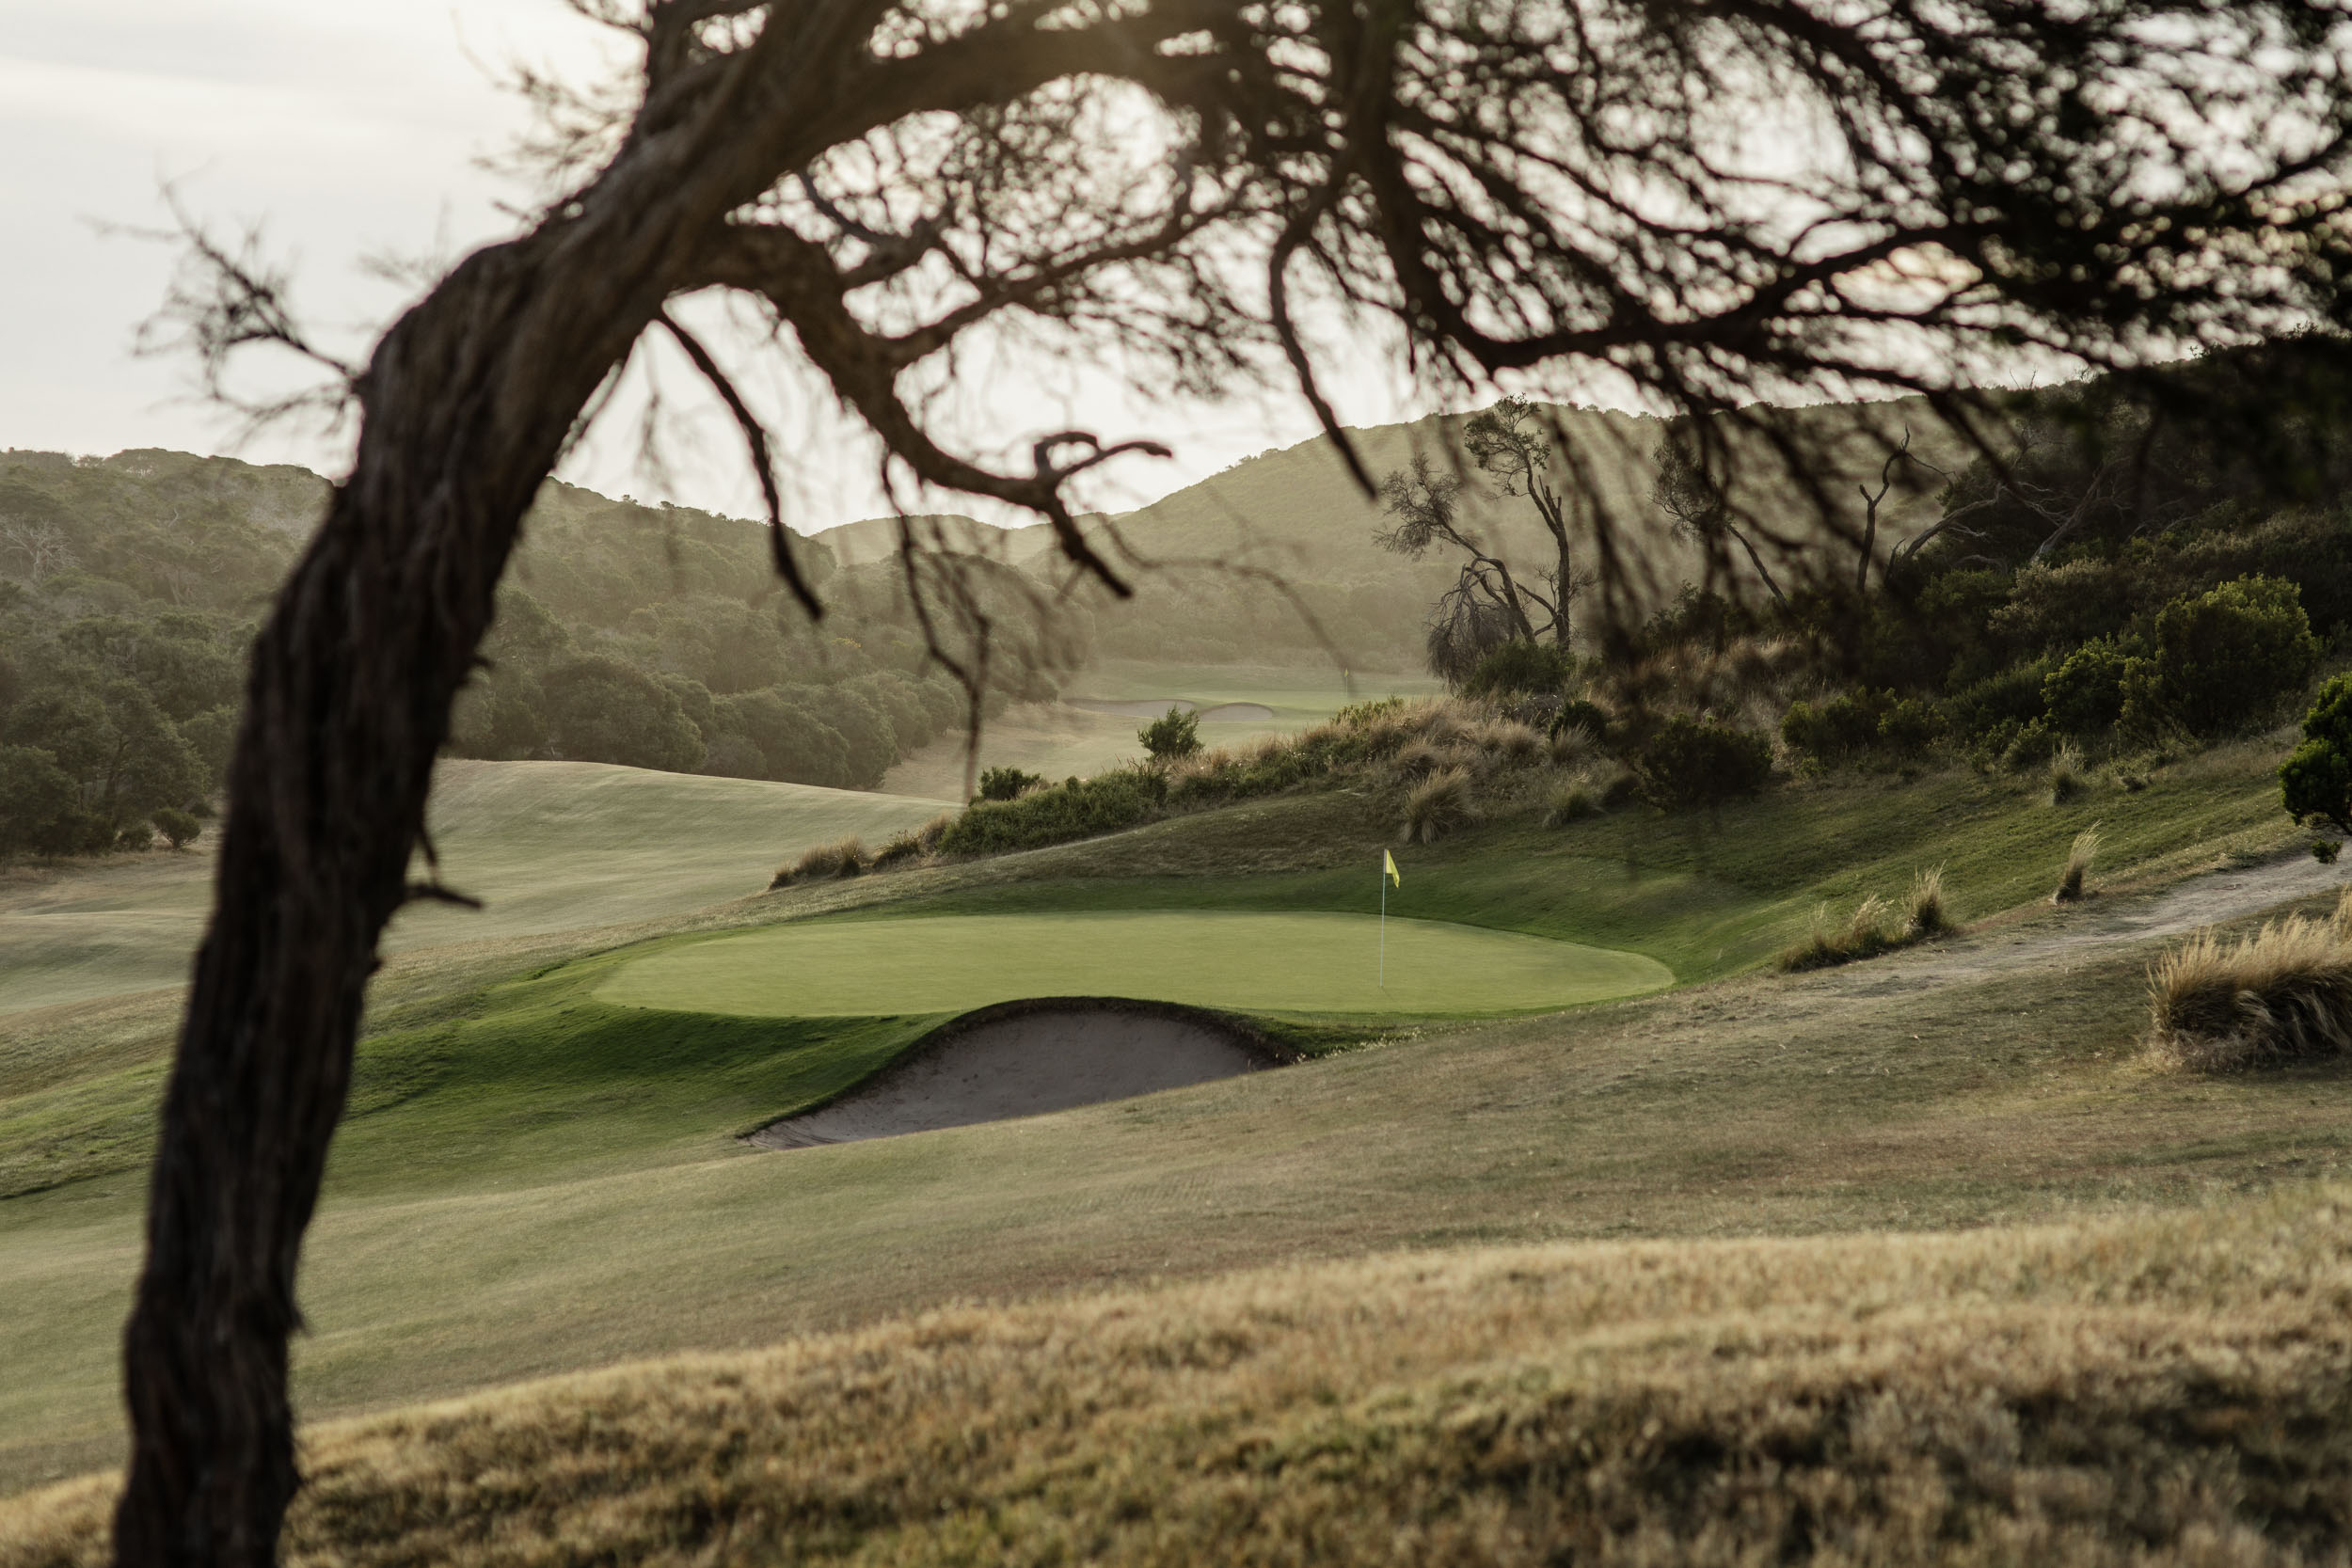
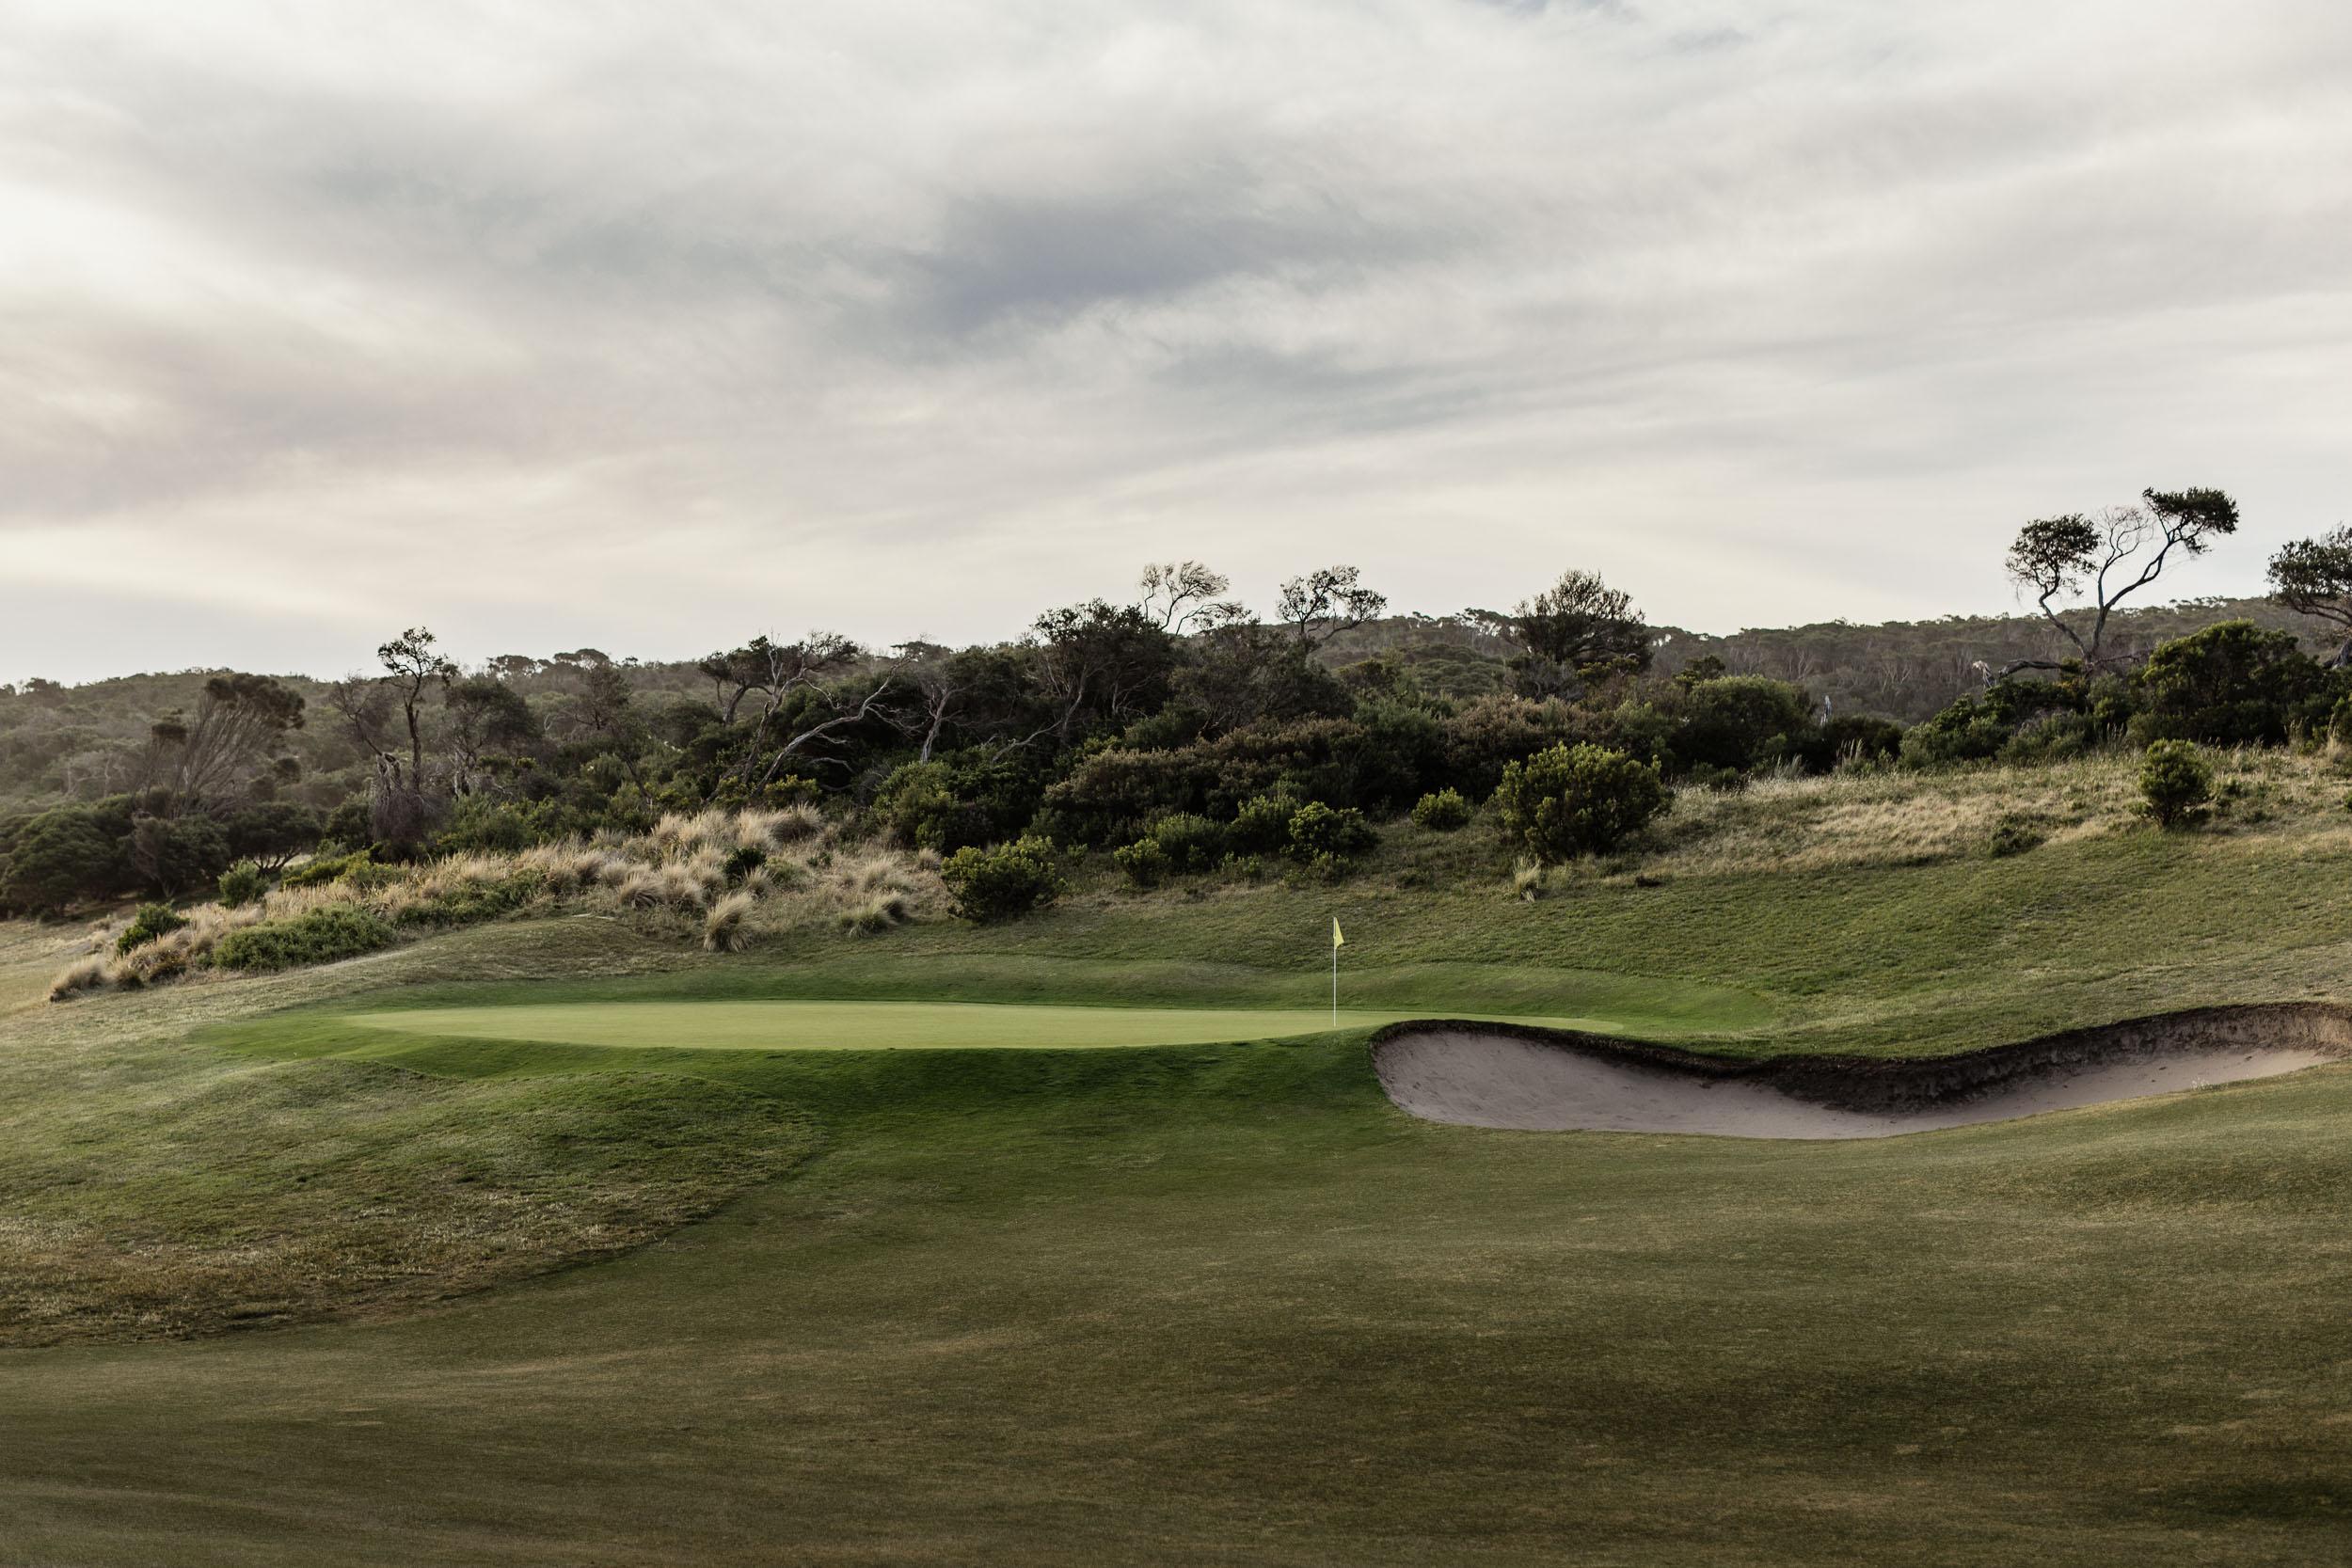
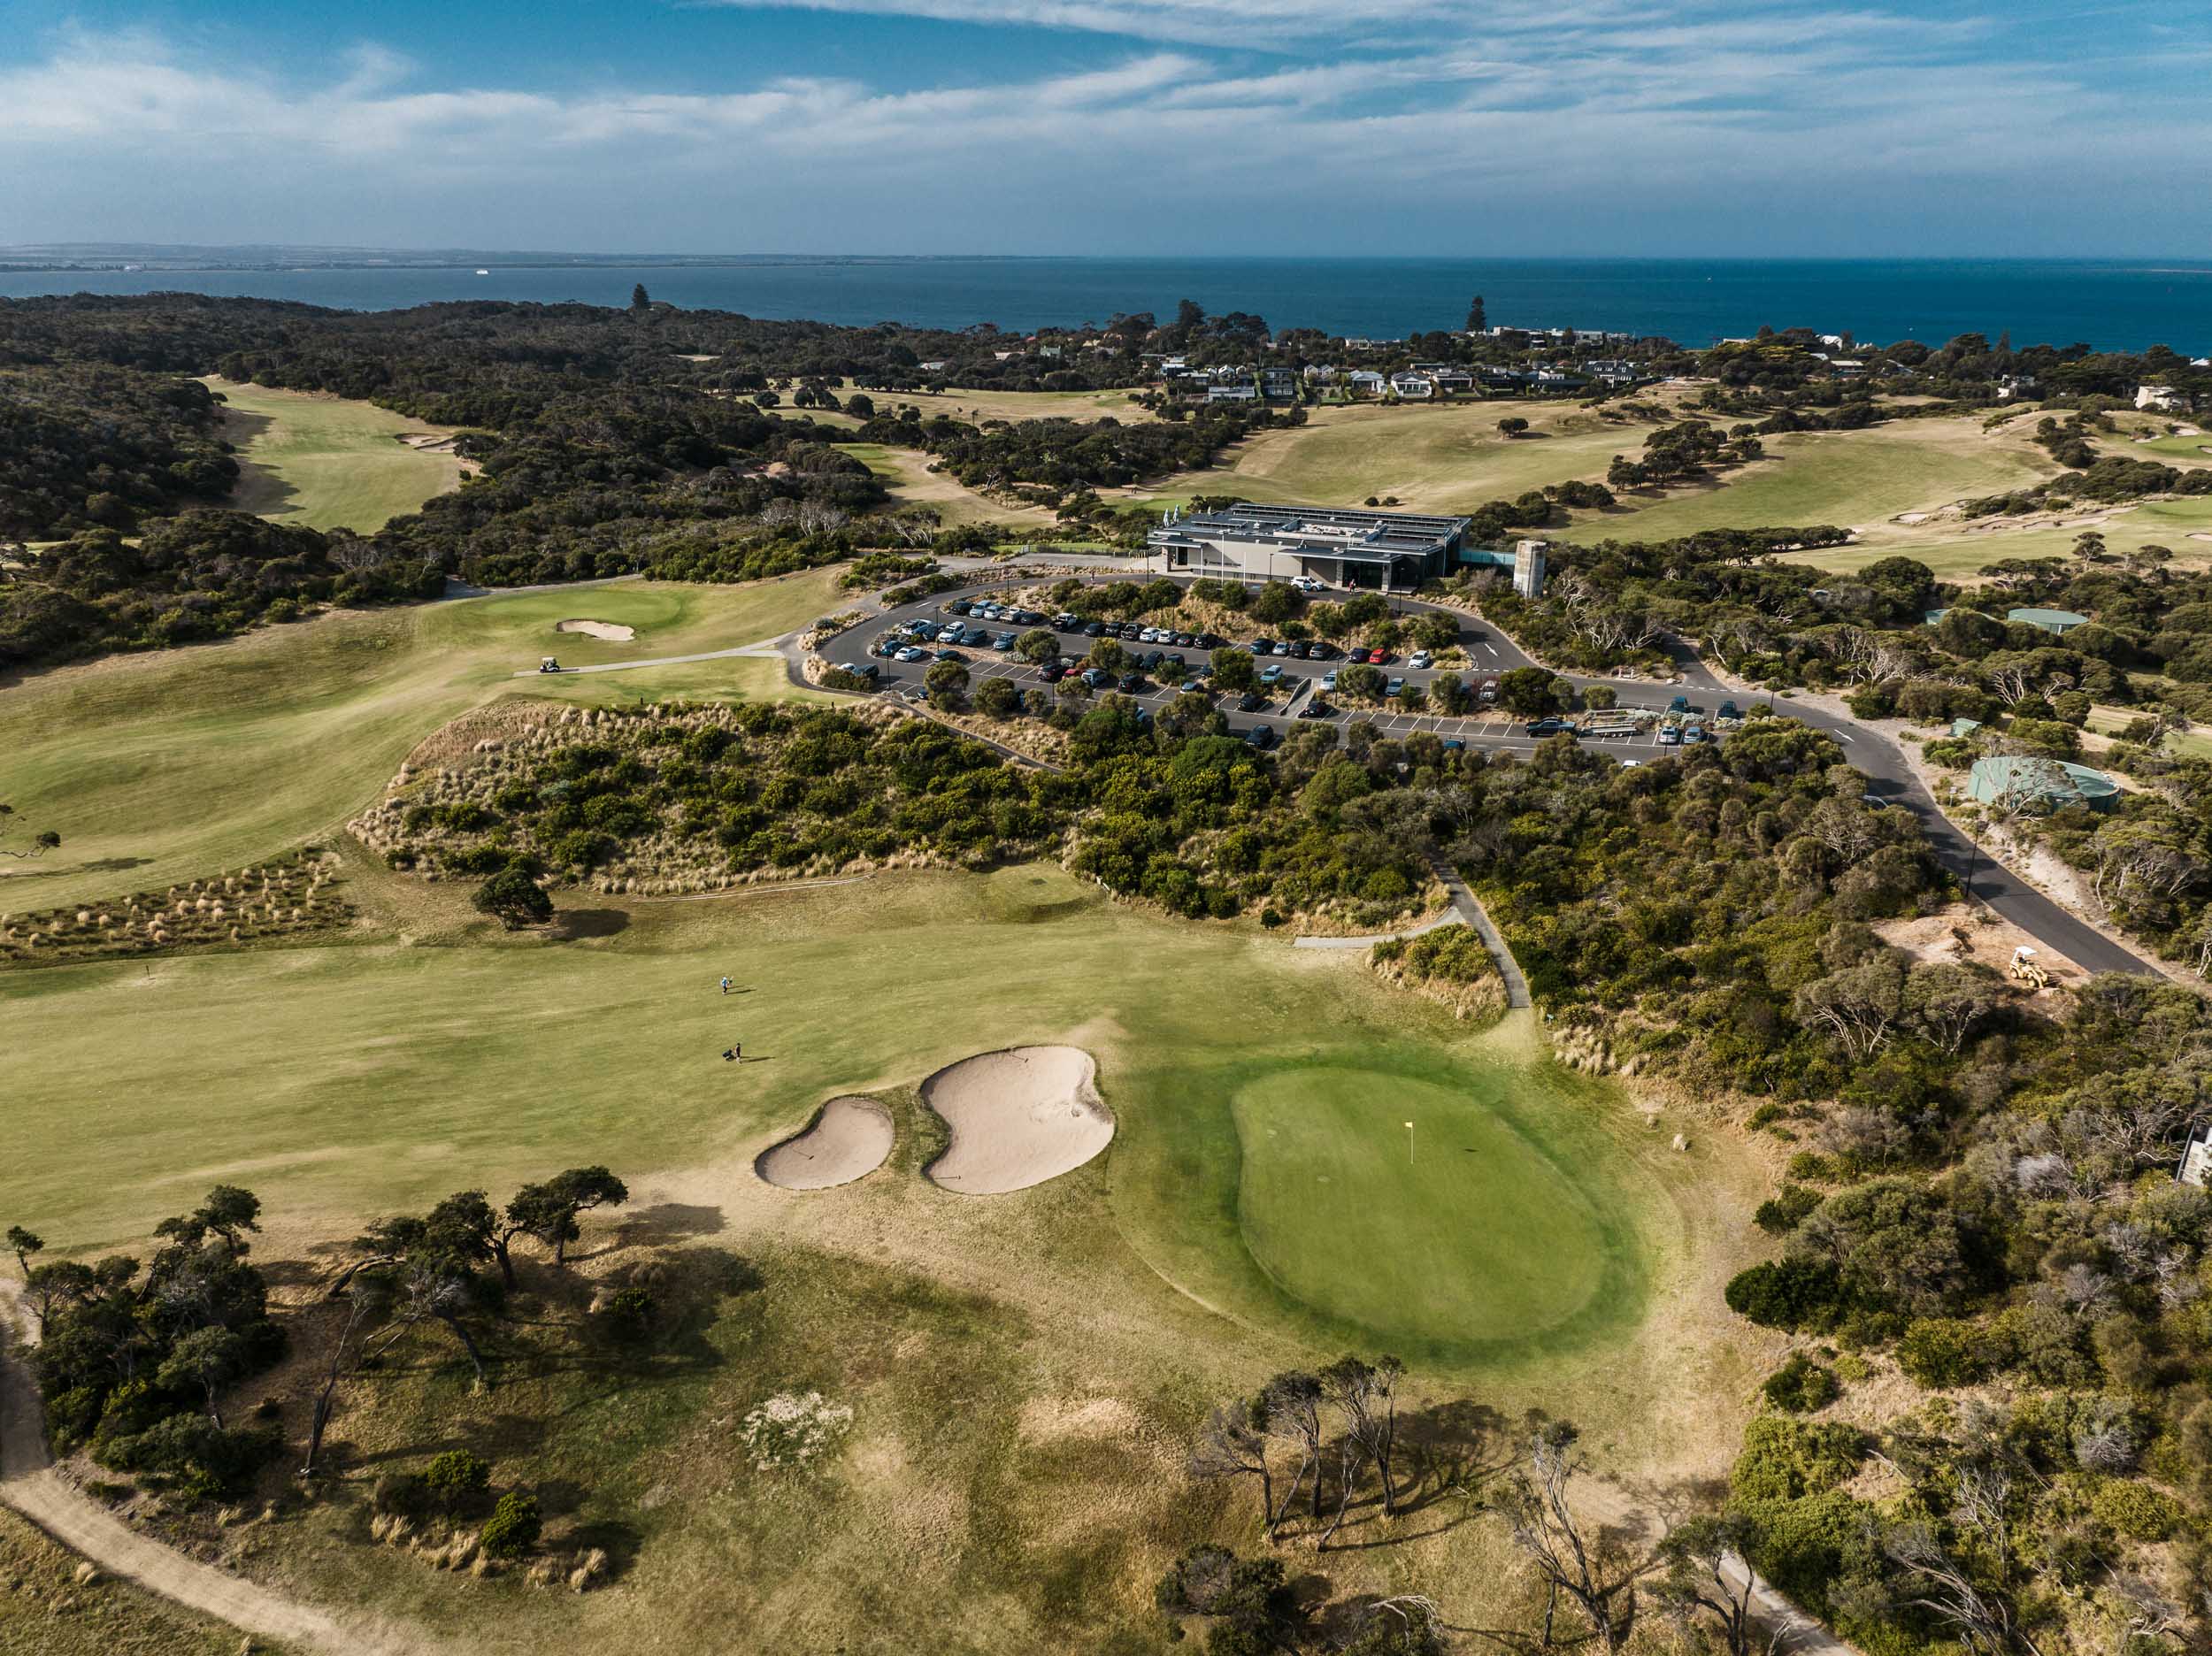
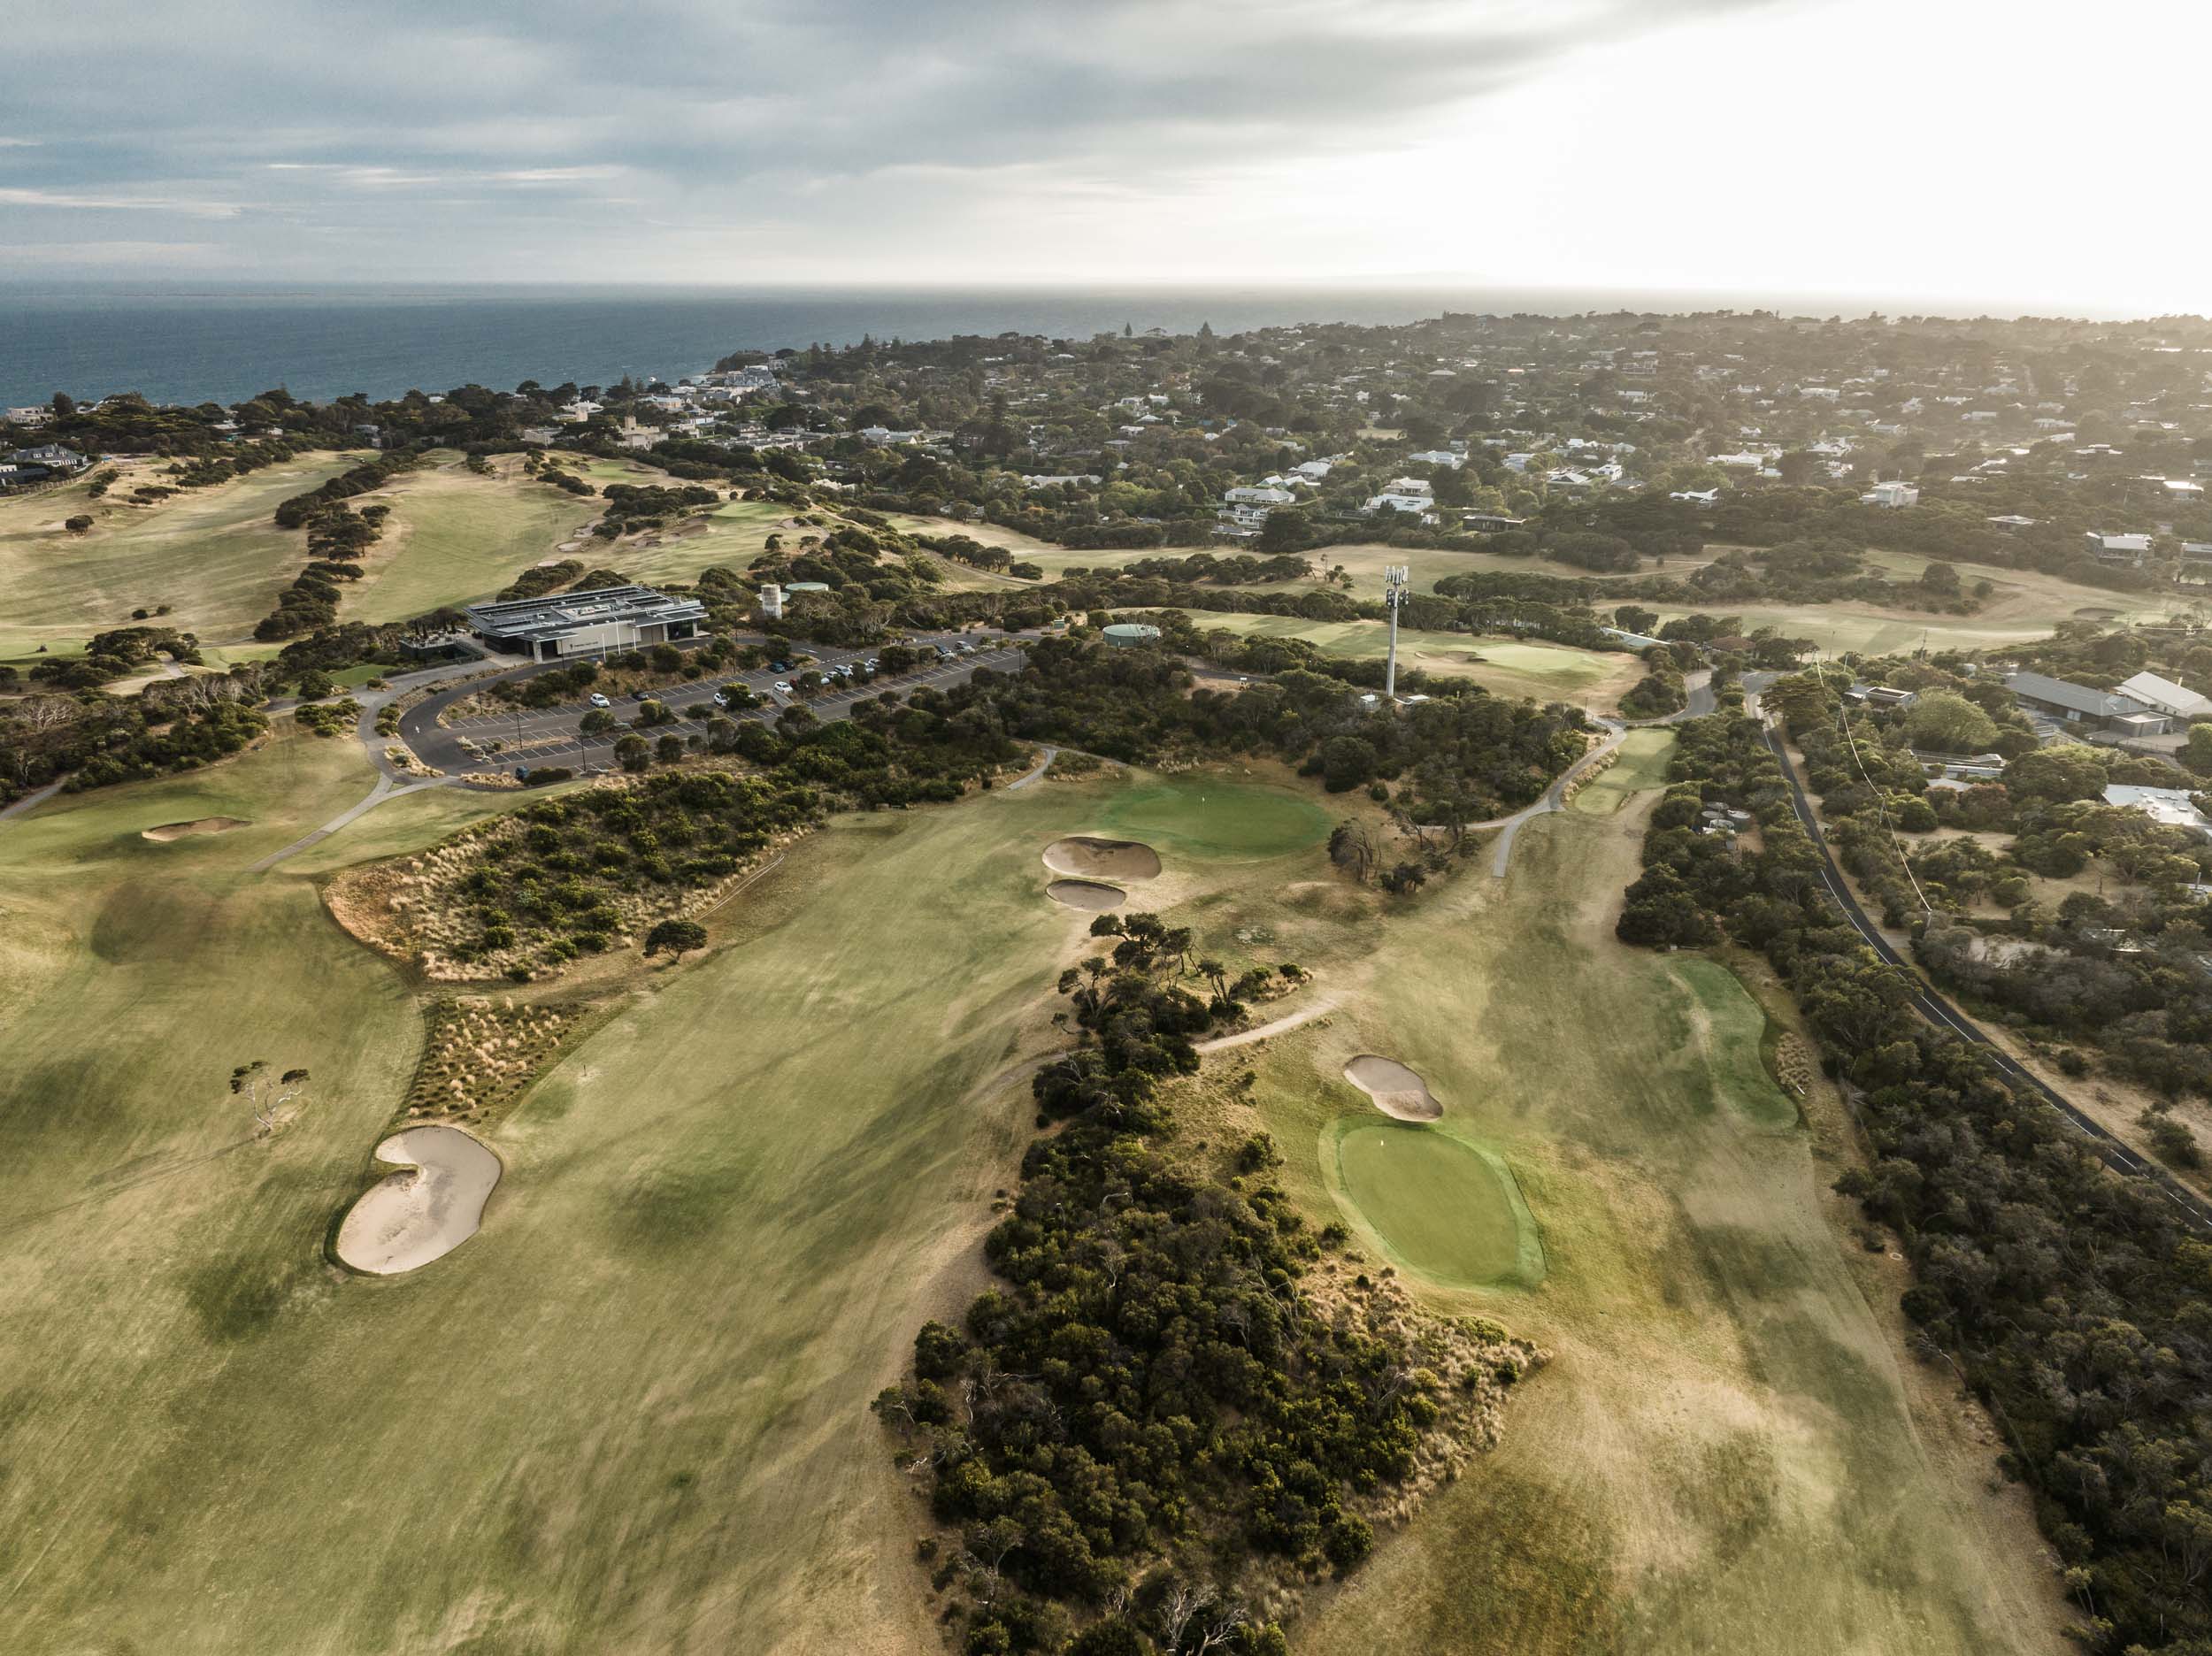
A Coastal Links Experience
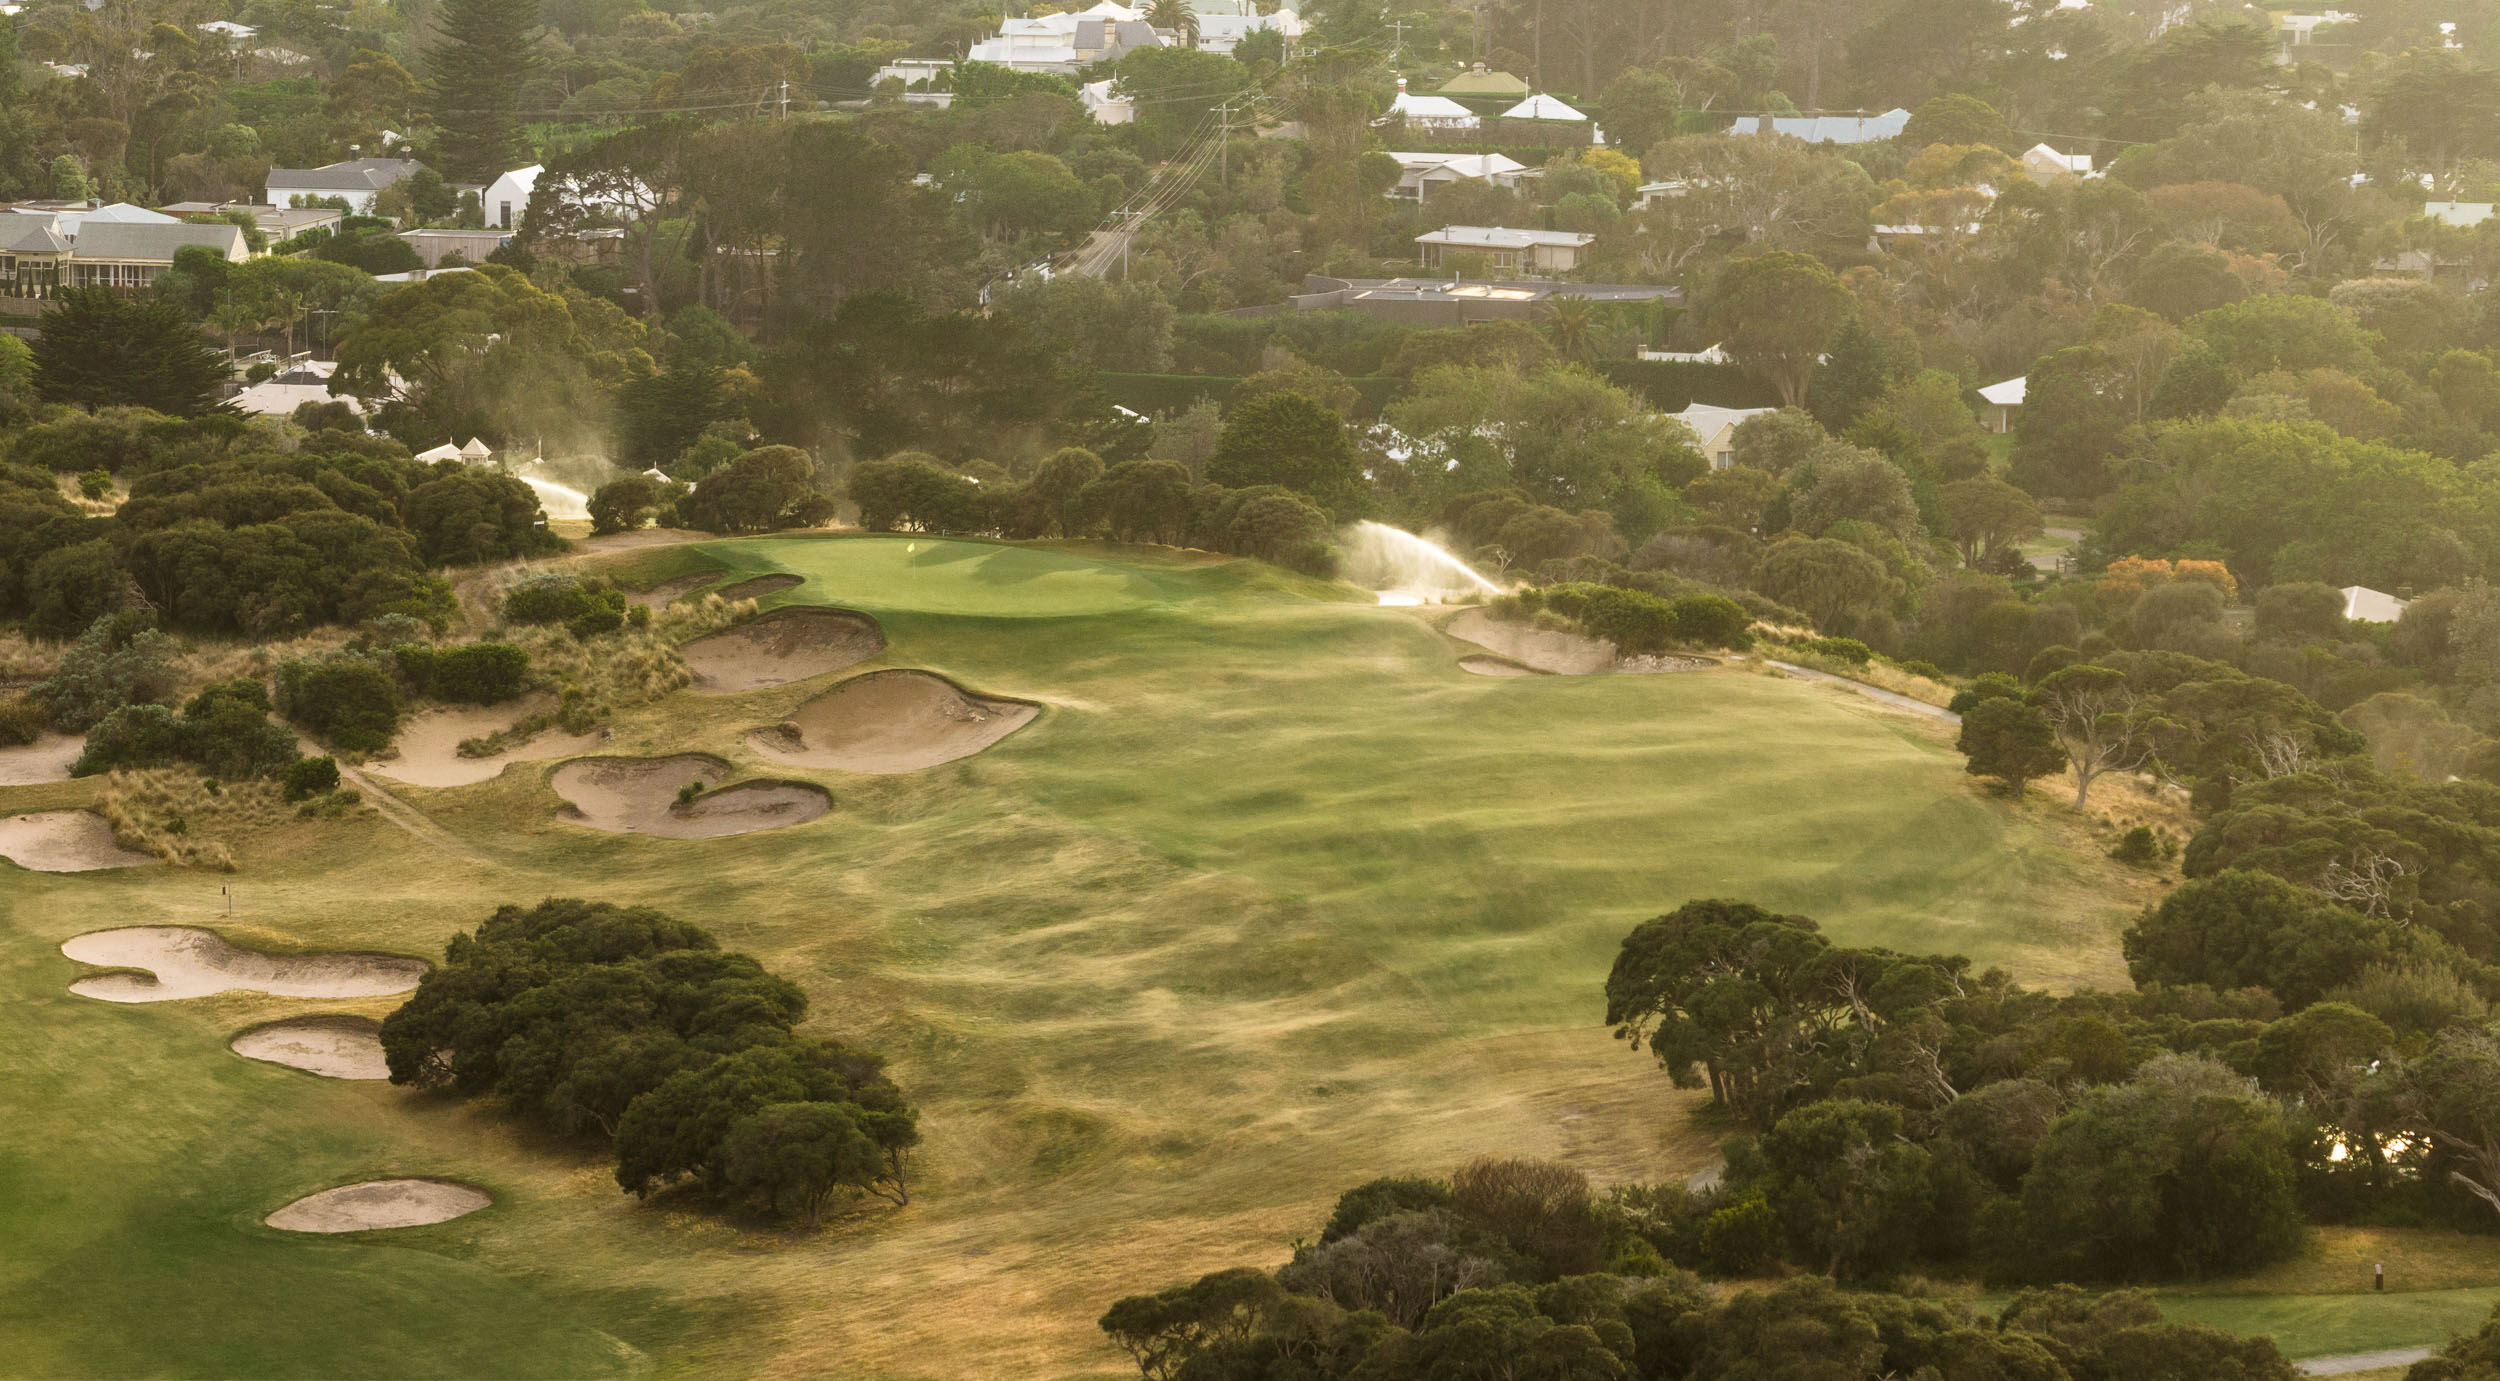
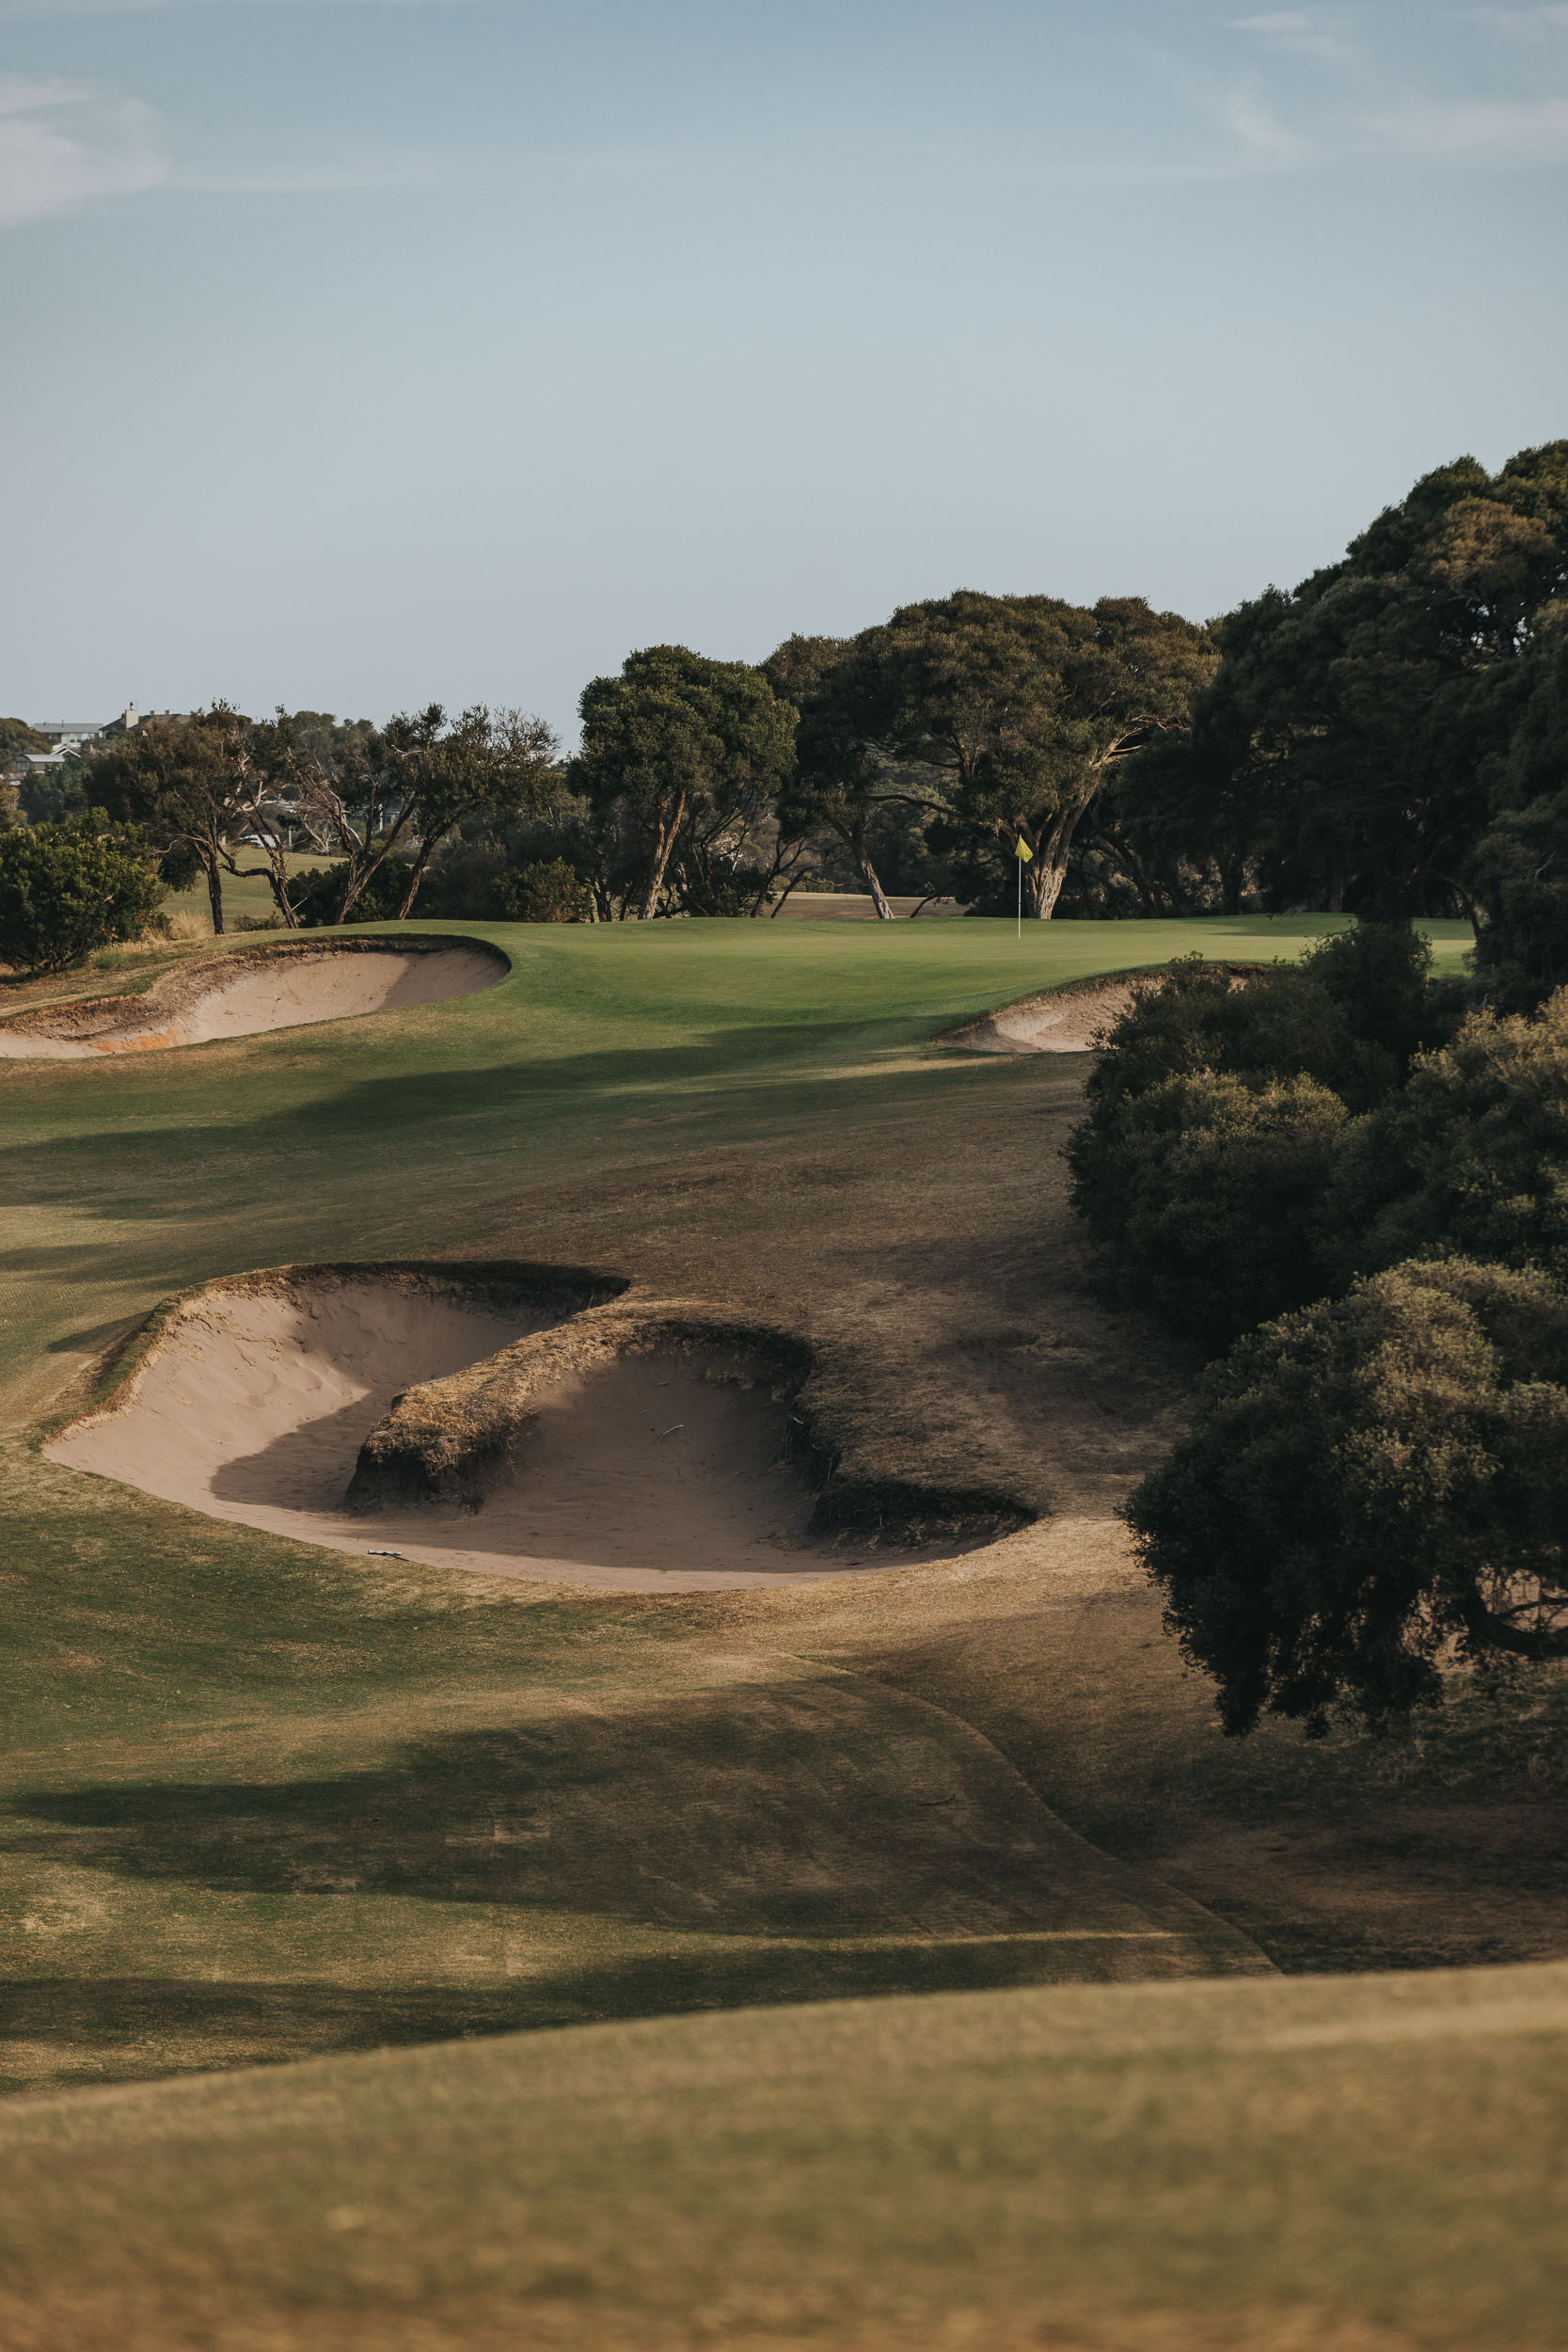
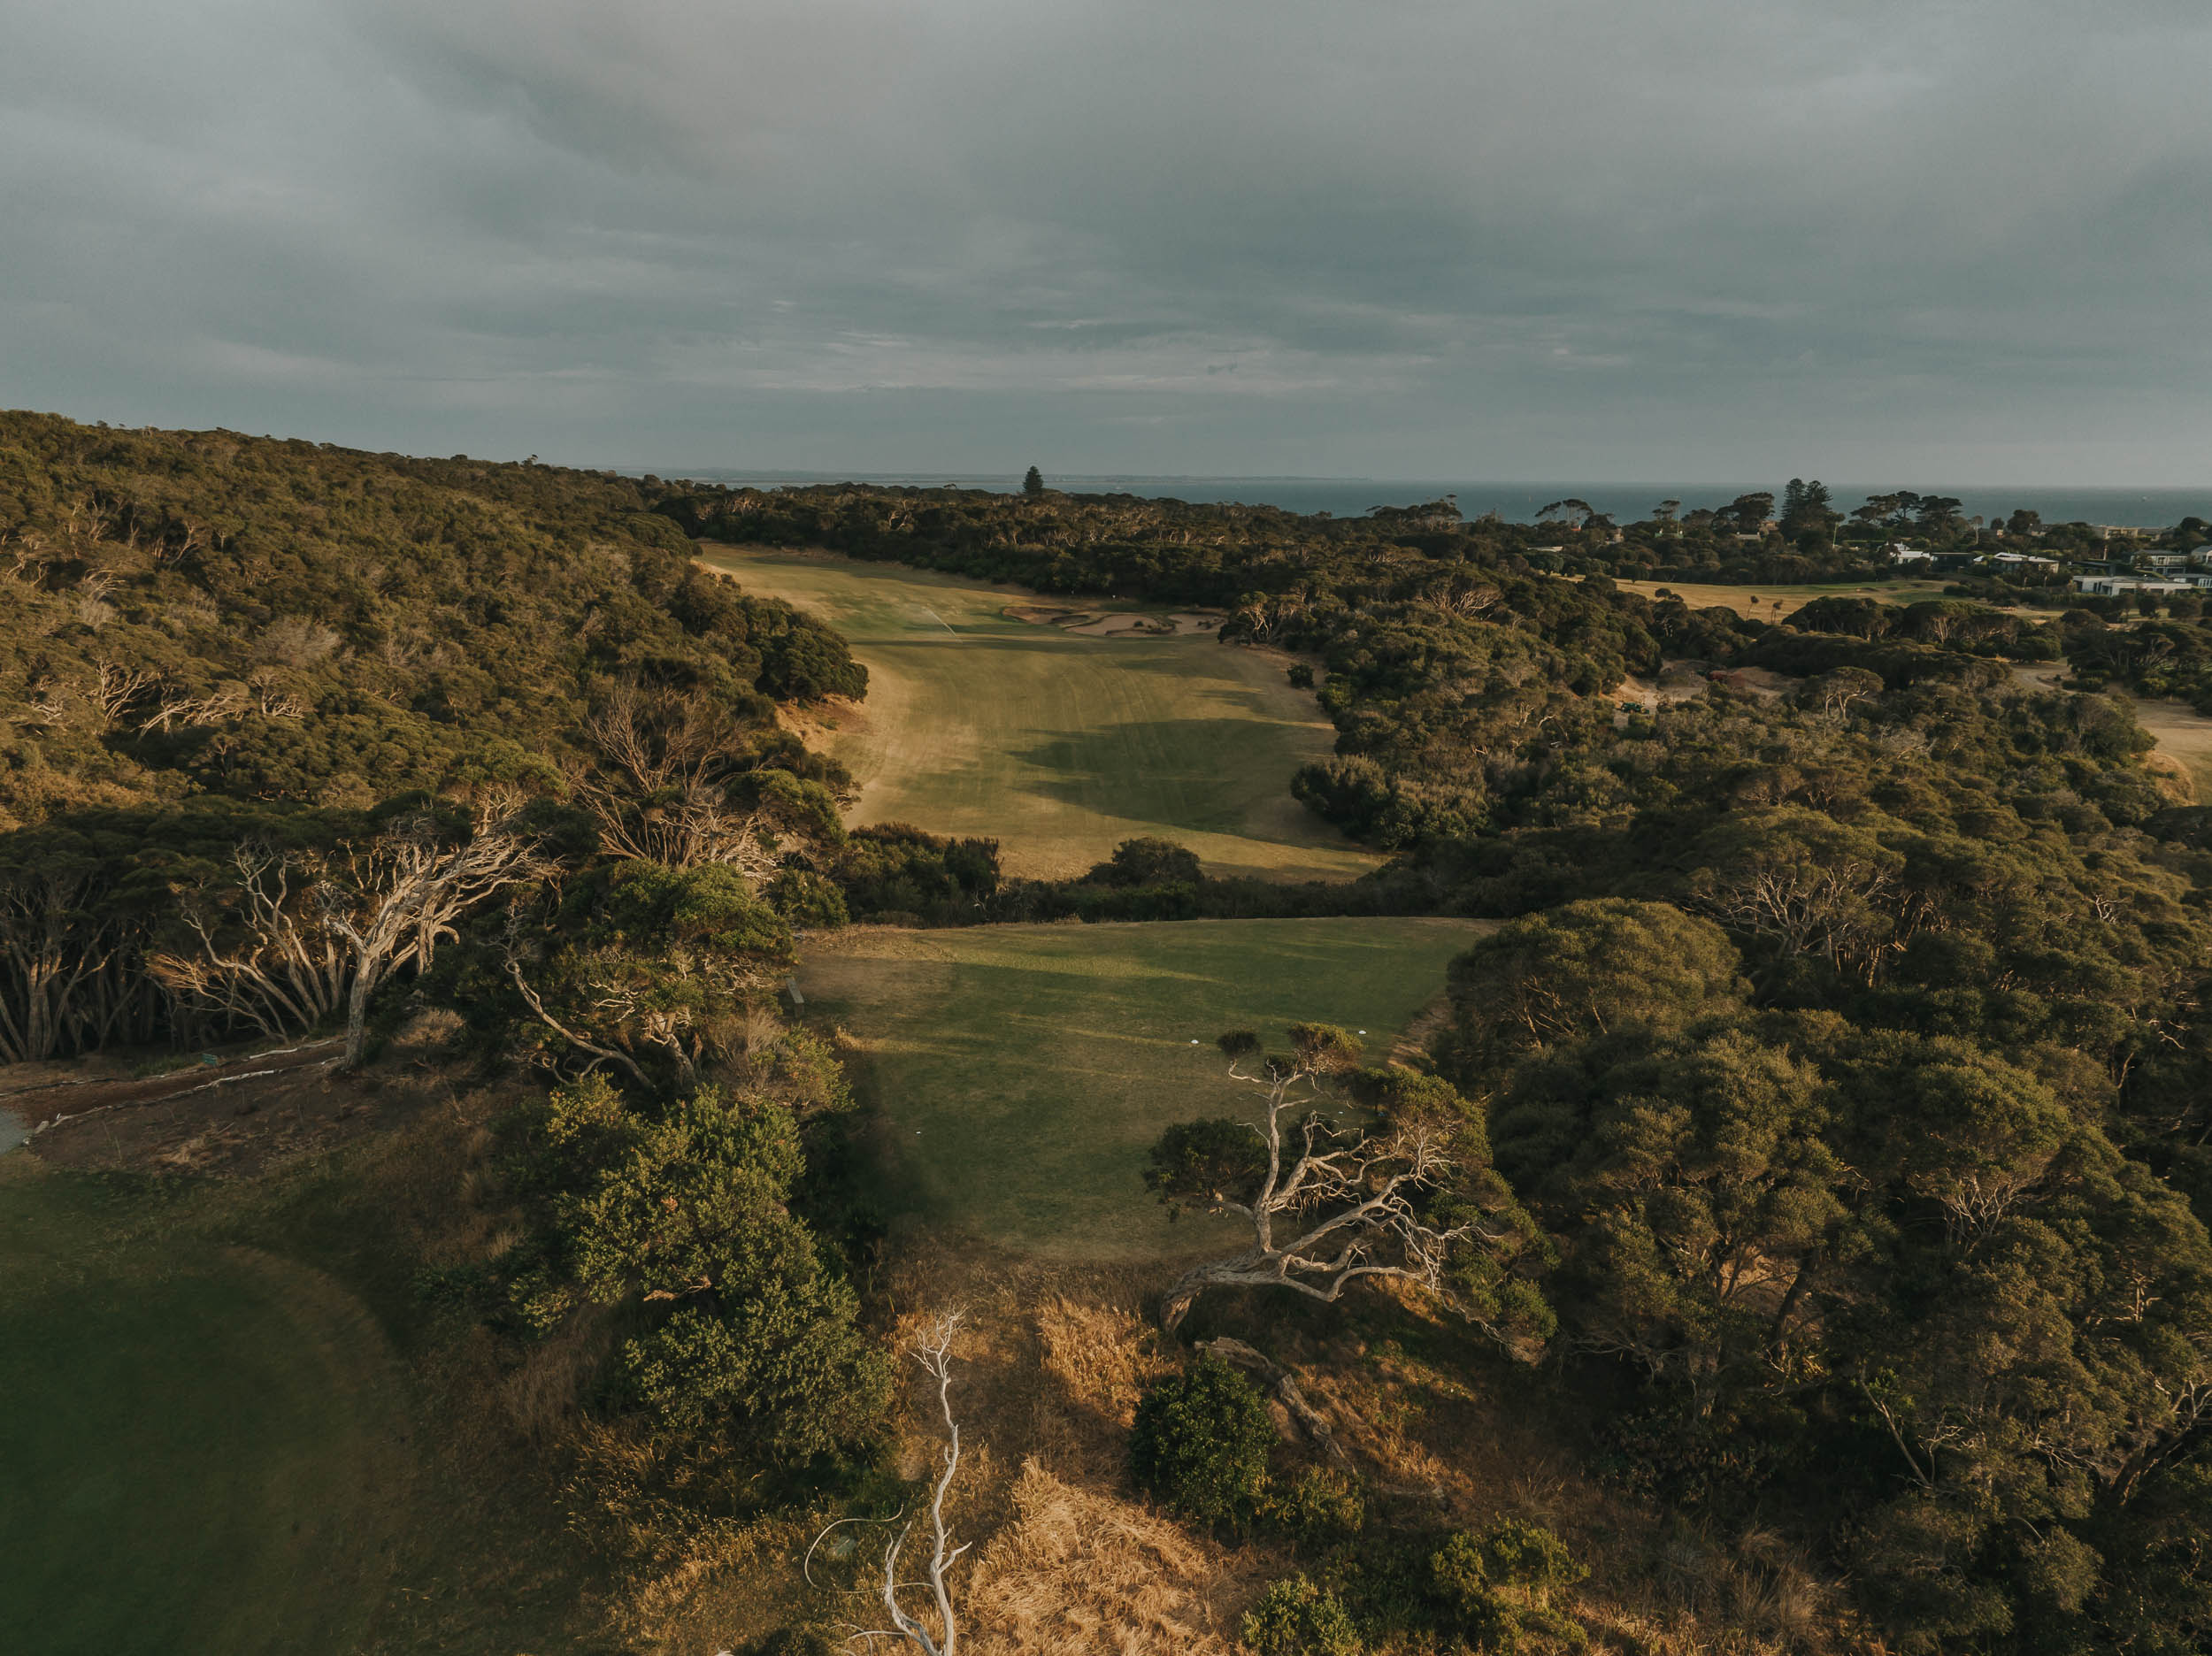
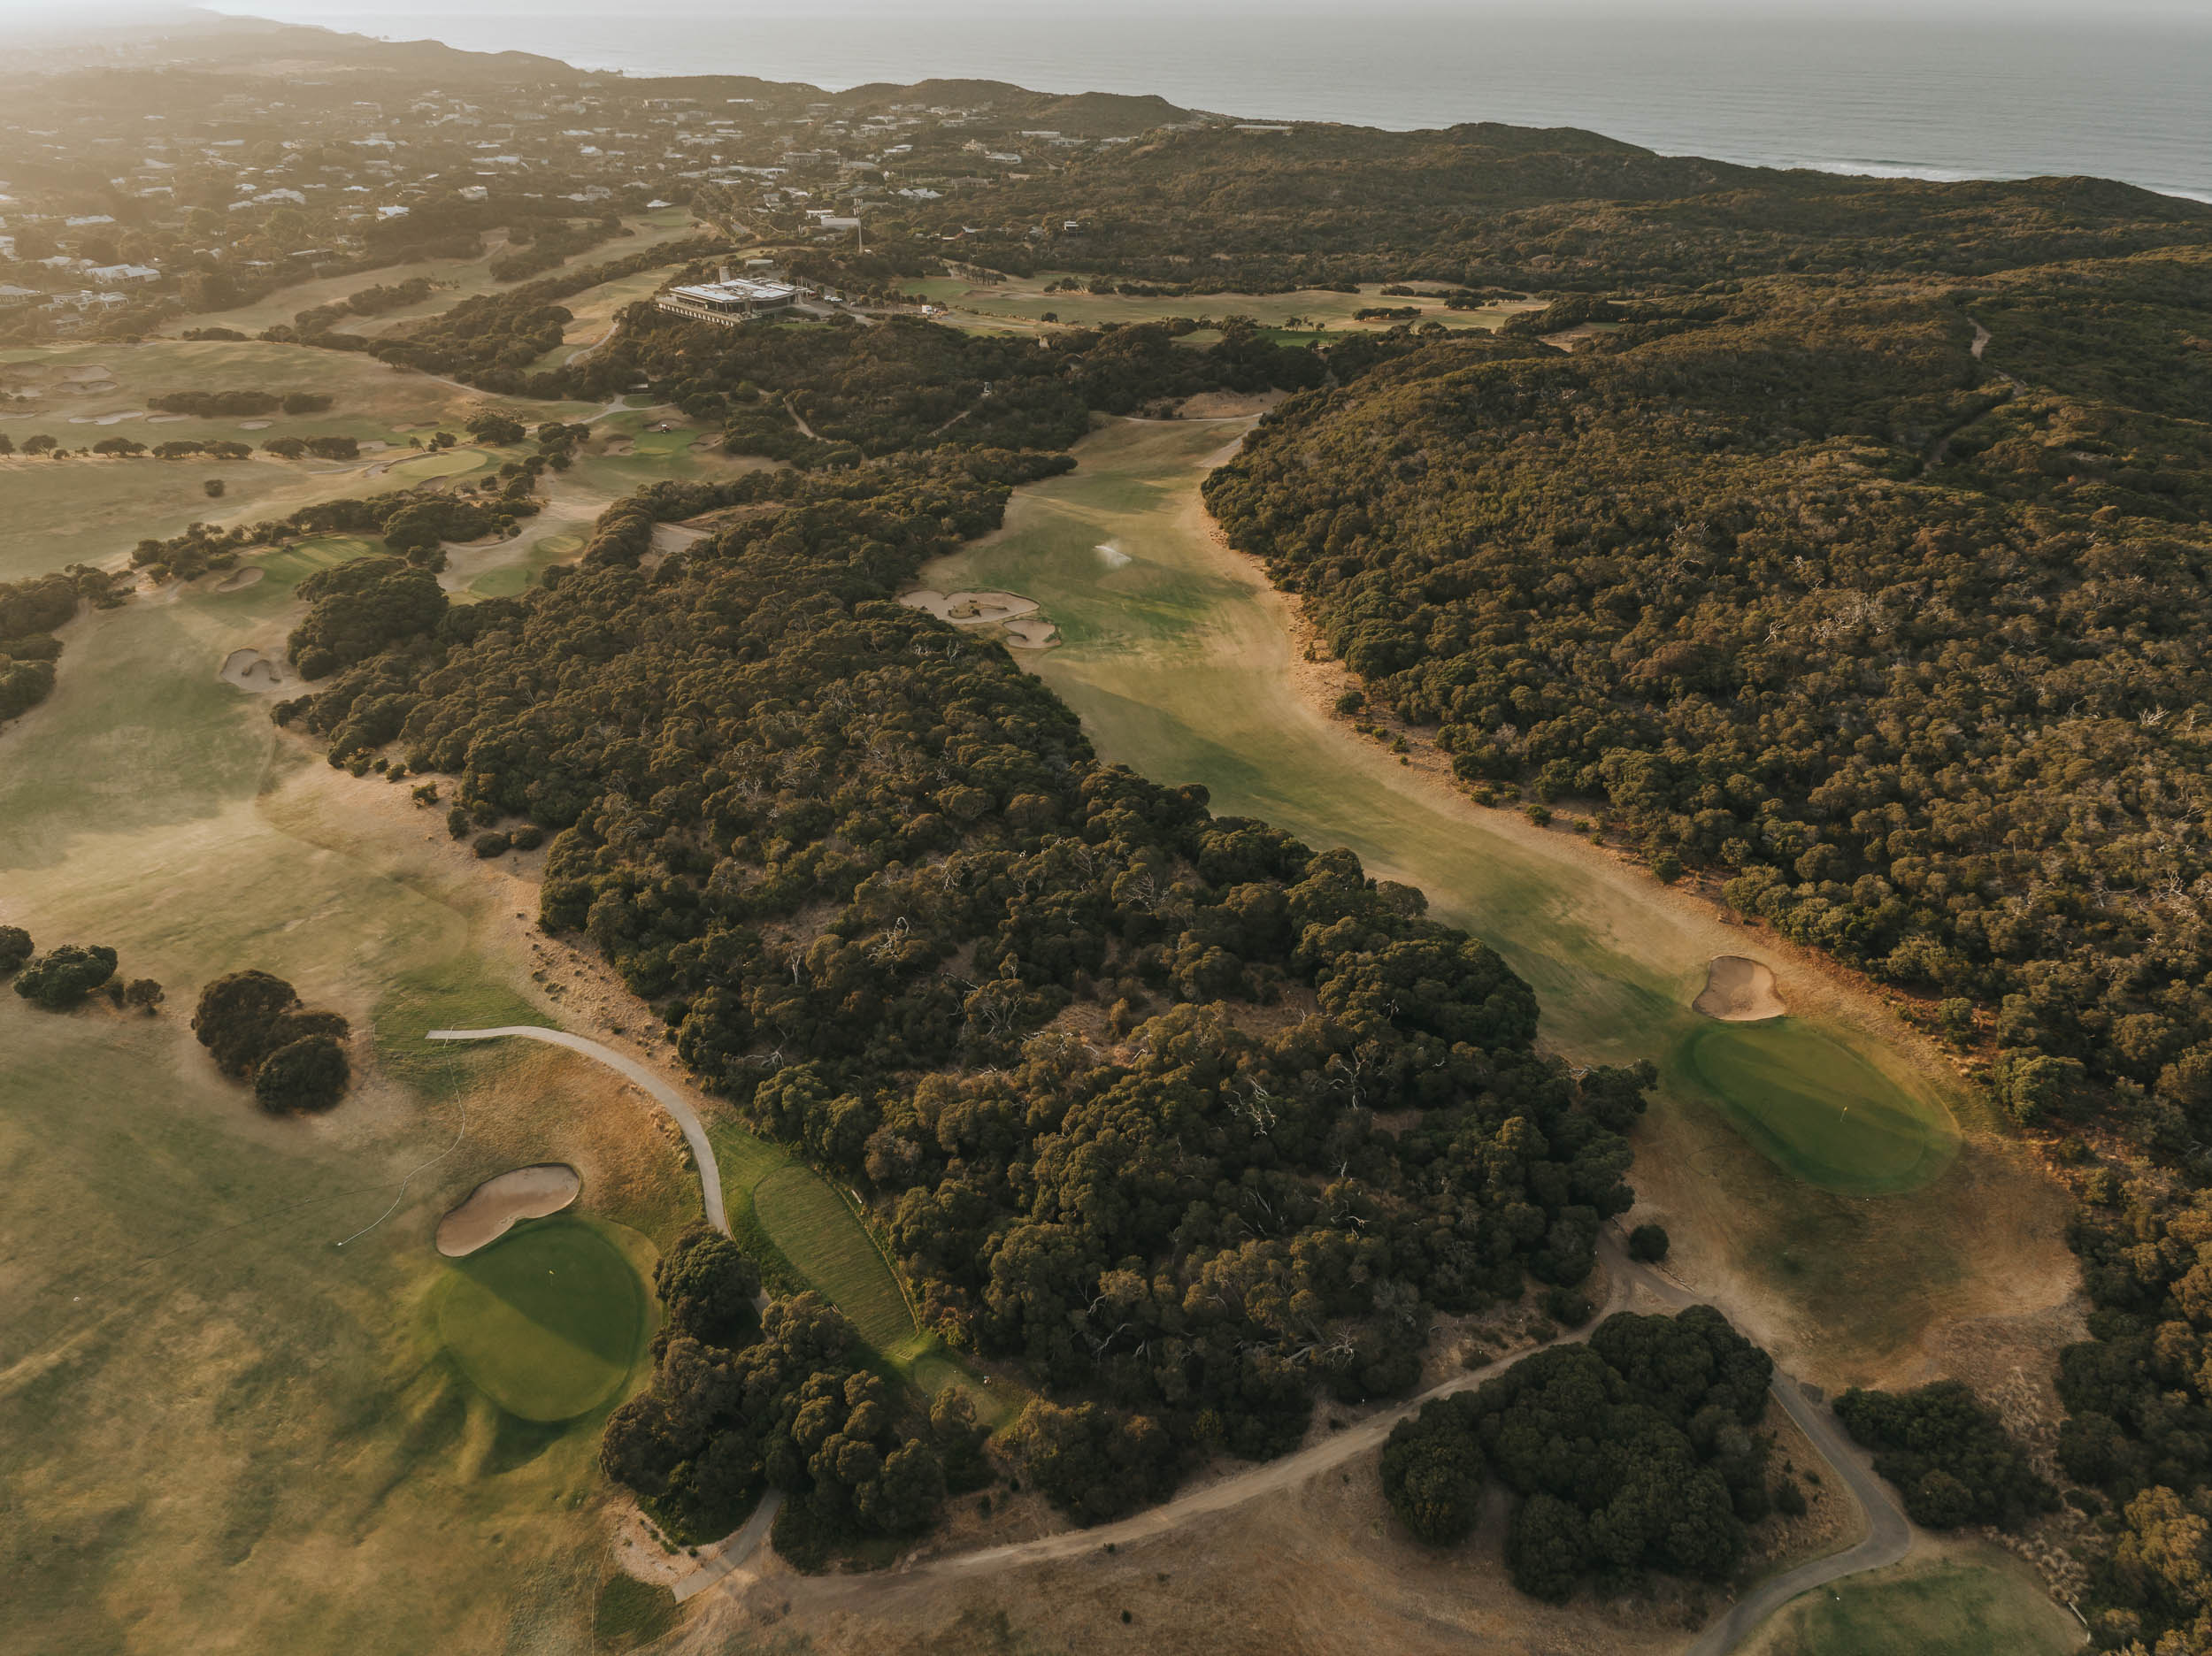
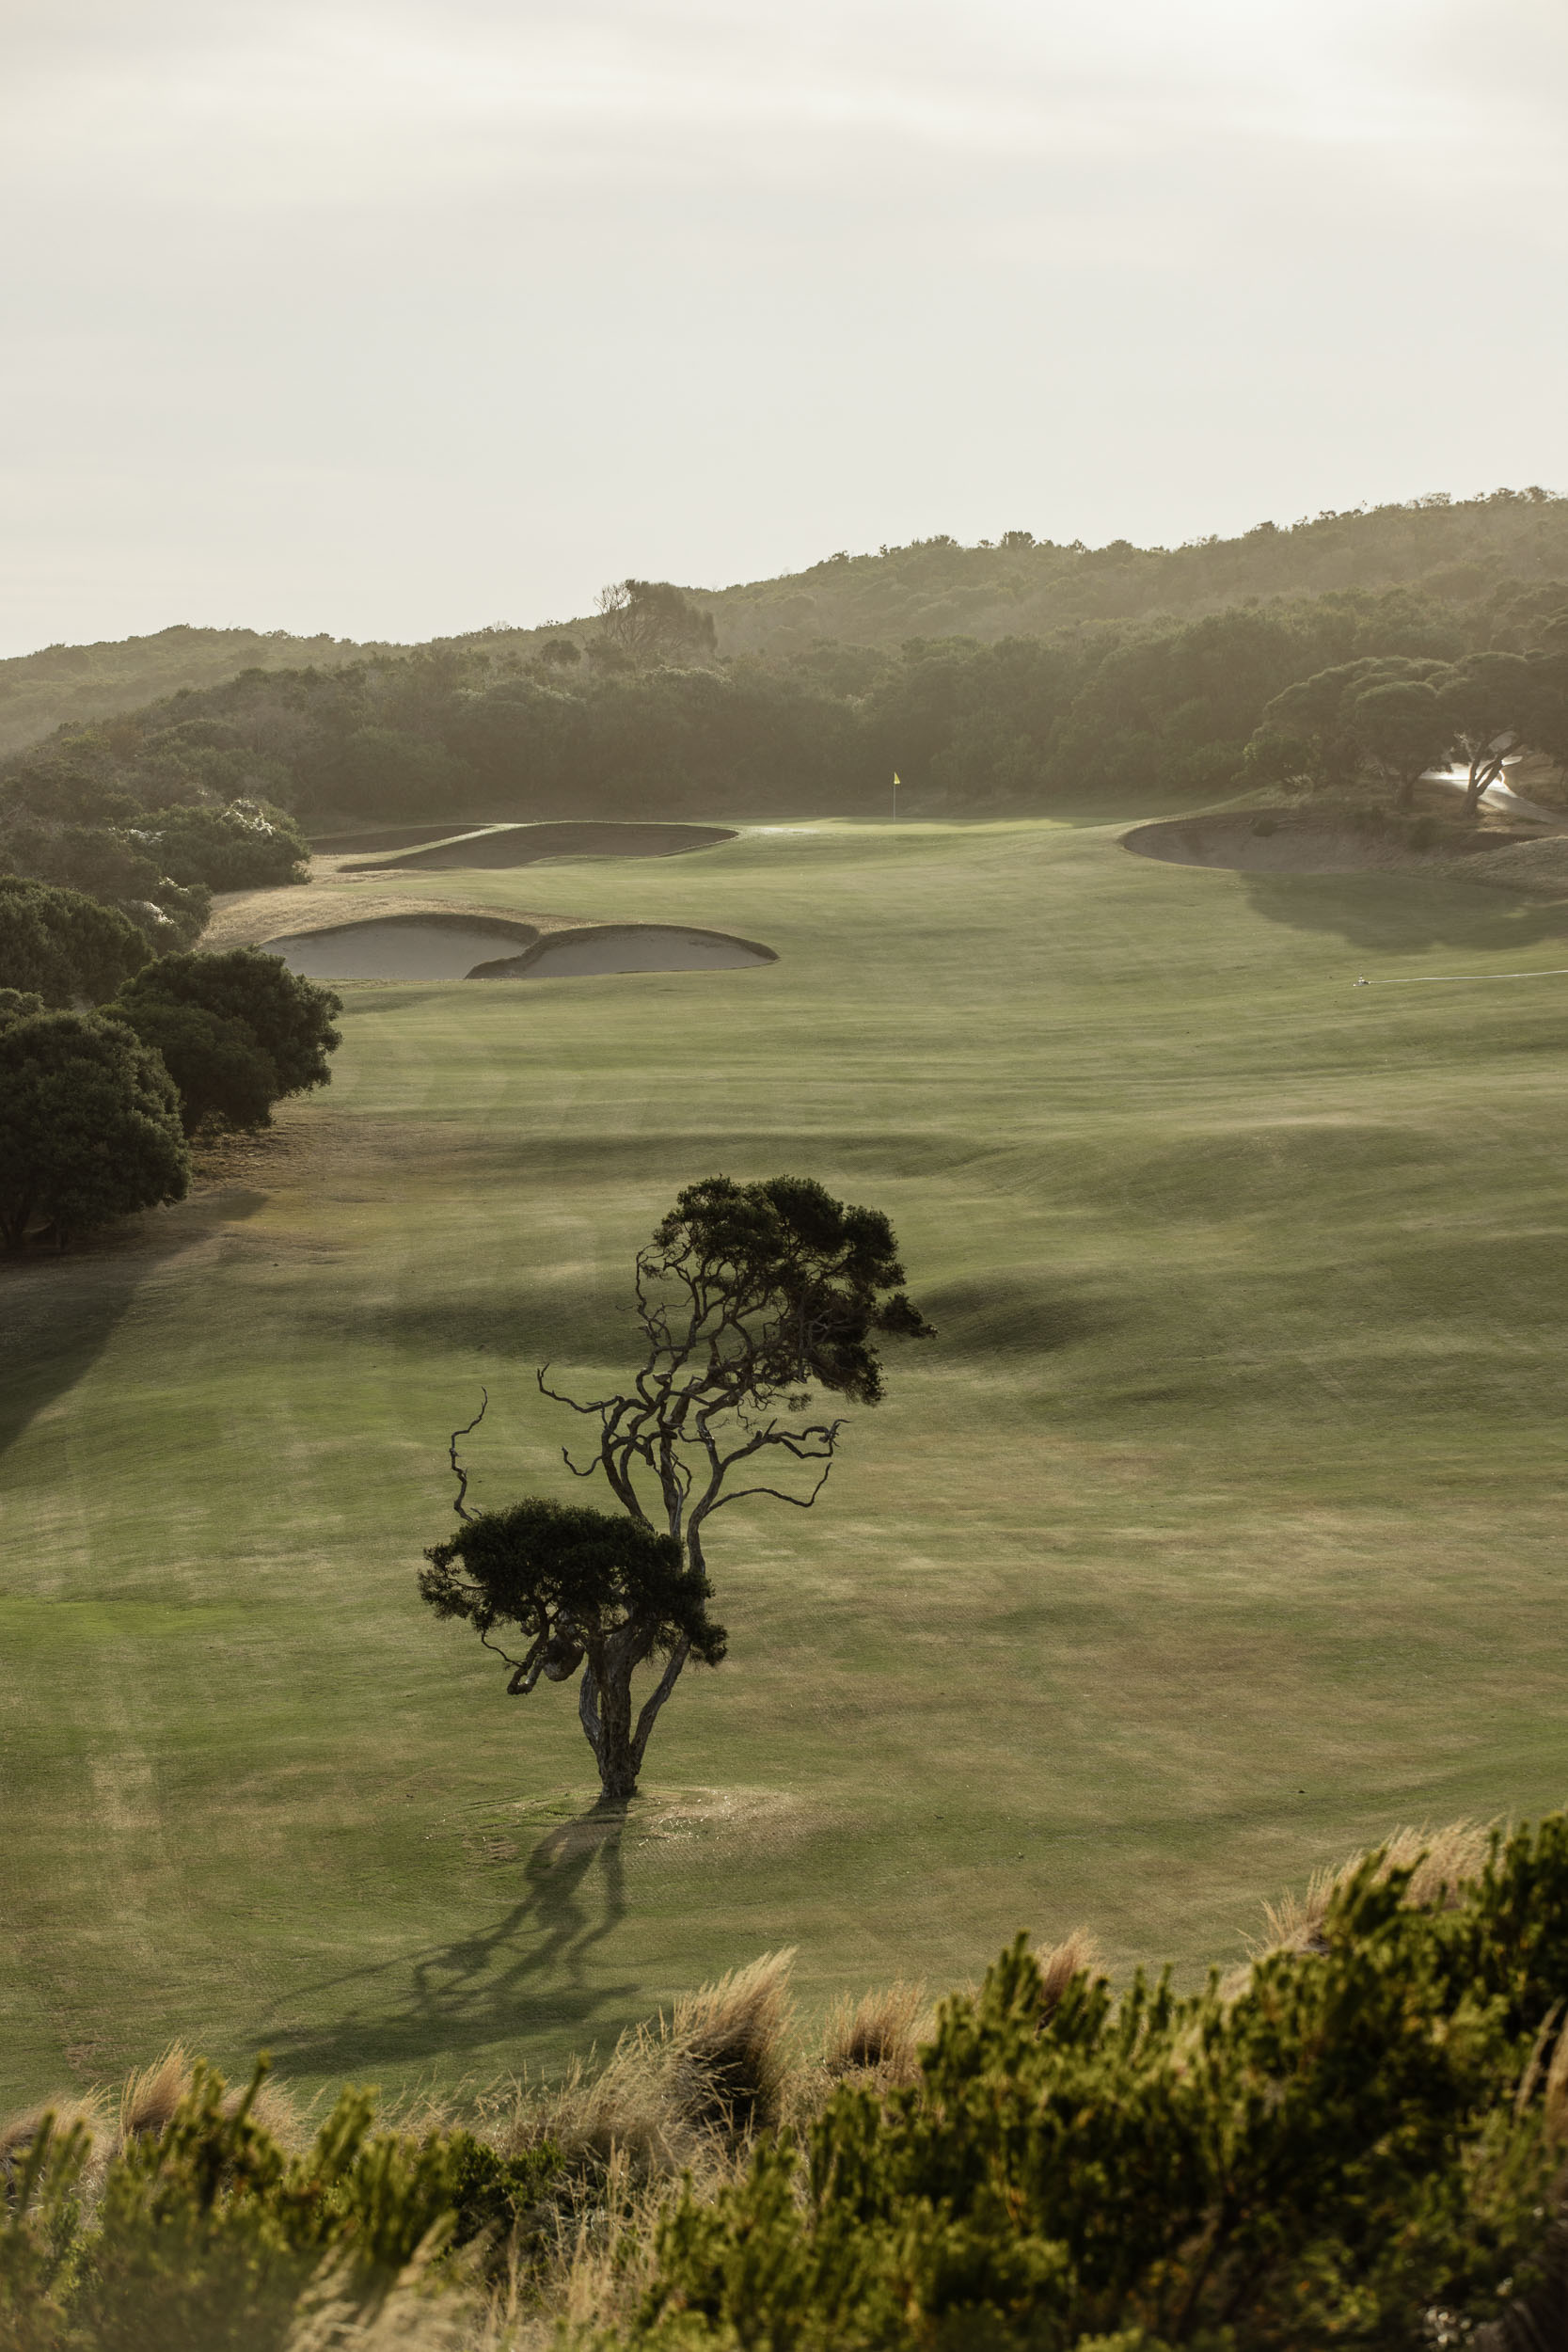
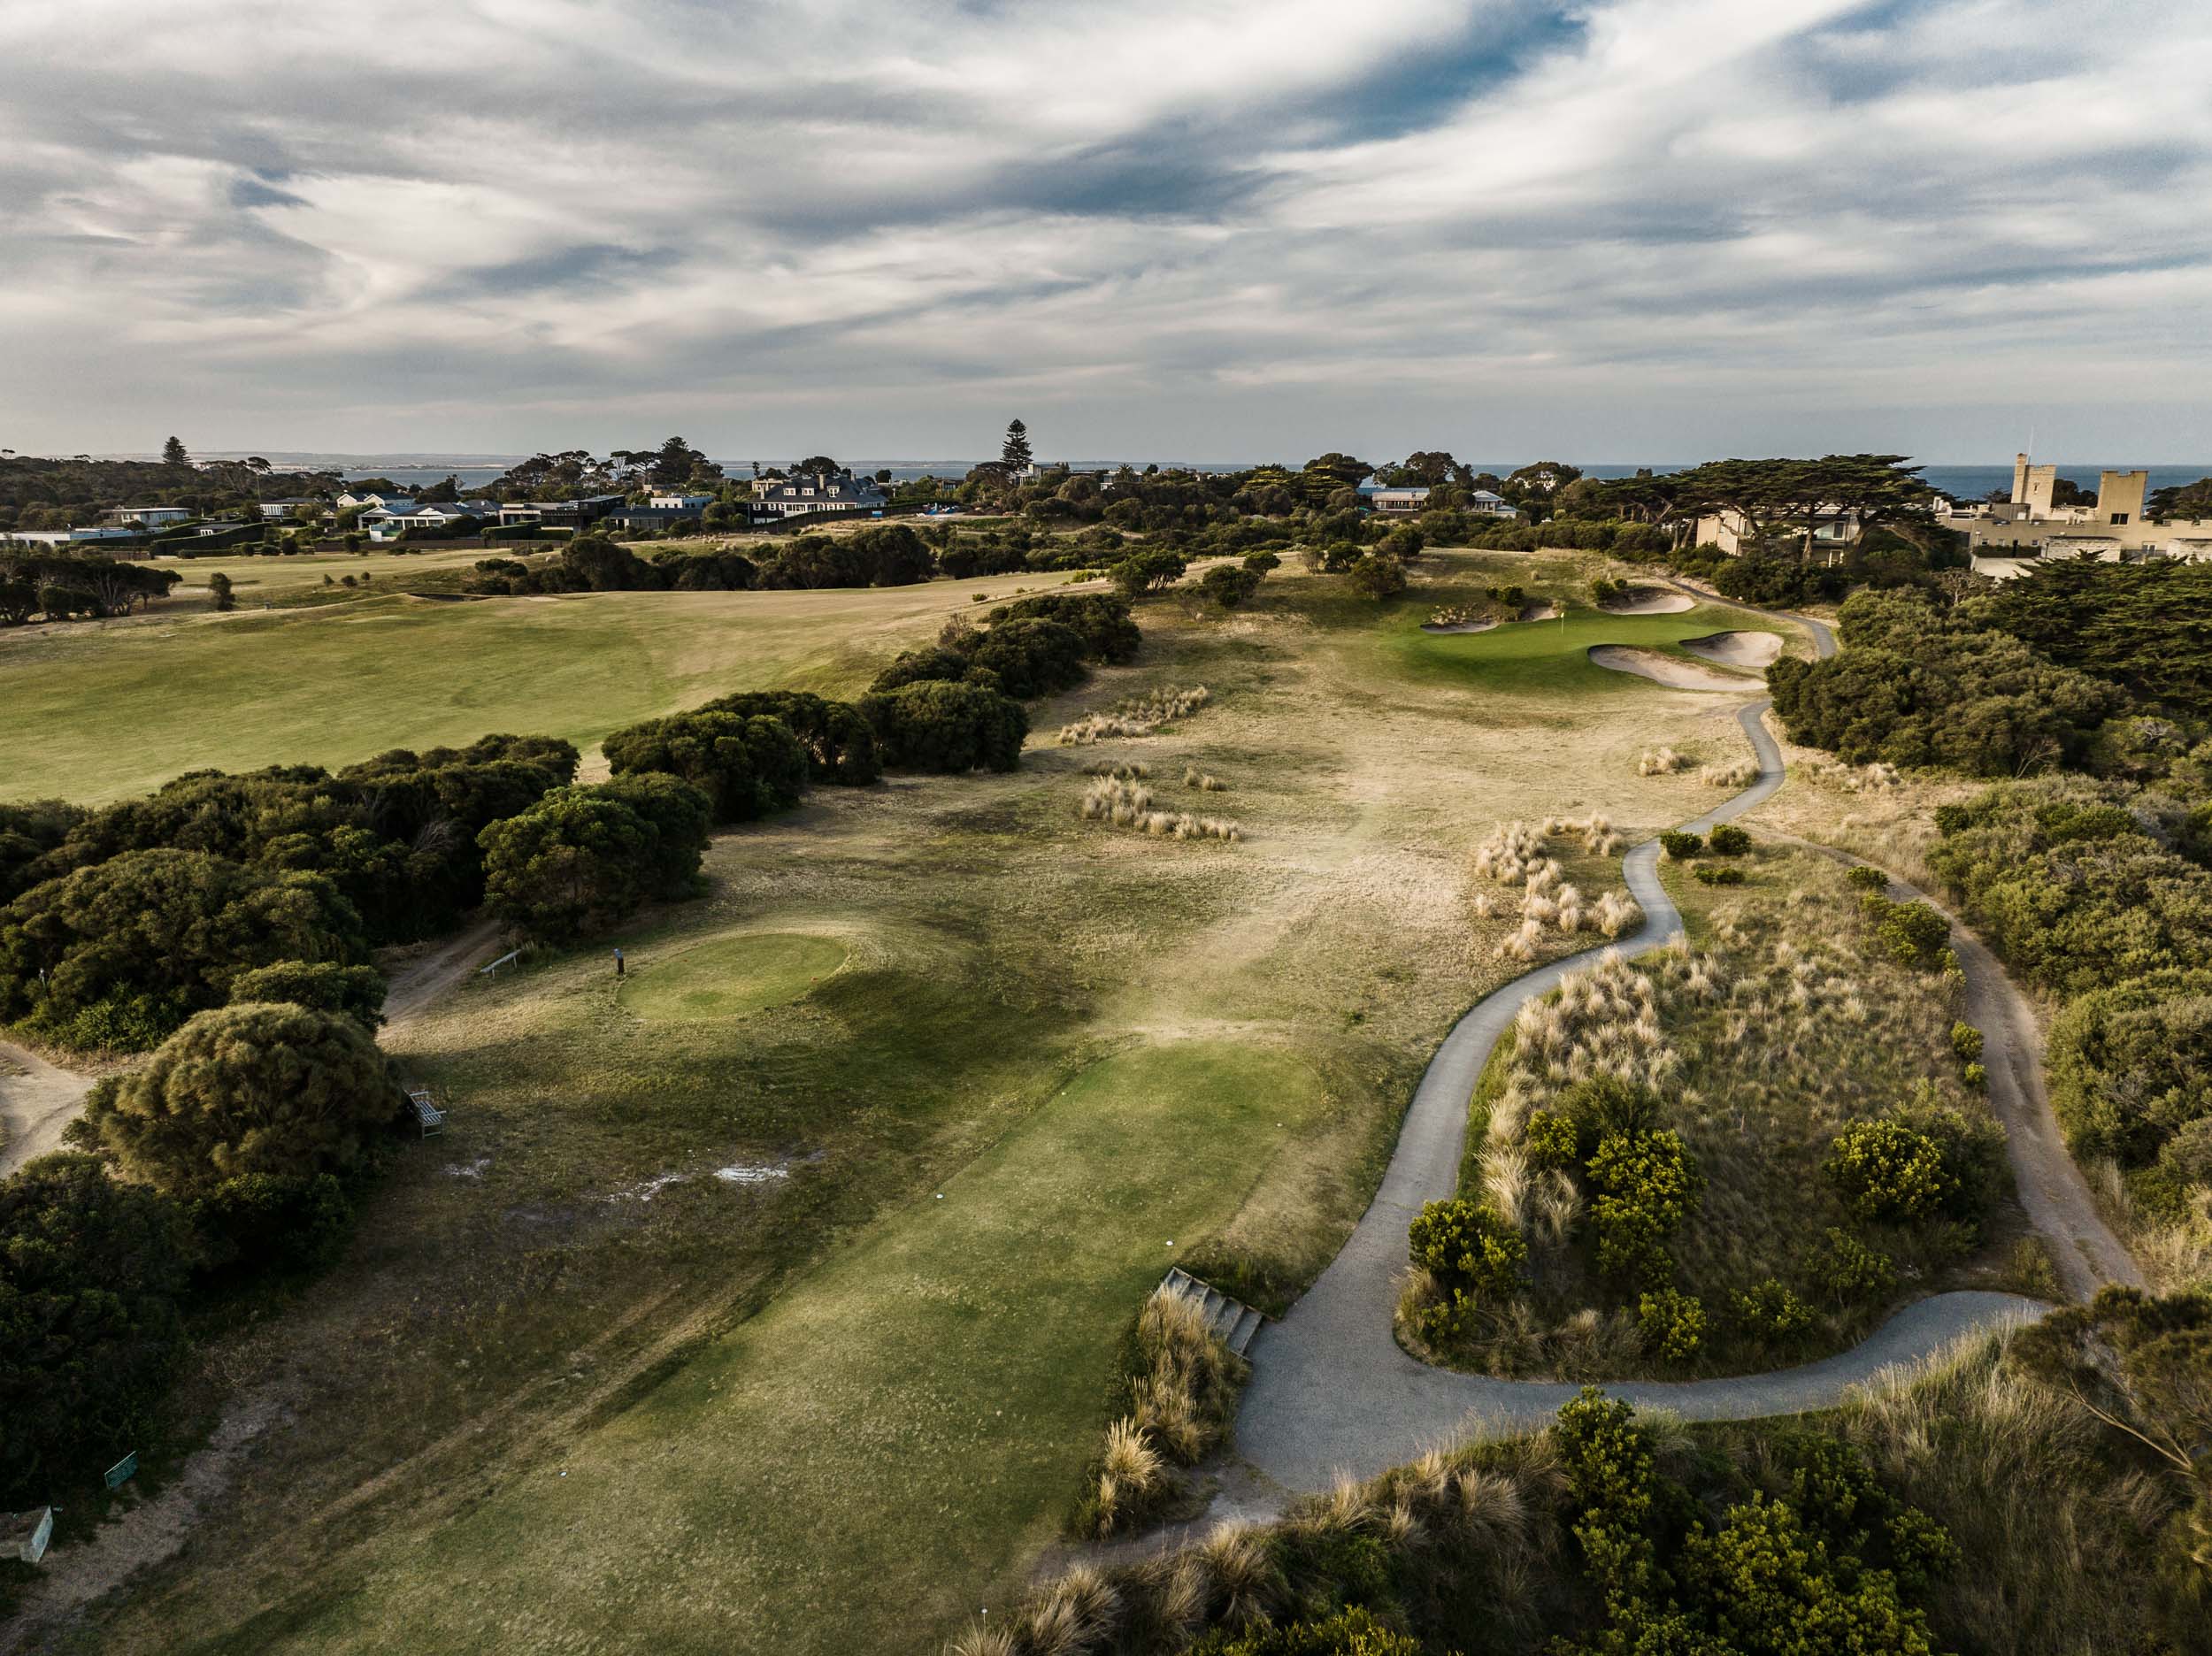
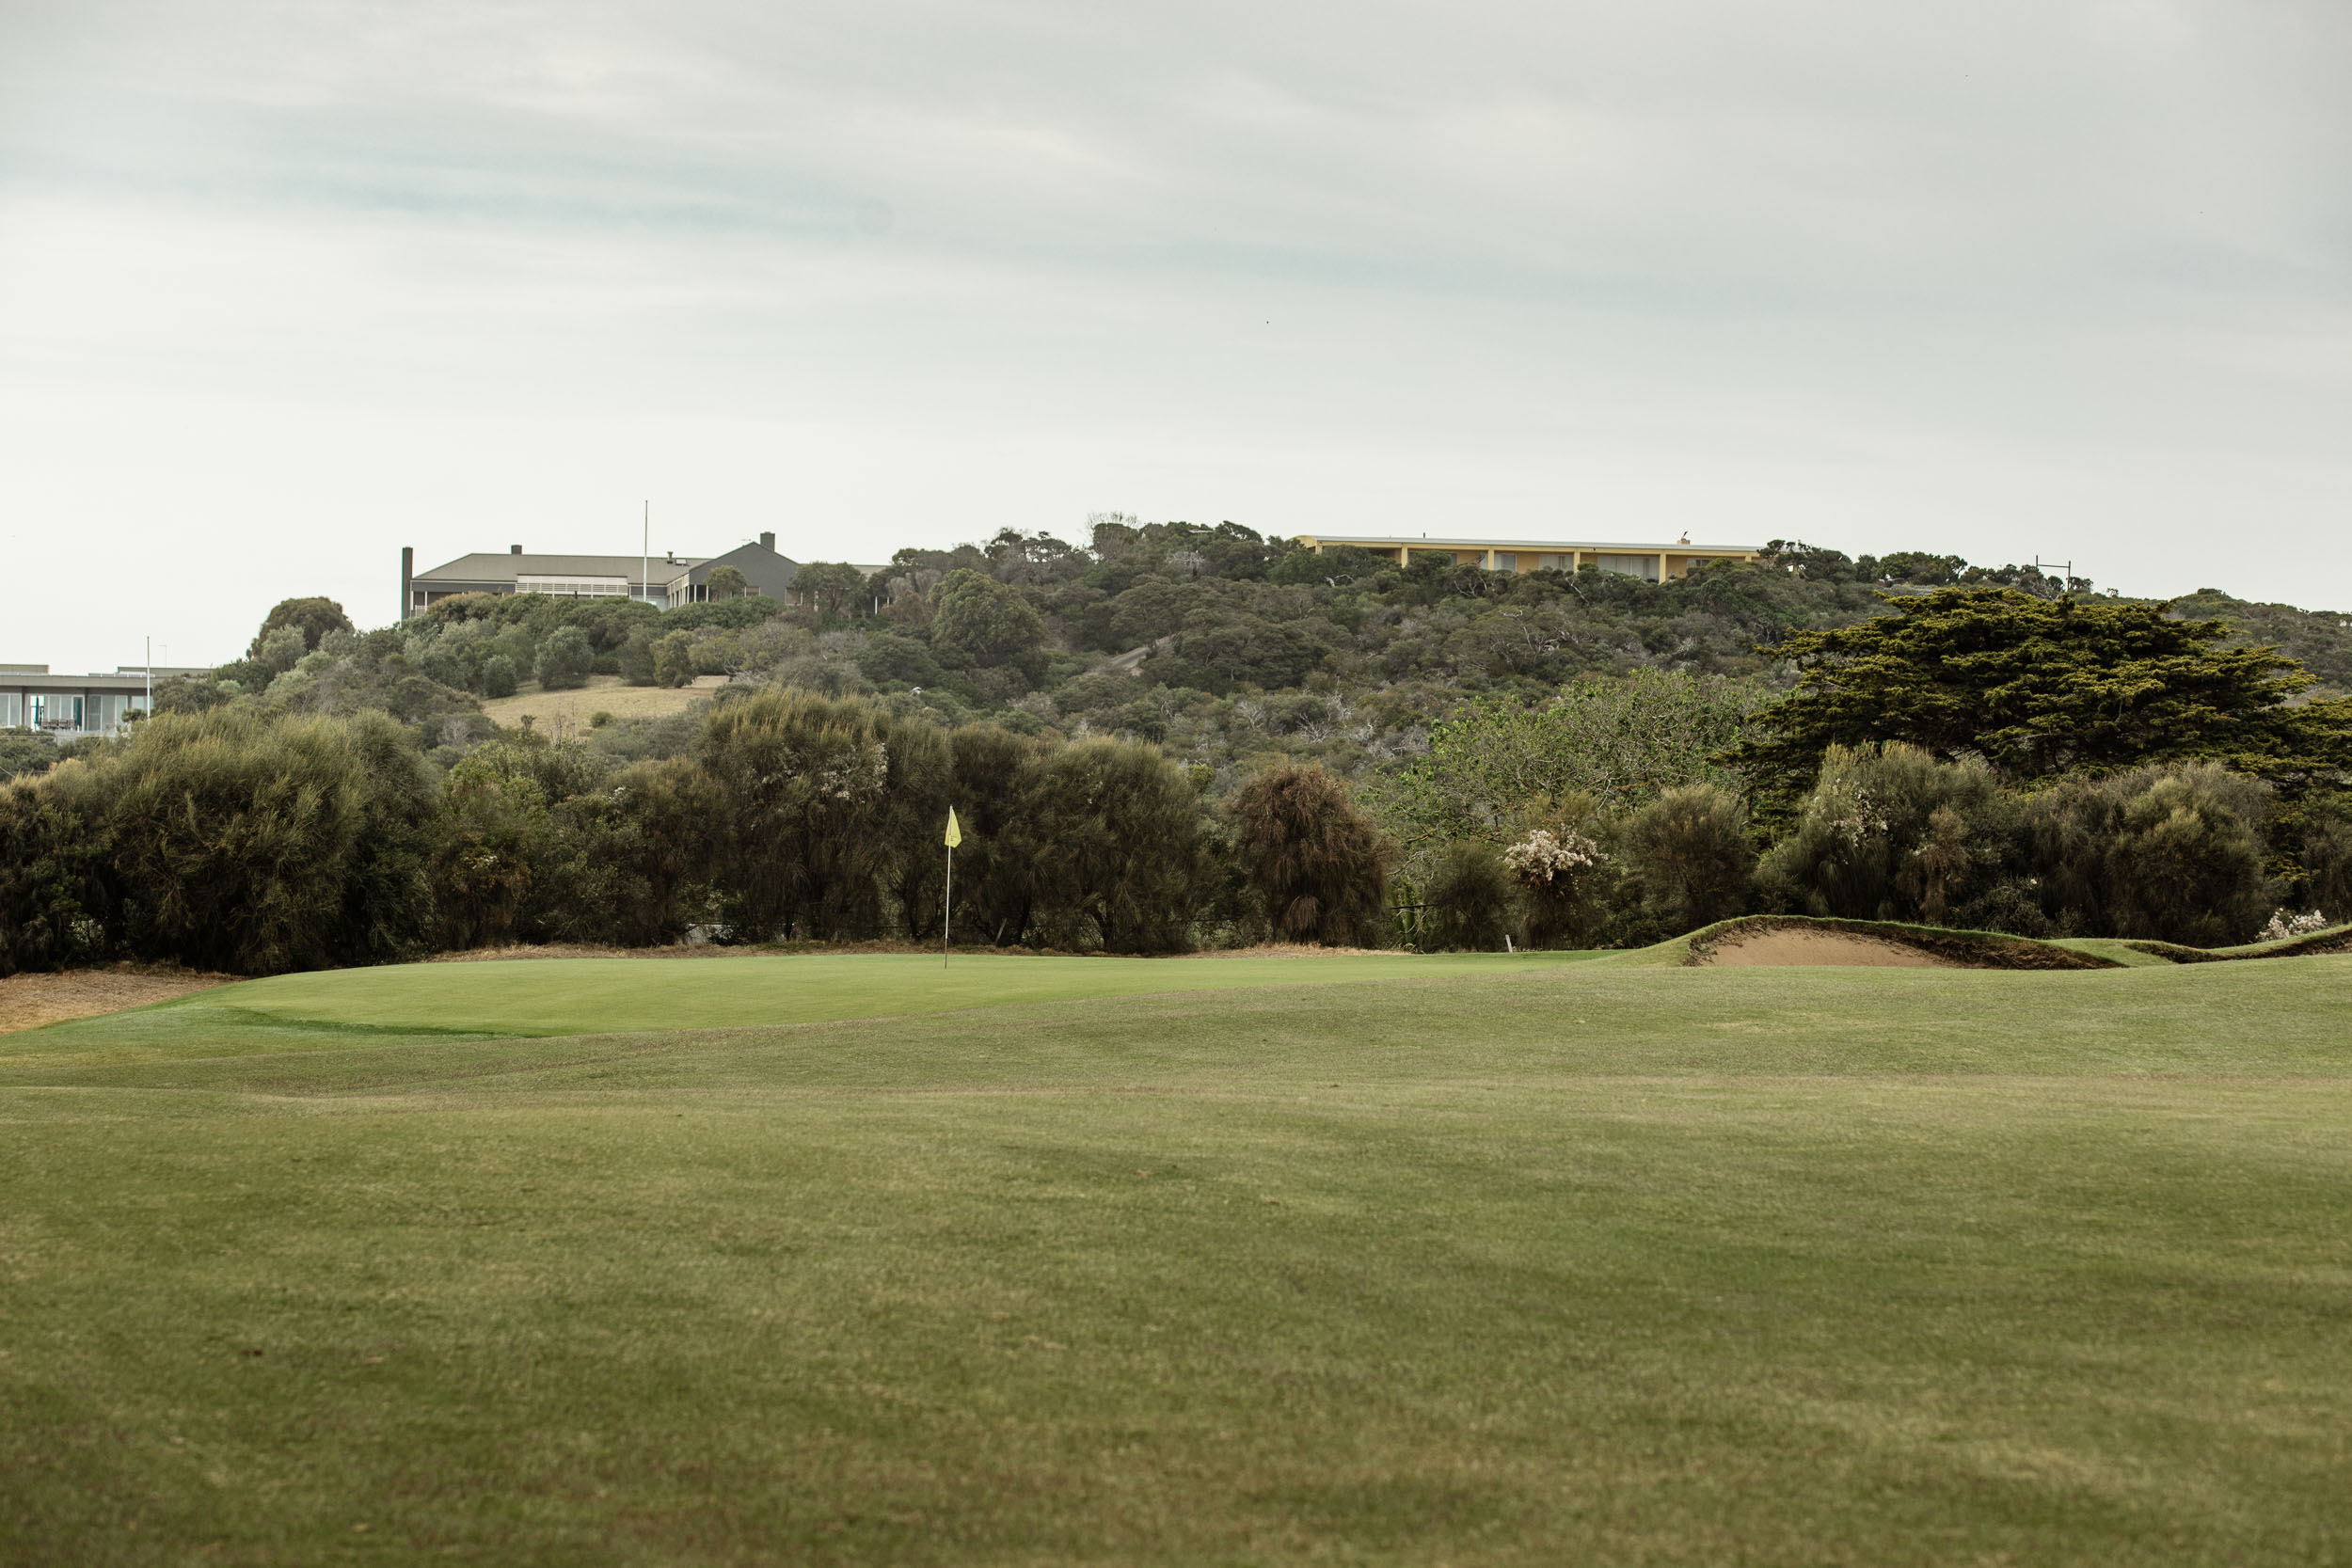
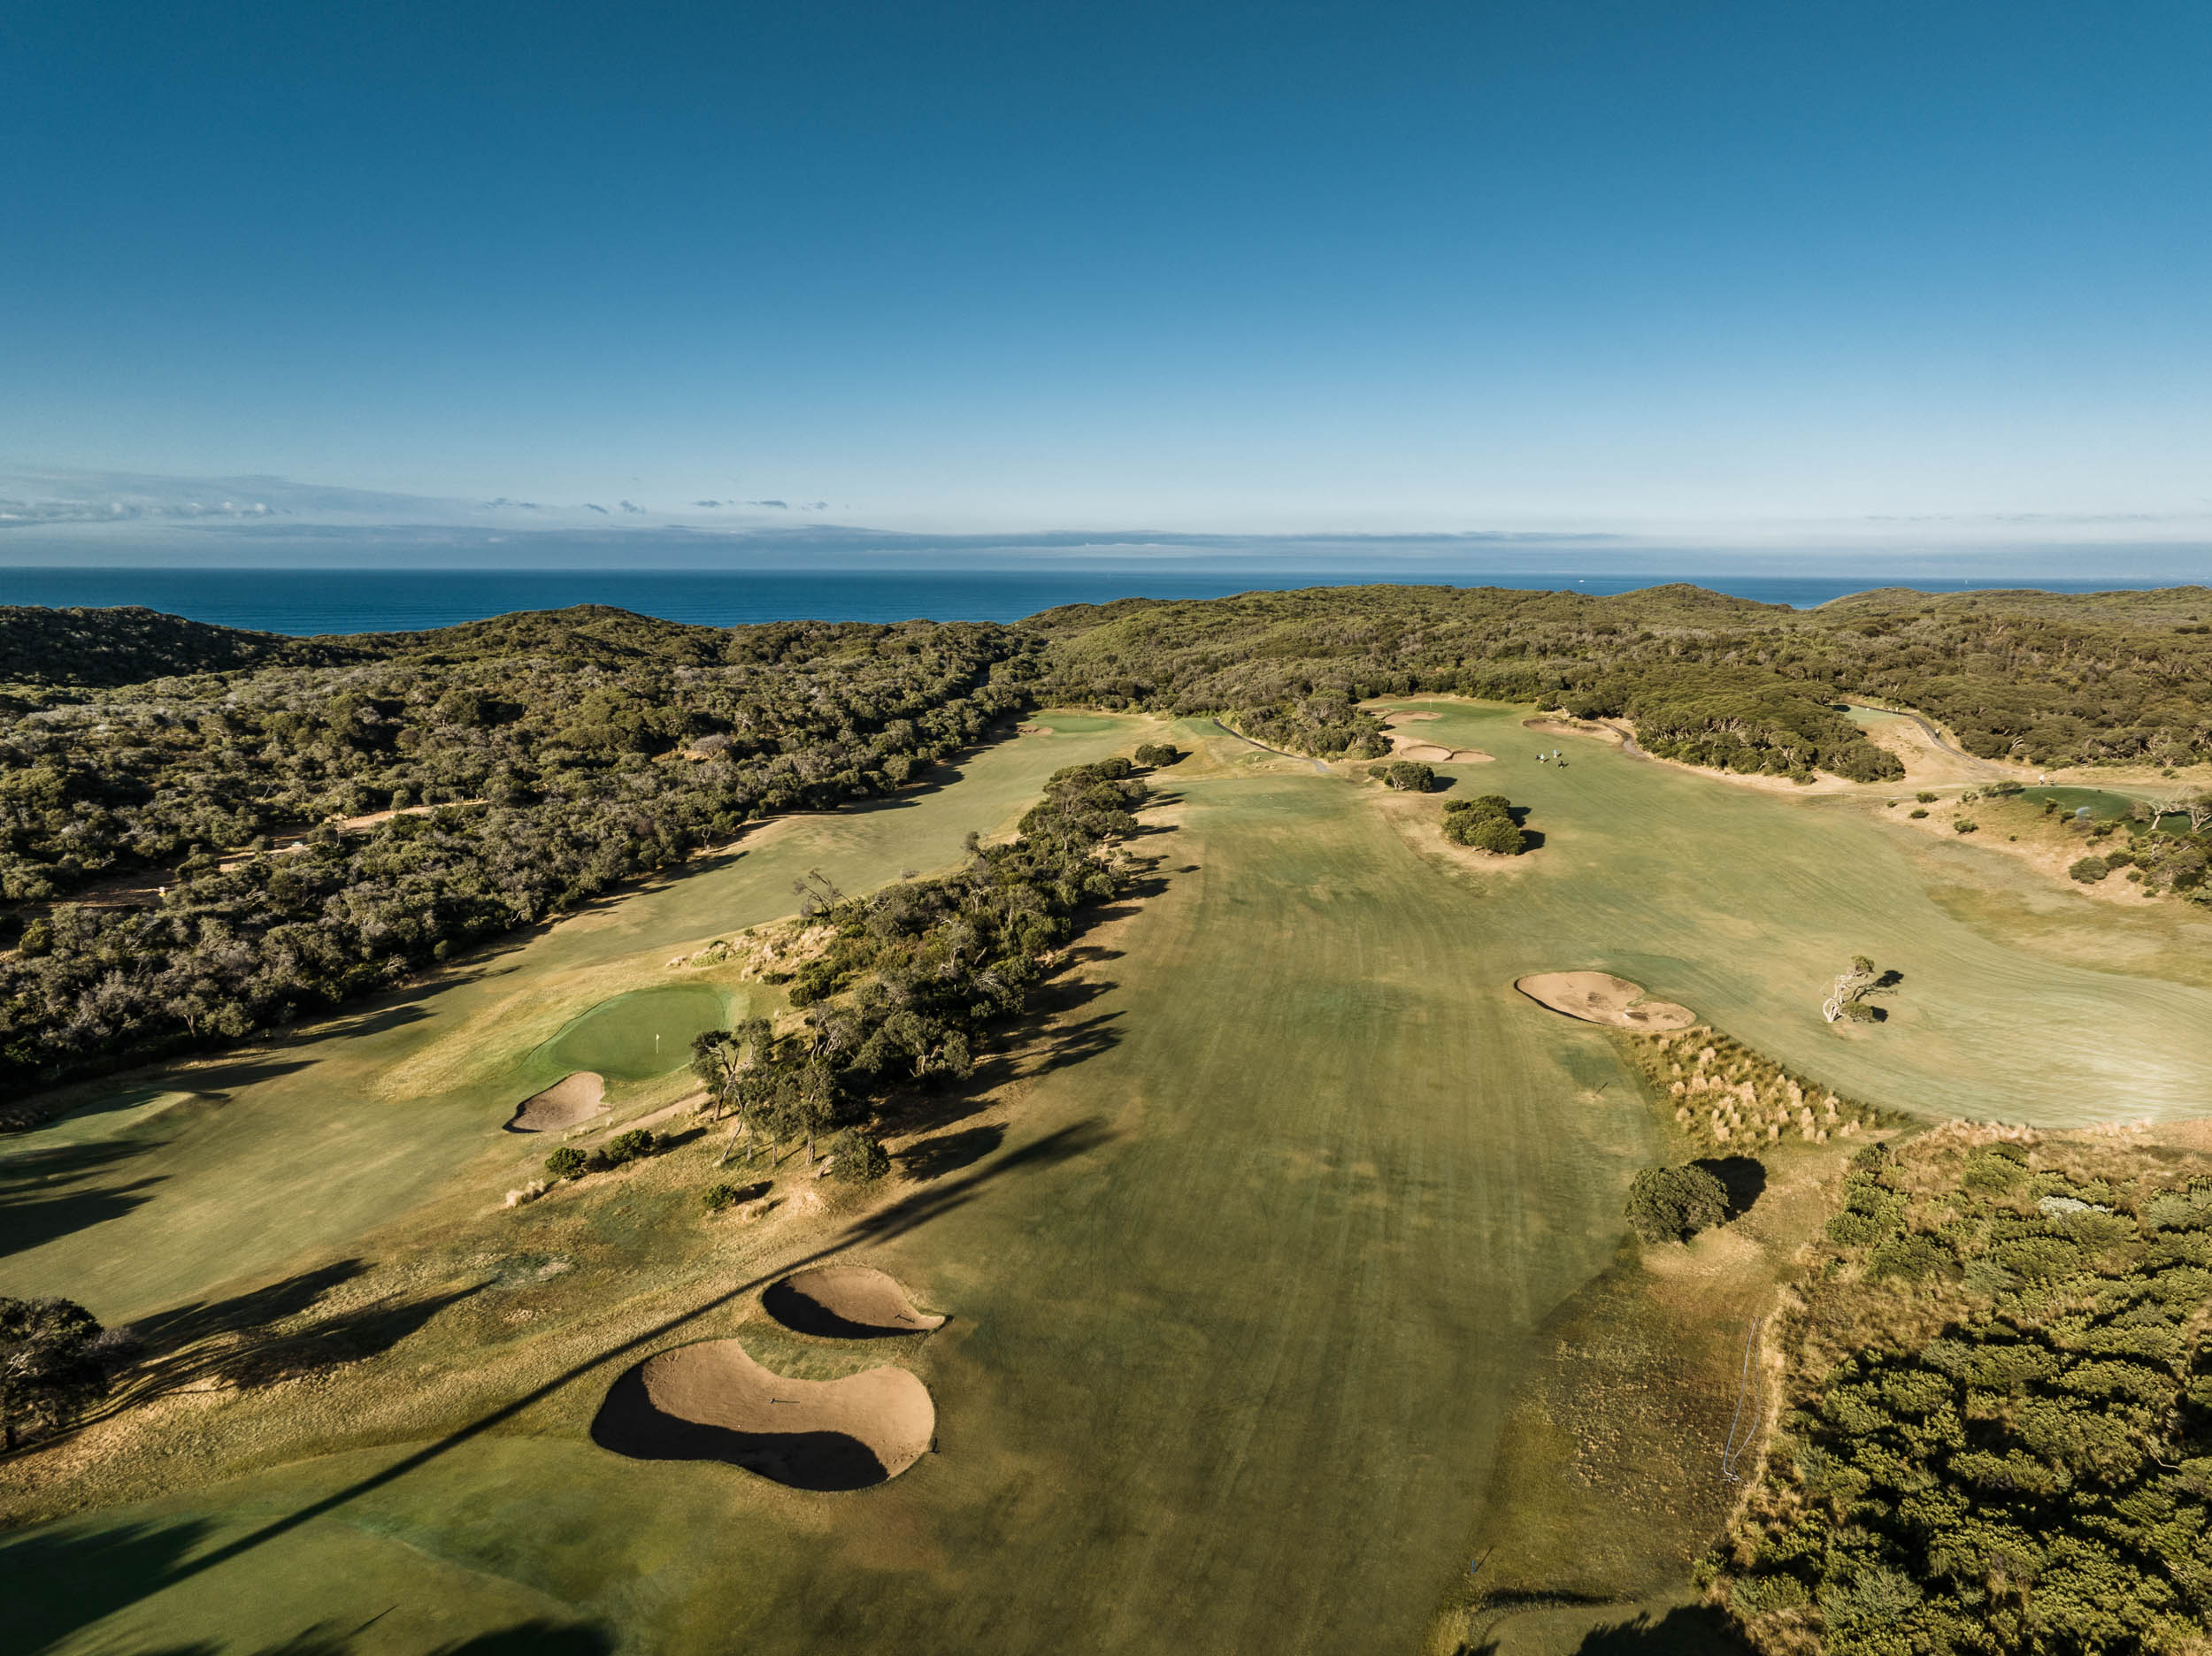
The course at Portsea Golf Club, established in 1926, was shaped more by nature than machinery. It winds through dramatic sand dunes and Moonah forests, with wind and coastal views defining the experience. Just 90 minutes from Melbourne, this harmonious wilderness is cherished by both members and visitors alike. Staying overnight? Our onsite accommodation overlooks the course and Port Phillip Bay.
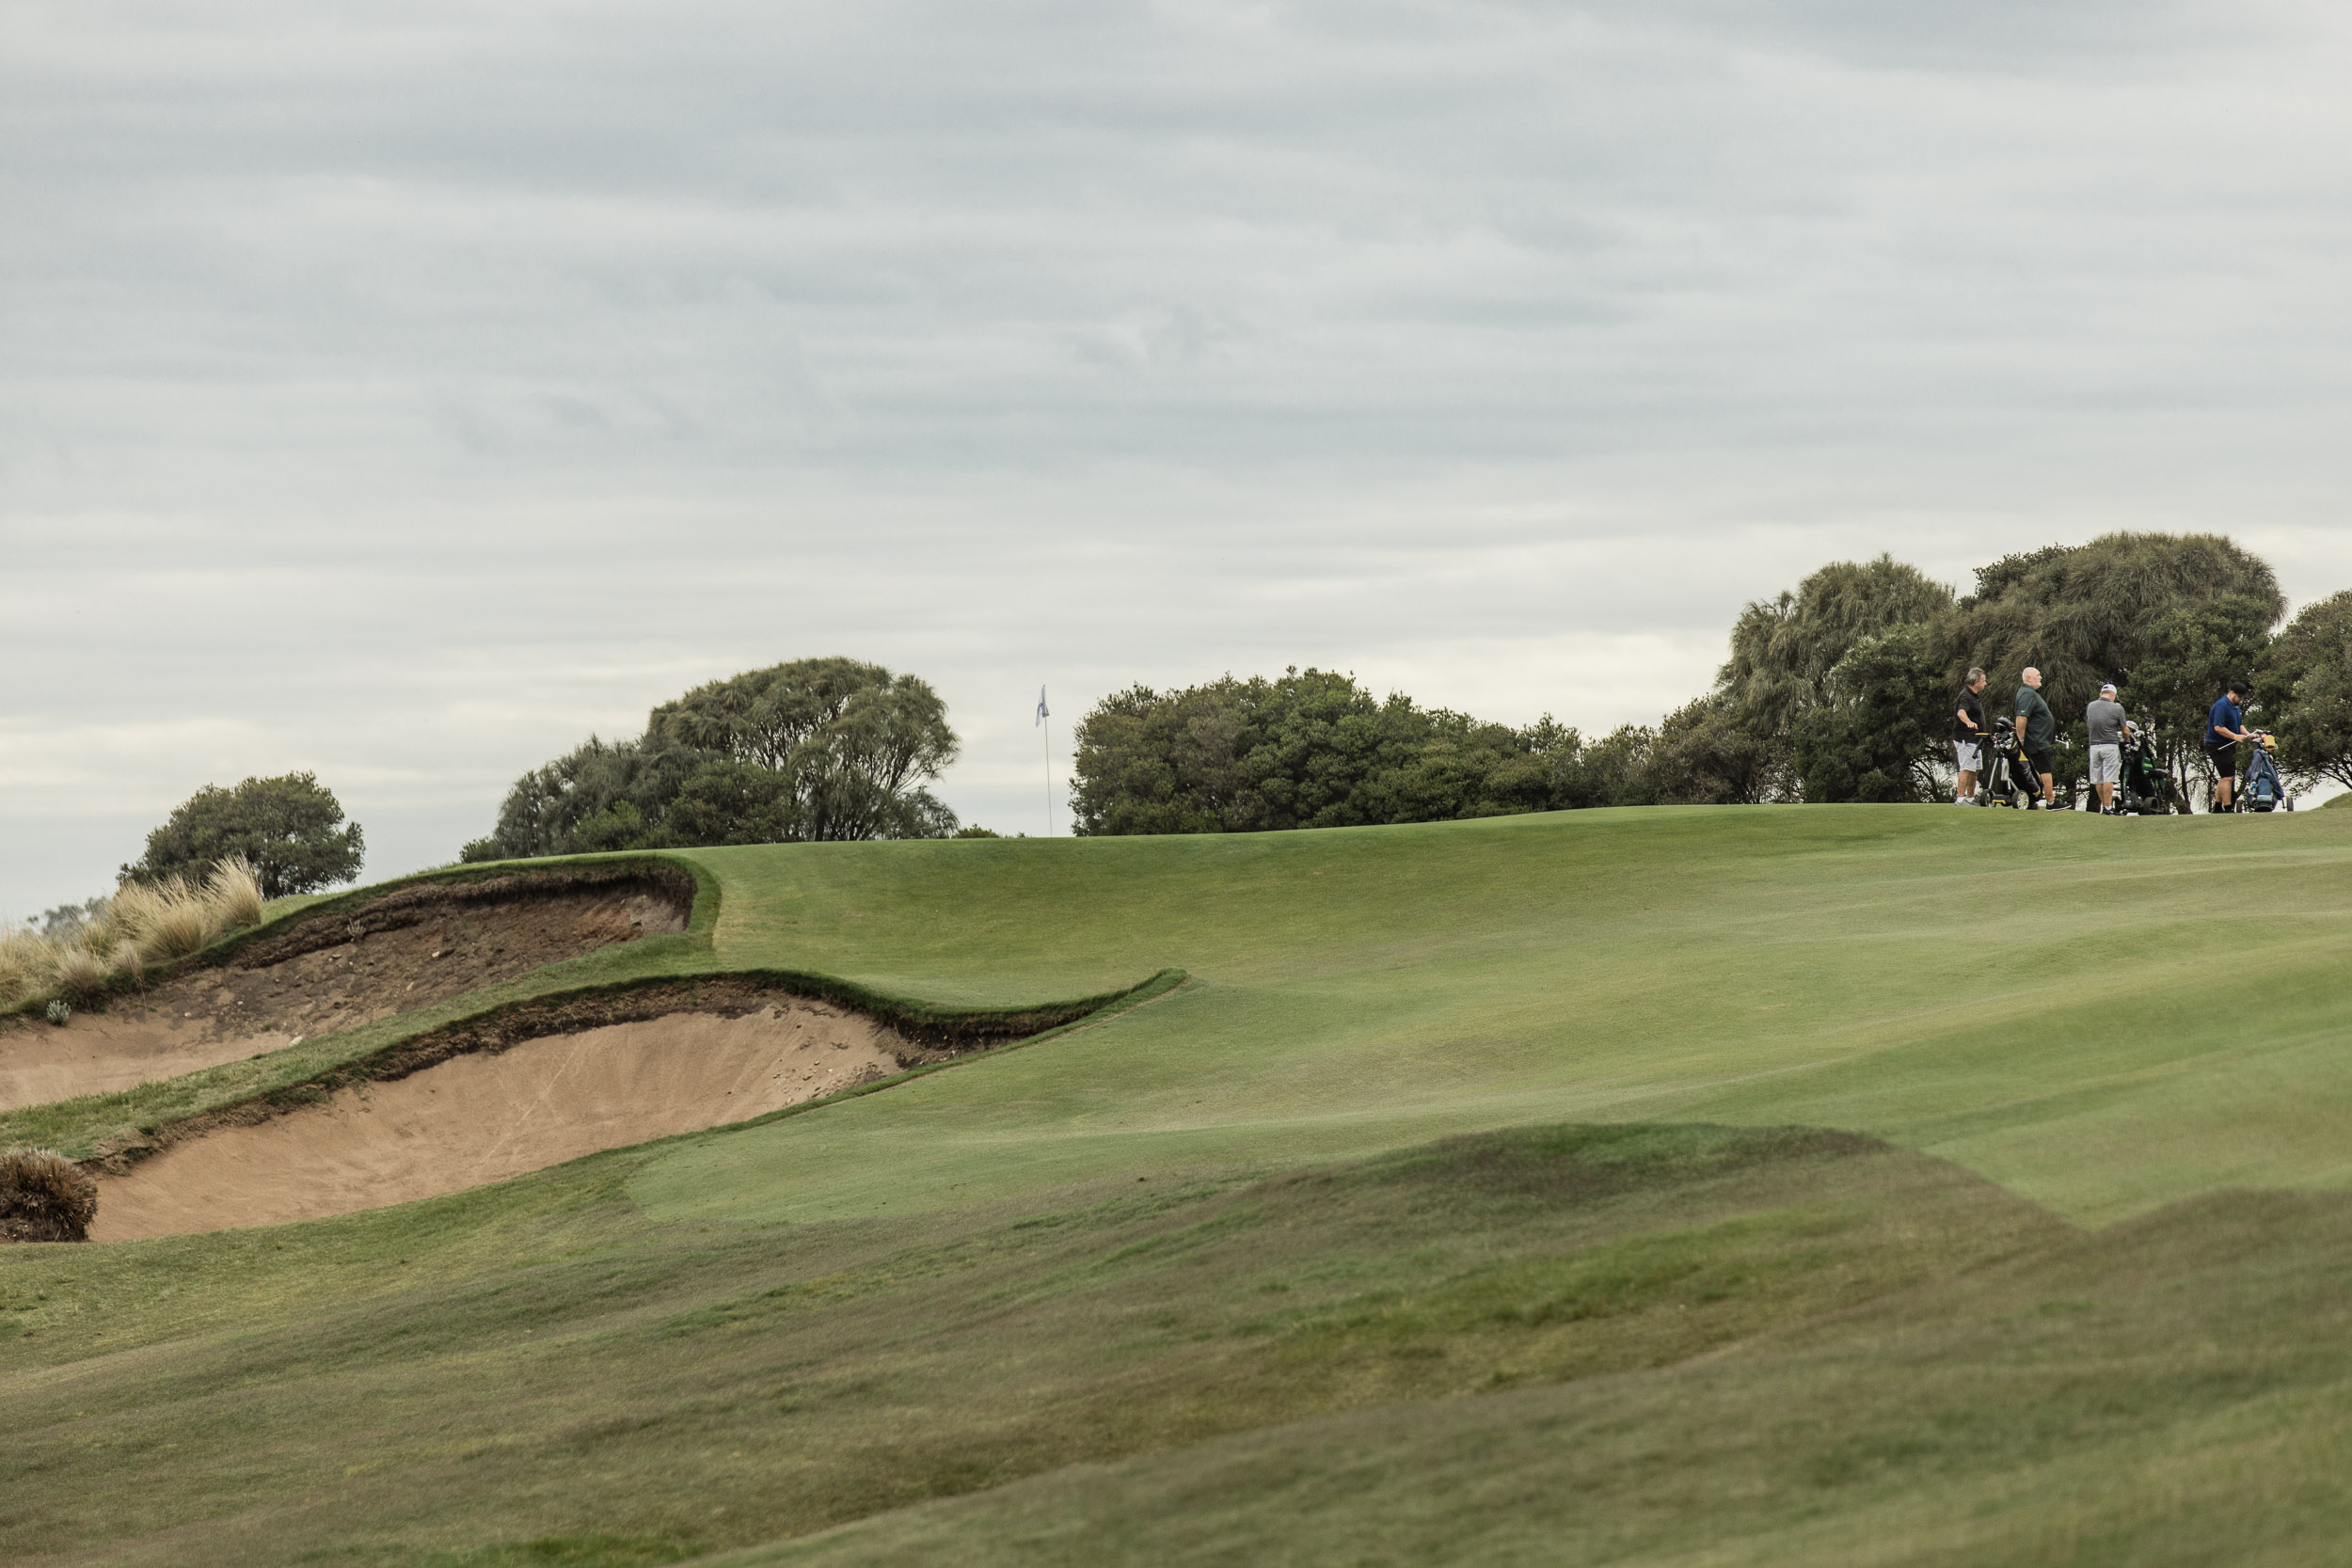
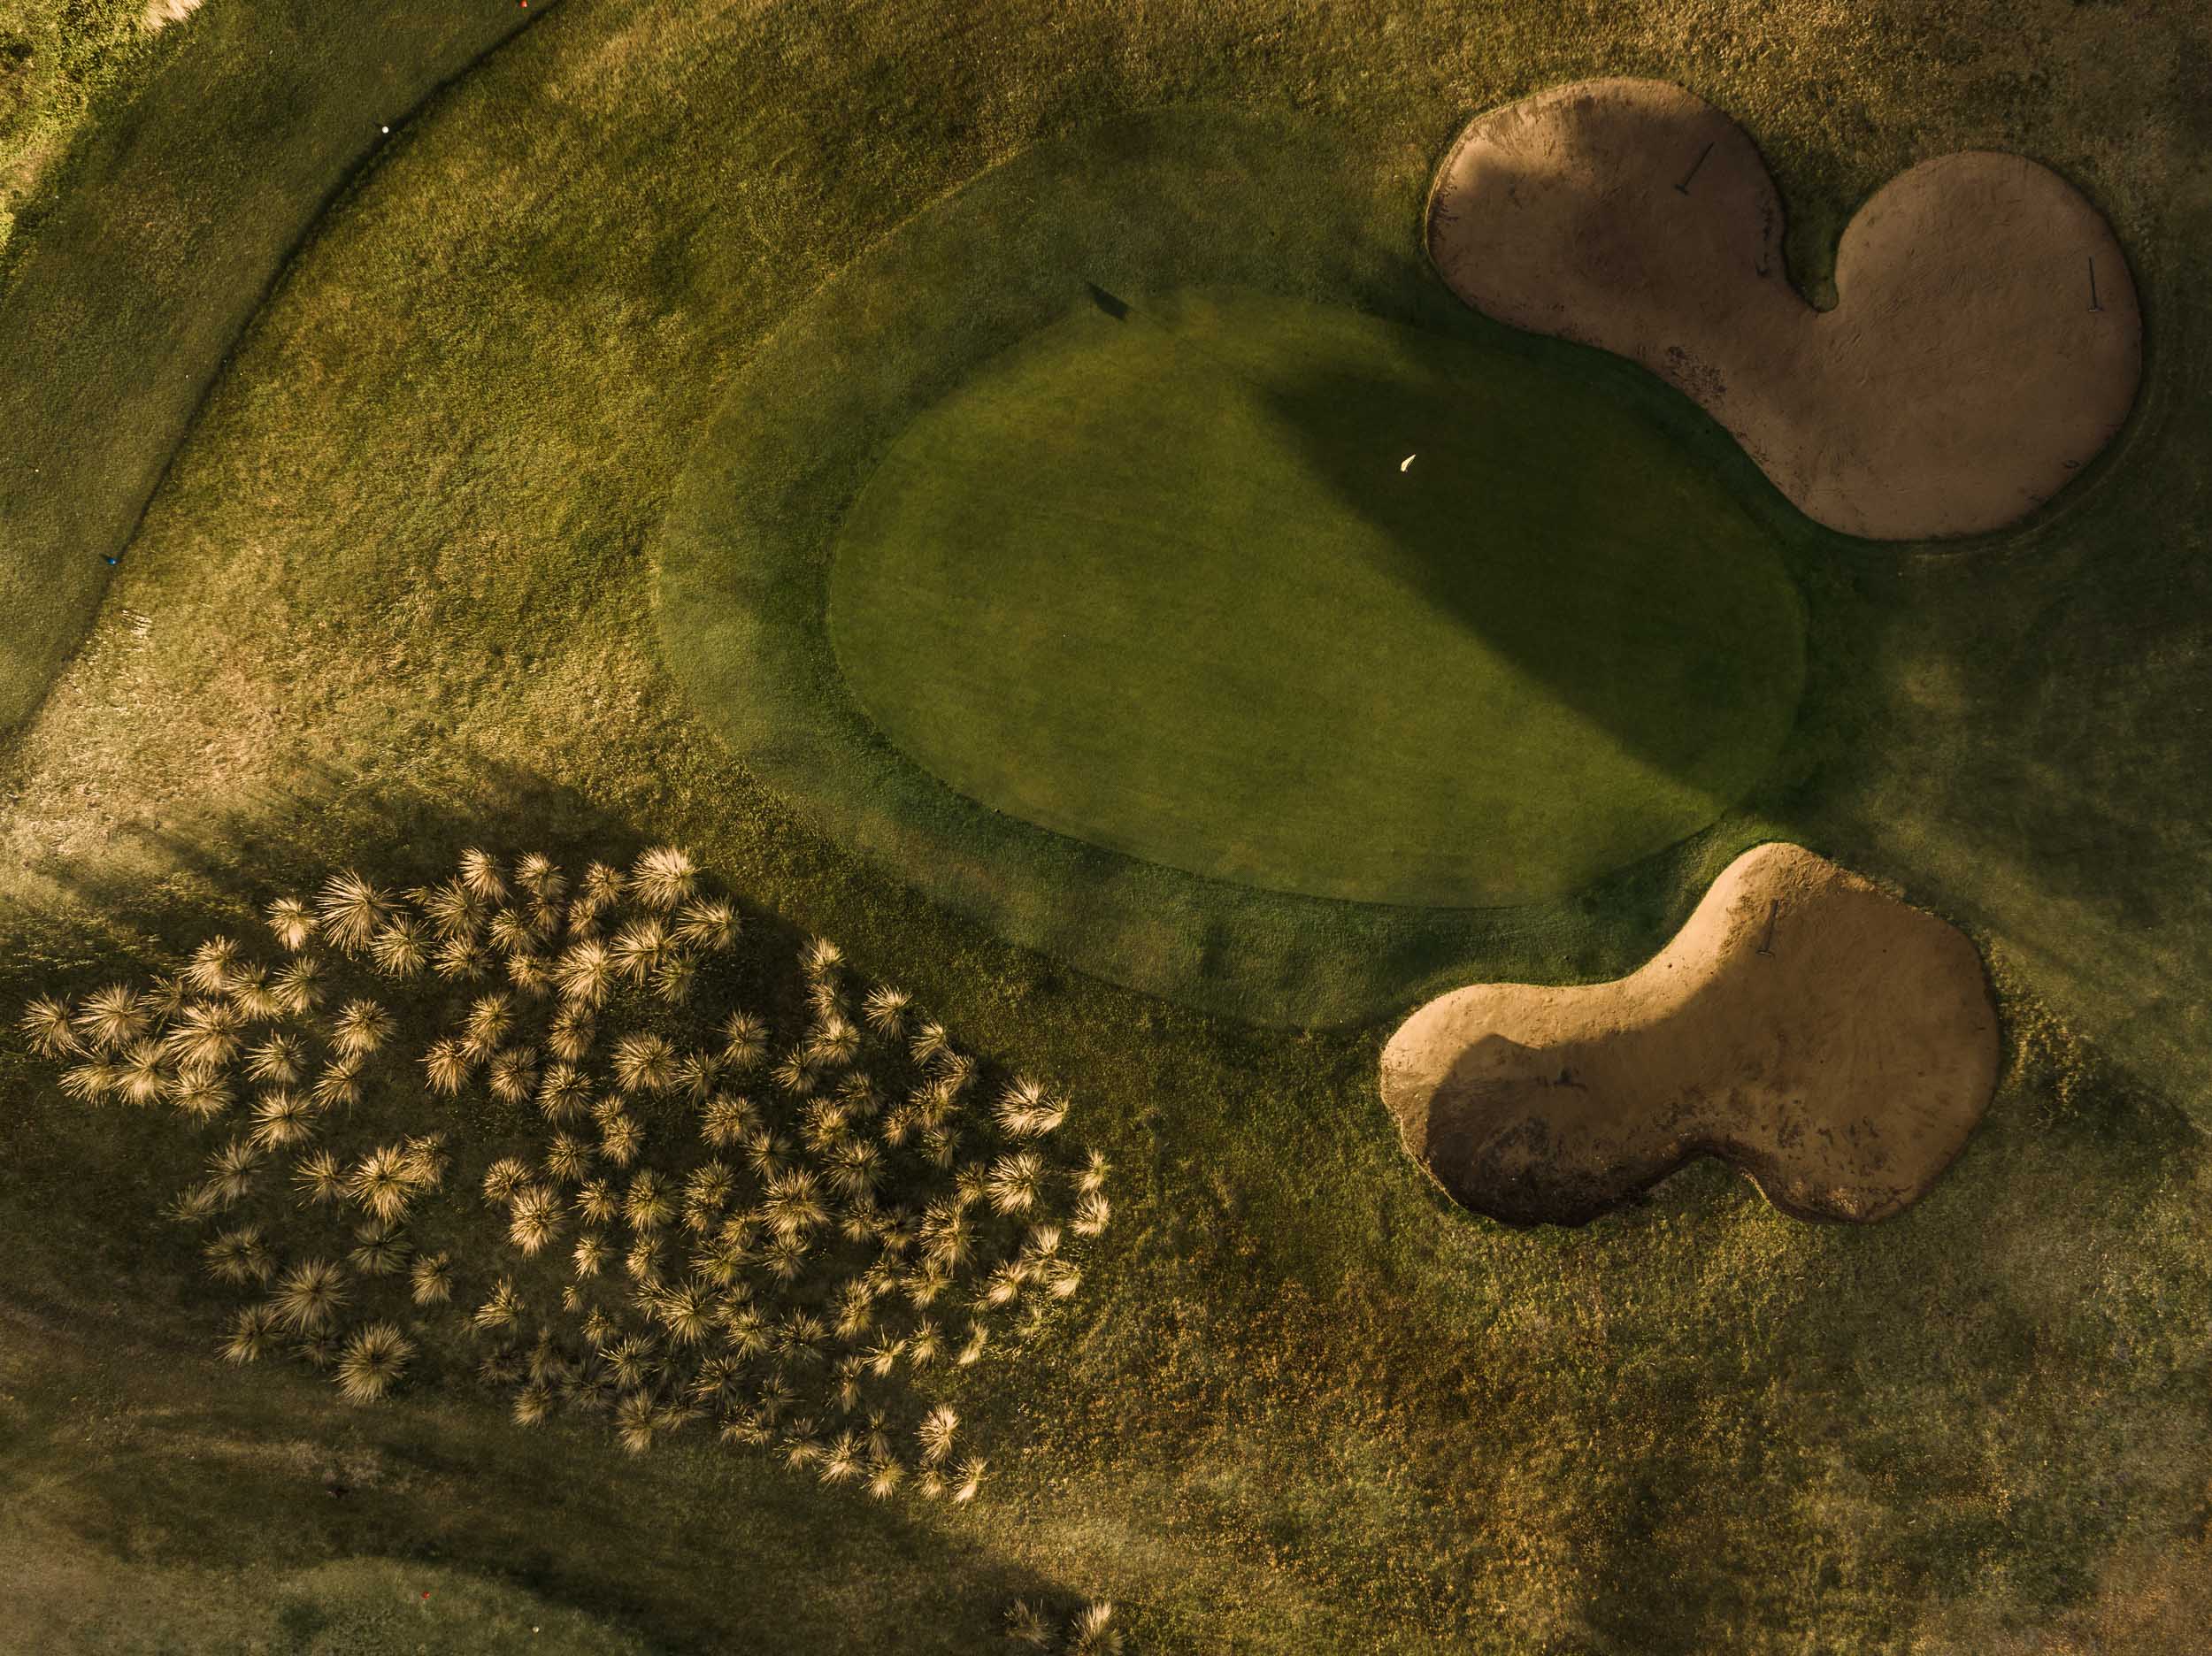
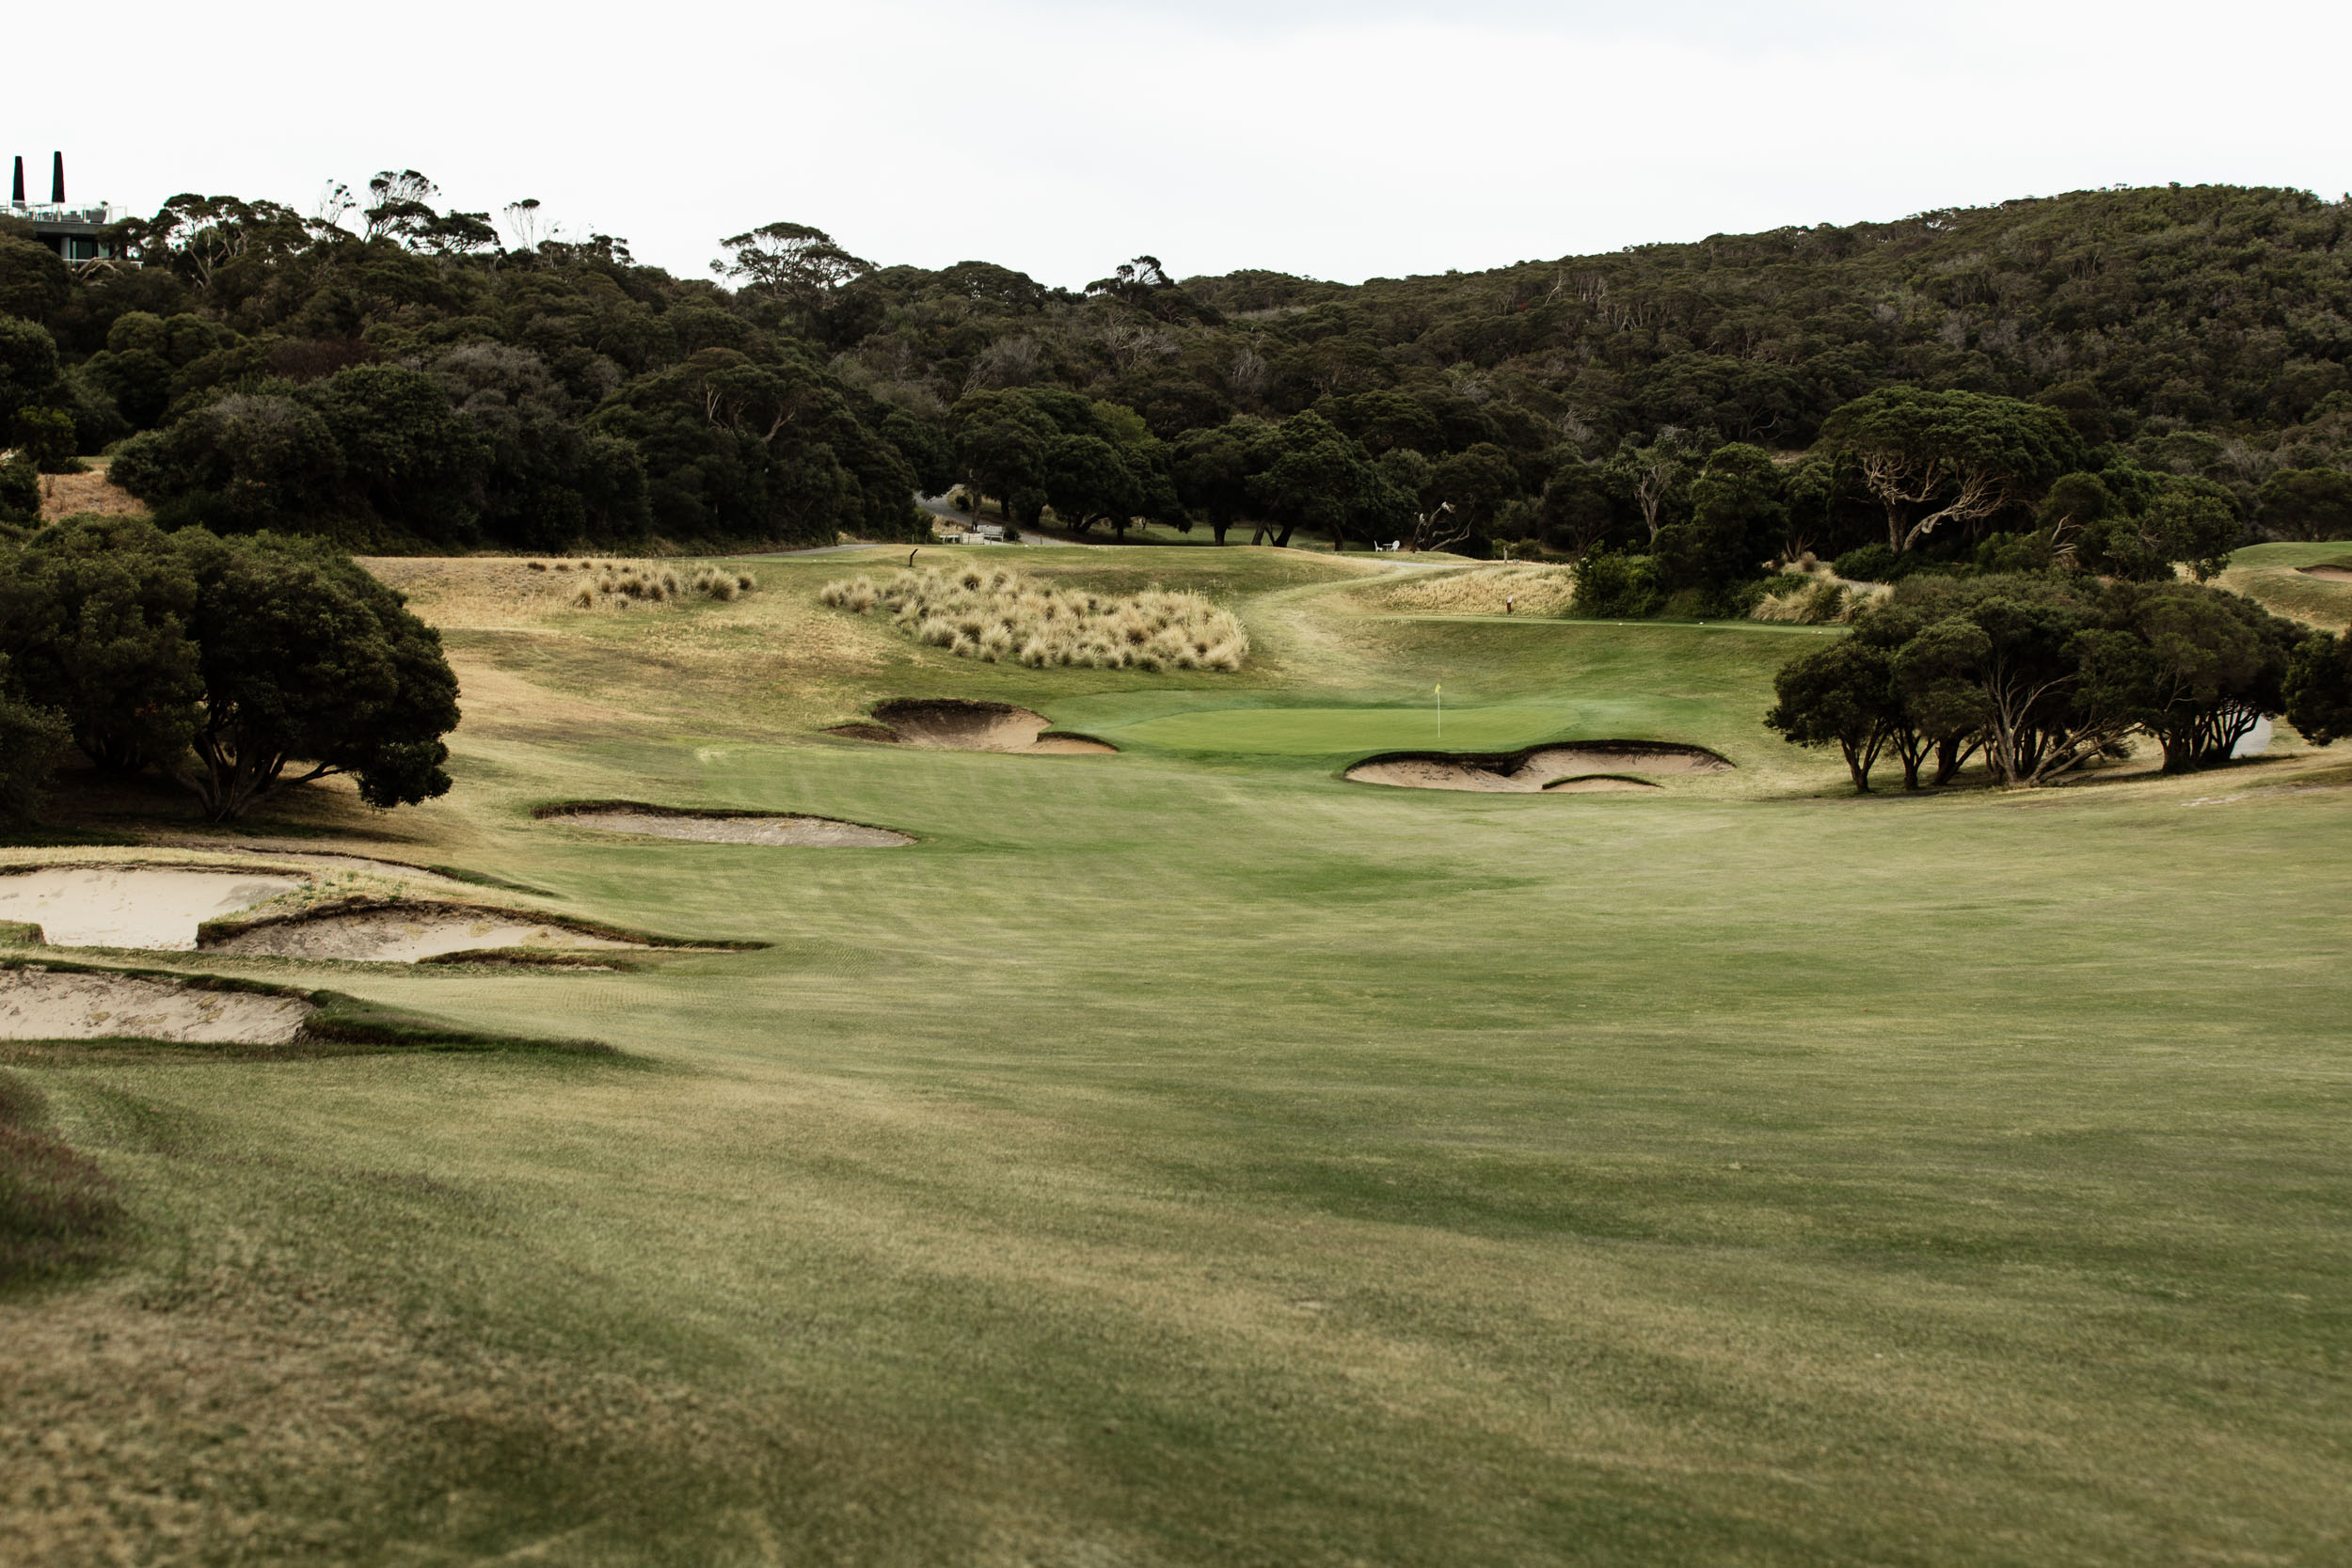
For nearly a century, the course has evolved through collaborations with esteemed course architects, such as Alex Russell, Sloan Morpeth, Mike Clayton, and most recently, Ogilvy, Cocking & Mead. These enhancements have focused on refining holes to offer players enhanced strategic shot choices and options. With widened fairways, reimagined bunkers, and reshaped greens, the course today encourages creative play and strategic ground approaches. These efforts not only uphold but also elevate the course’s natural beauty and character, enriching the distinctive elements that have defined Portsea for generations.


Portsea Golf Course – The Breakdown
1st Hole
Par-4
Blue Tee: 308m
Red Tee: 284m
The Moonah
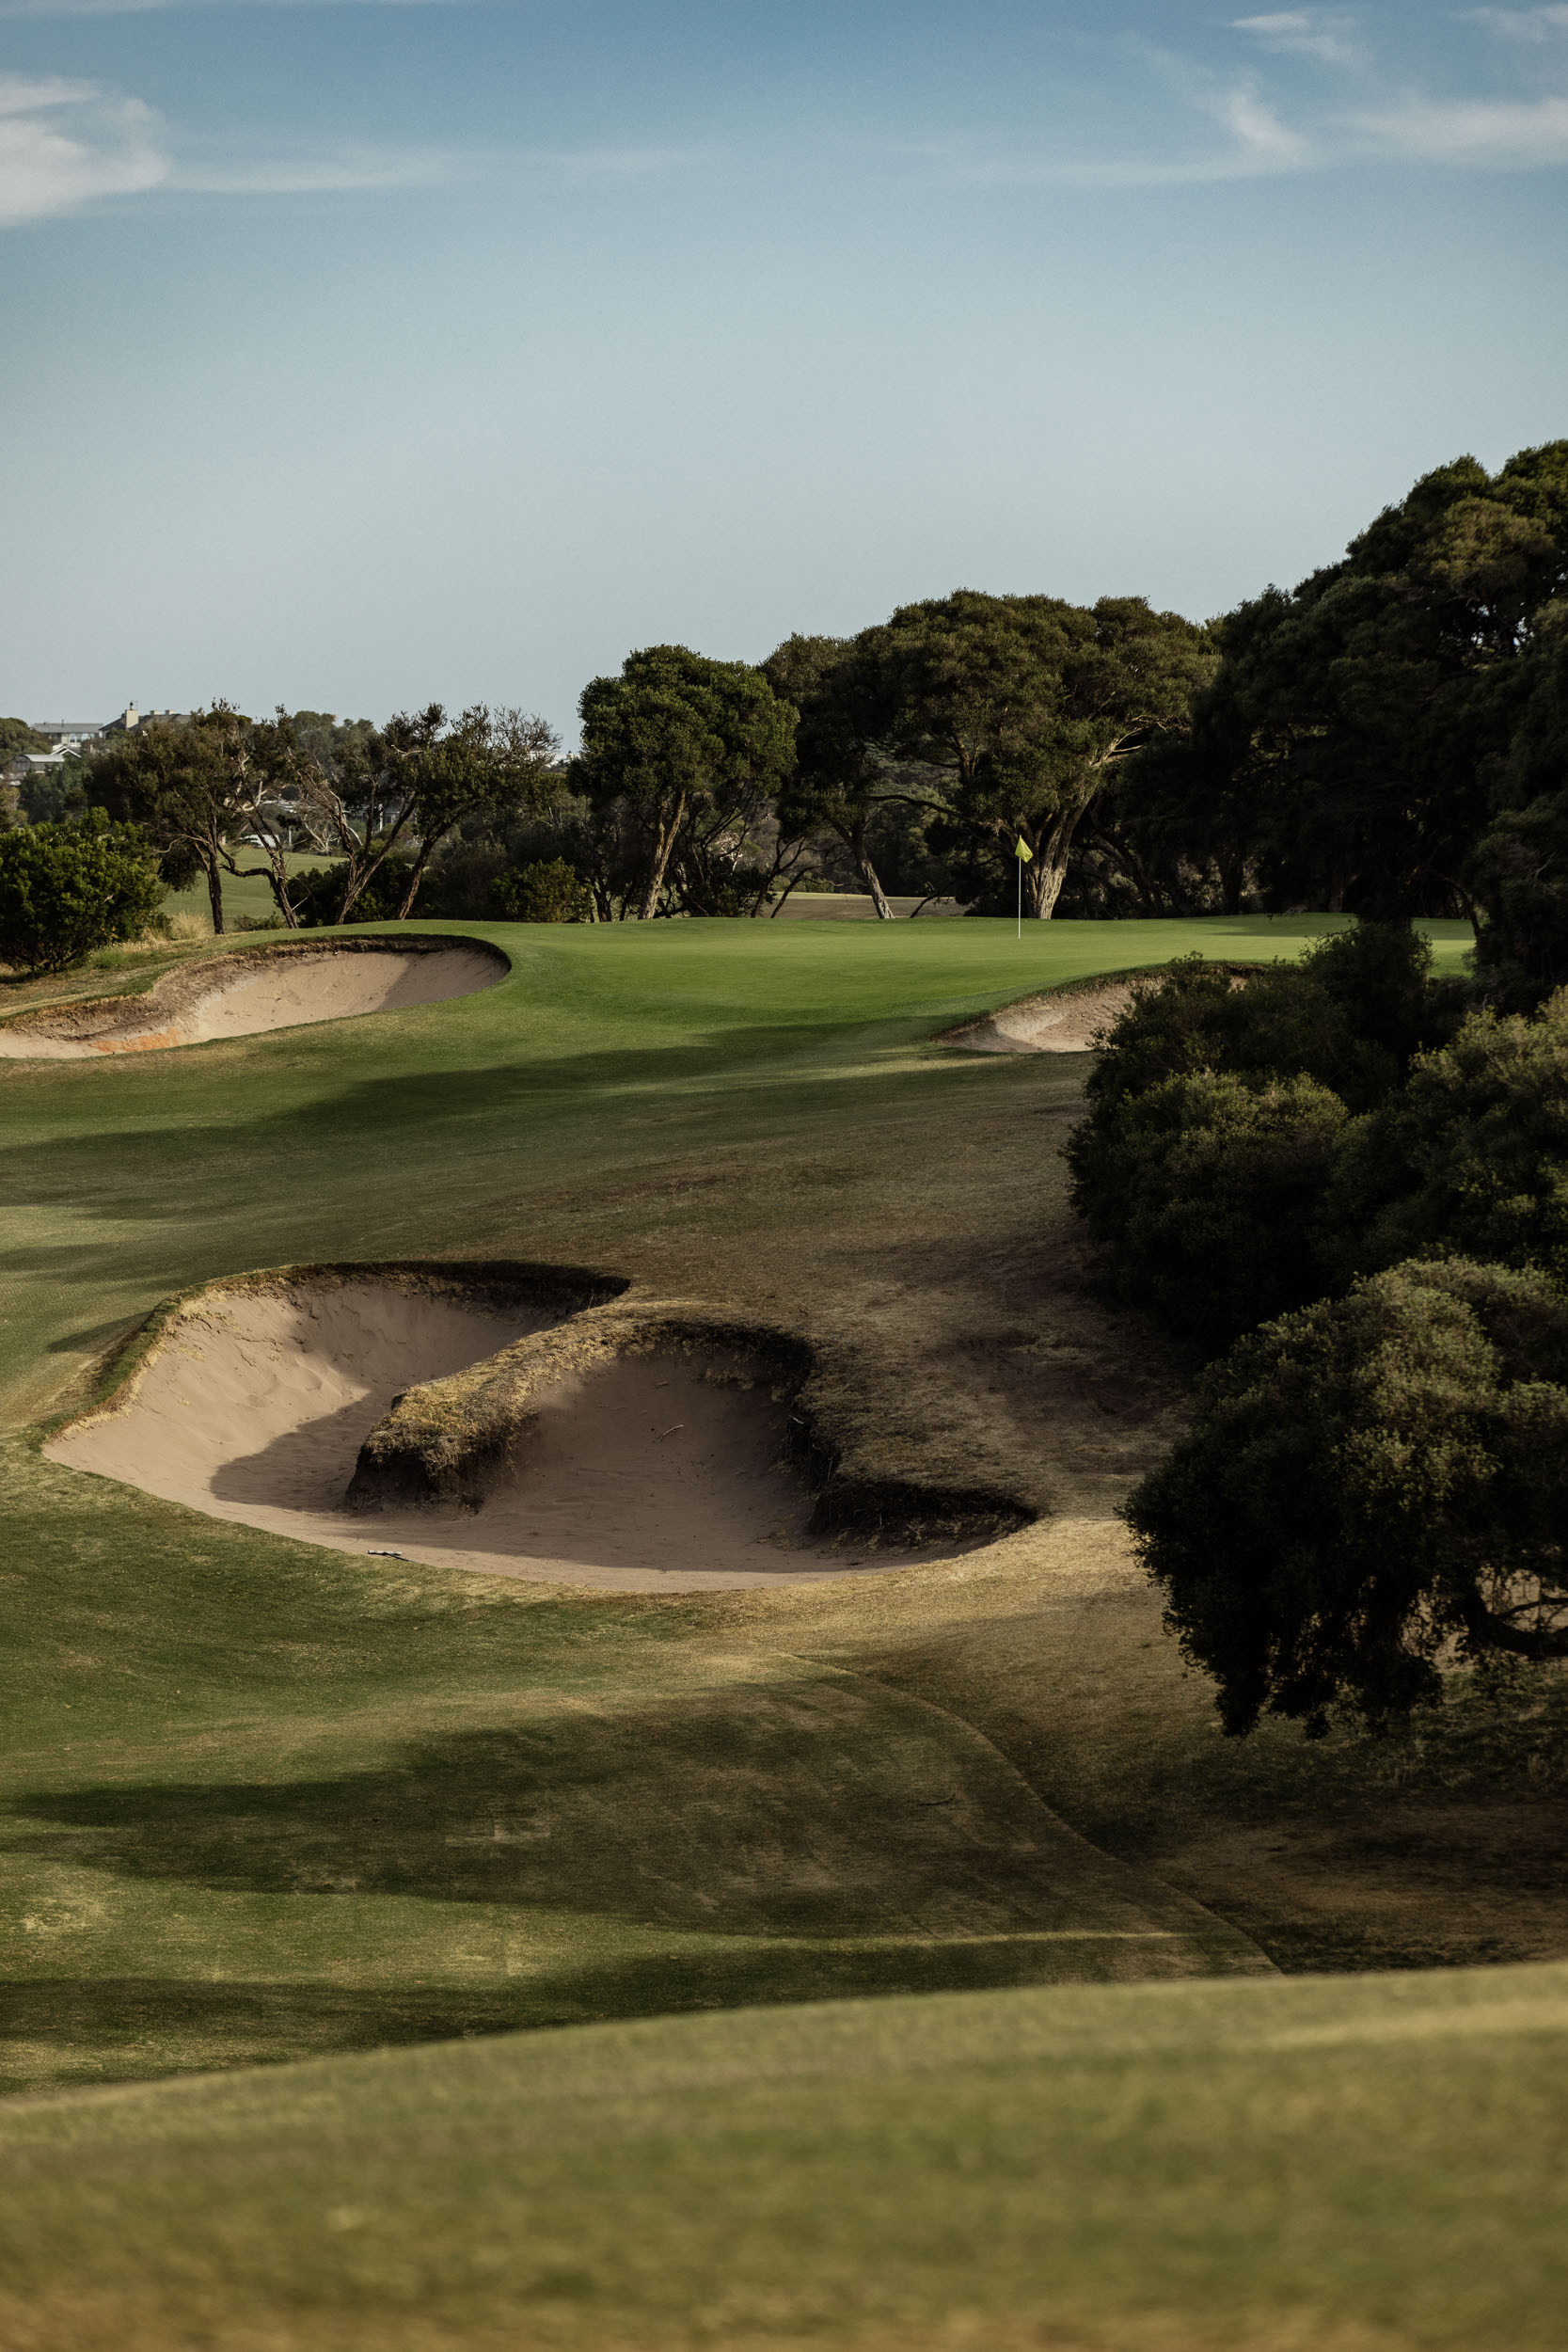
Named after the magnificent Moonah tree that graces the bottom of the hill, the hole is a gentle start that still requires a solid opening tee shot. The hole’s difficulty is the severity of the uphill second shot, protected by bunkers on both sides of a raised green that slopes from right to left.


3rd Hole
Par-5
Blue Tee: 436m
Red Tee: 380m
Panorama
A spectacular view awaits on the tee, with Port Phillip Bay and the city visible on a clear day. The tee shot is challenging, with large bunkers on the right and the National Park to the left. Be aware of the hole’s length as it plays uphill to the green.


4th Hole
Par-4
Blue Tee: 395m
Red Tee: 376m
Jack Howard
Despite the wide fairway, this is one of the most demanding tee shots on the course, with two strategically placed bunkers on the inside of the slight dogleg. A wayward approach into the small green and your scorecard may feel the consequences, with anything short rolling back off the front.


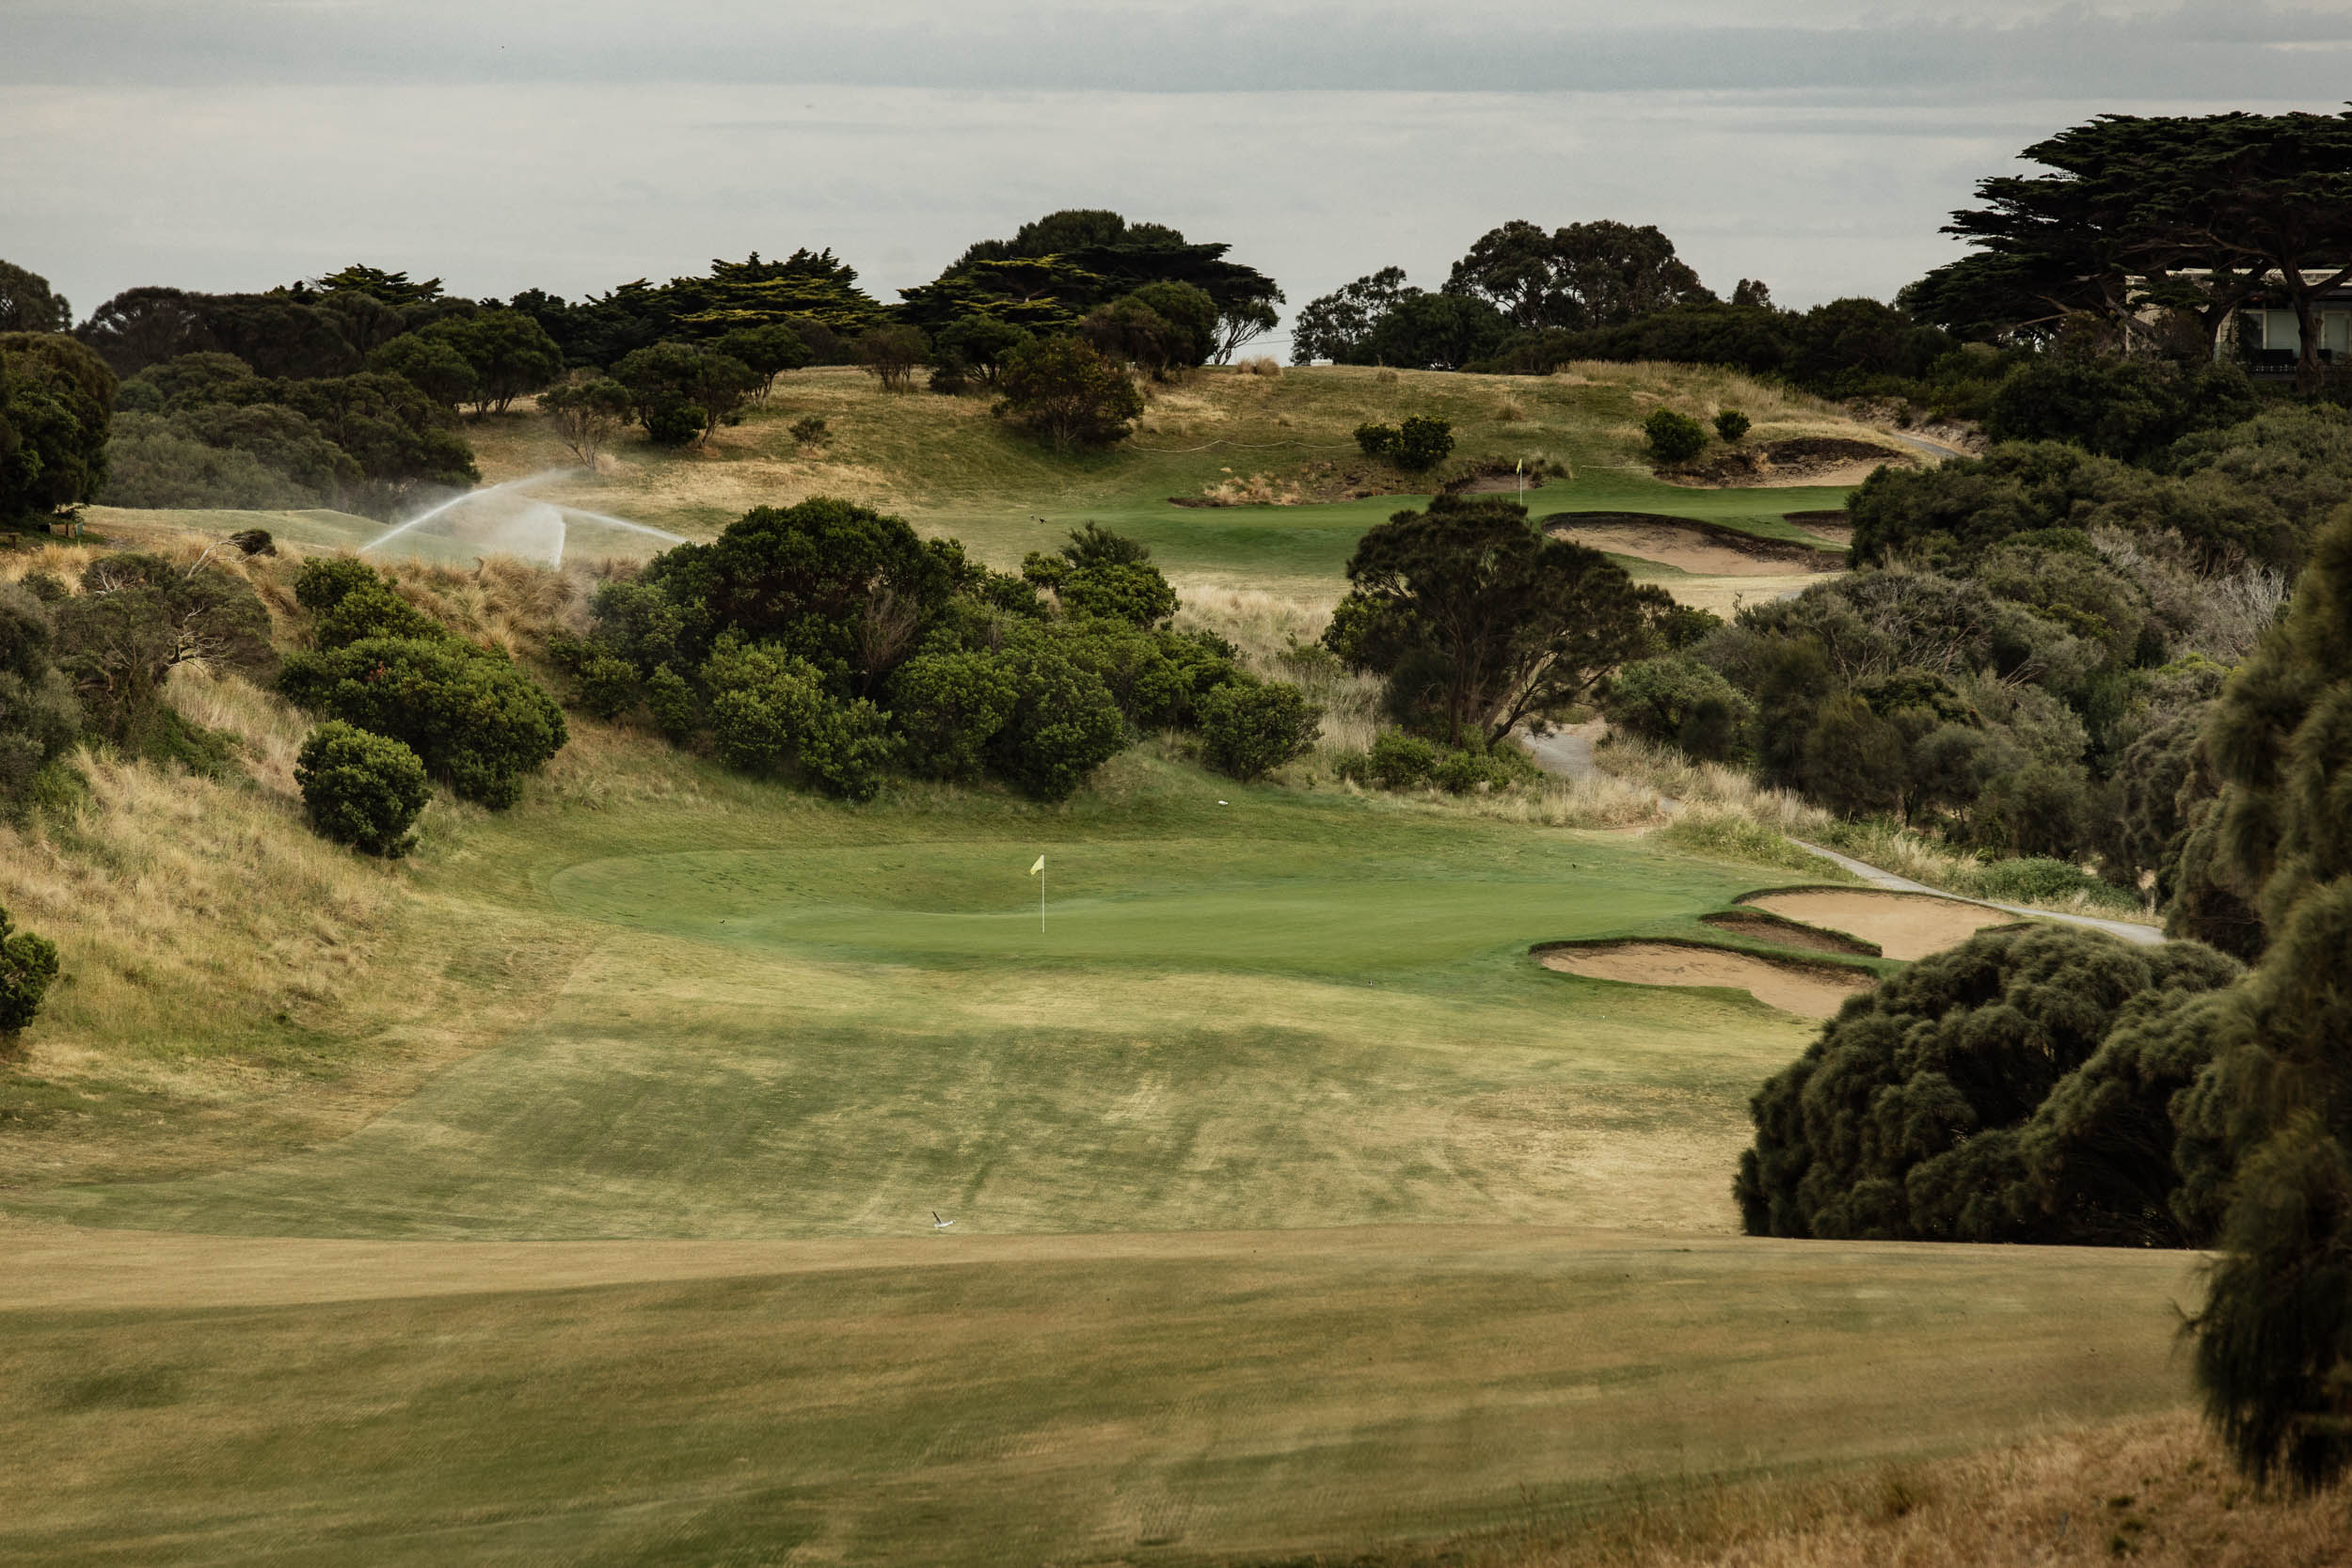
5th Hole
Par-4
Blue Tee: 314m
Red Tee: 288m
Casuarina
The ridge that runs across the fairway is the main hazard for the 5th, and many balls get caught on the moguls. Leaving your drive in the right spot will simplify the second shot. Beware the downhill putt and make sure you sneak a look at the pin position as you walk by on the 4th fairway.

6th Hole
Par-4
Blue Tee: 330m
Red Tee: 308m
Deception
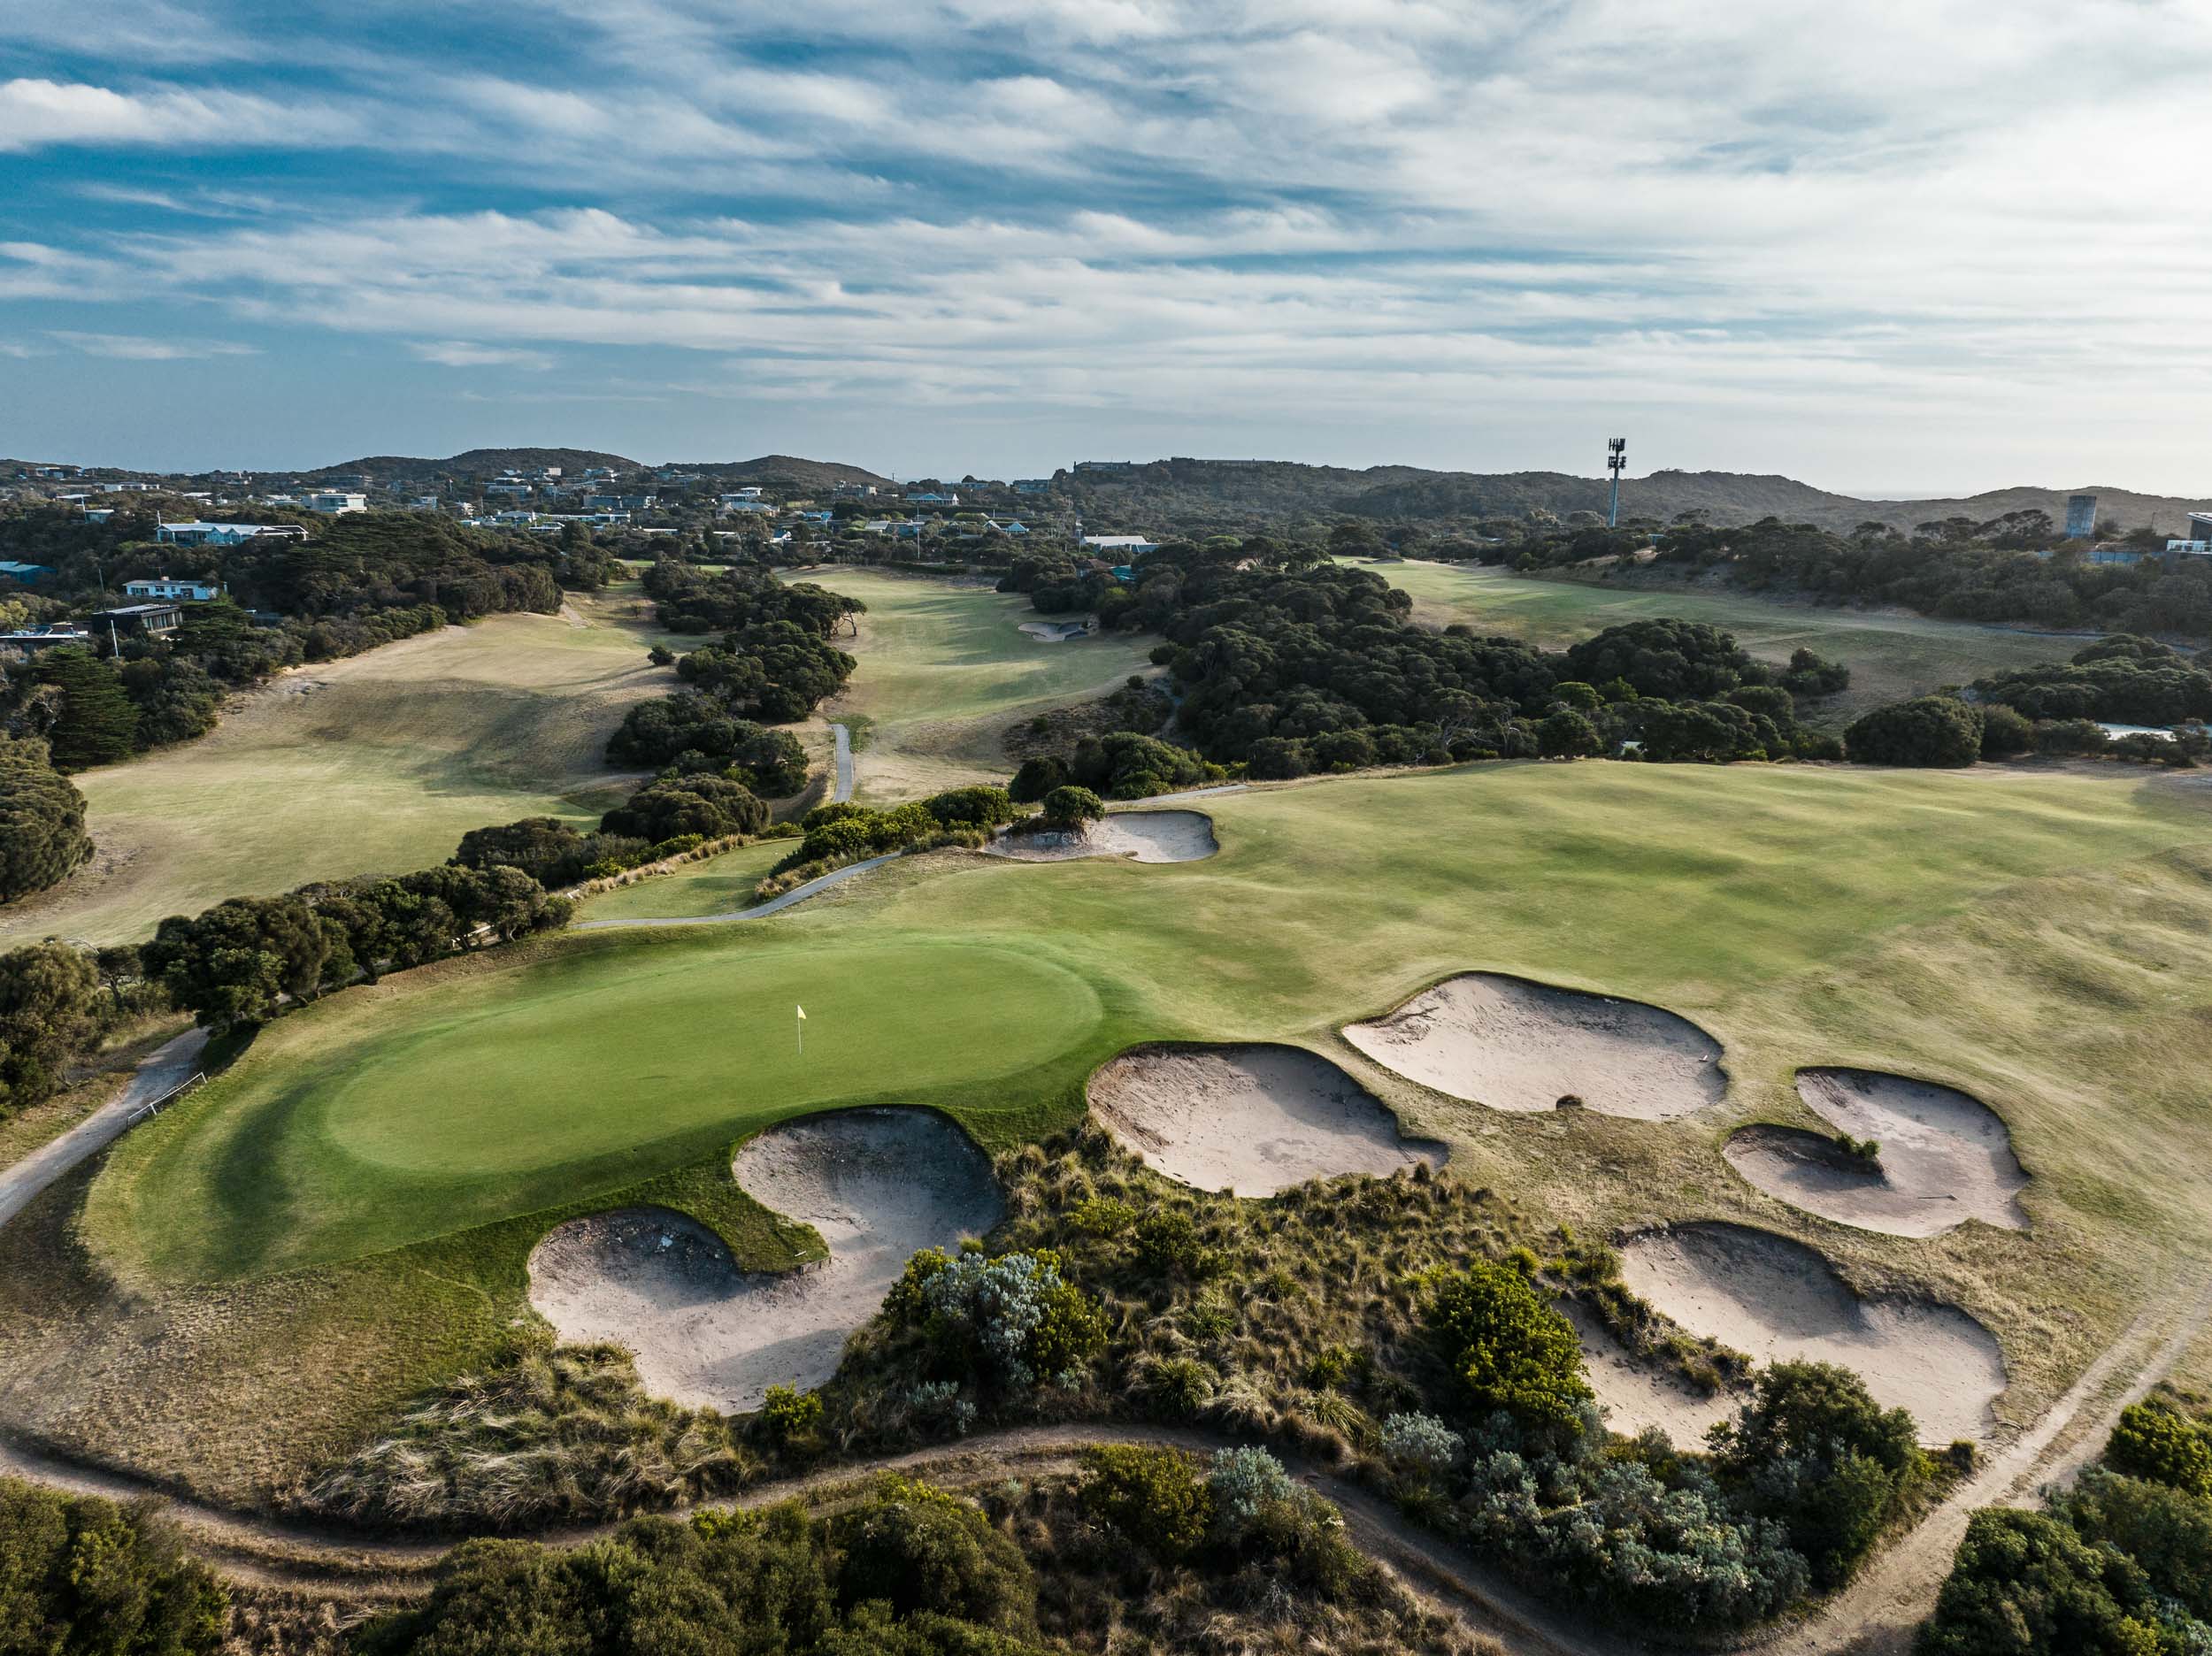
A daunting and seemingly narrow blind tee shot can fool first timers, as a wide fairway is presented at the bottom of the hill. A tee shot of 175m will get you down the hill, with longer tee shots bringing in more potential trouble but providing an easier second shot to the green. The steep uphill approach means this is one of the most challenging greens to hit, with balls regularly coming off the false front or bouncing off the back.

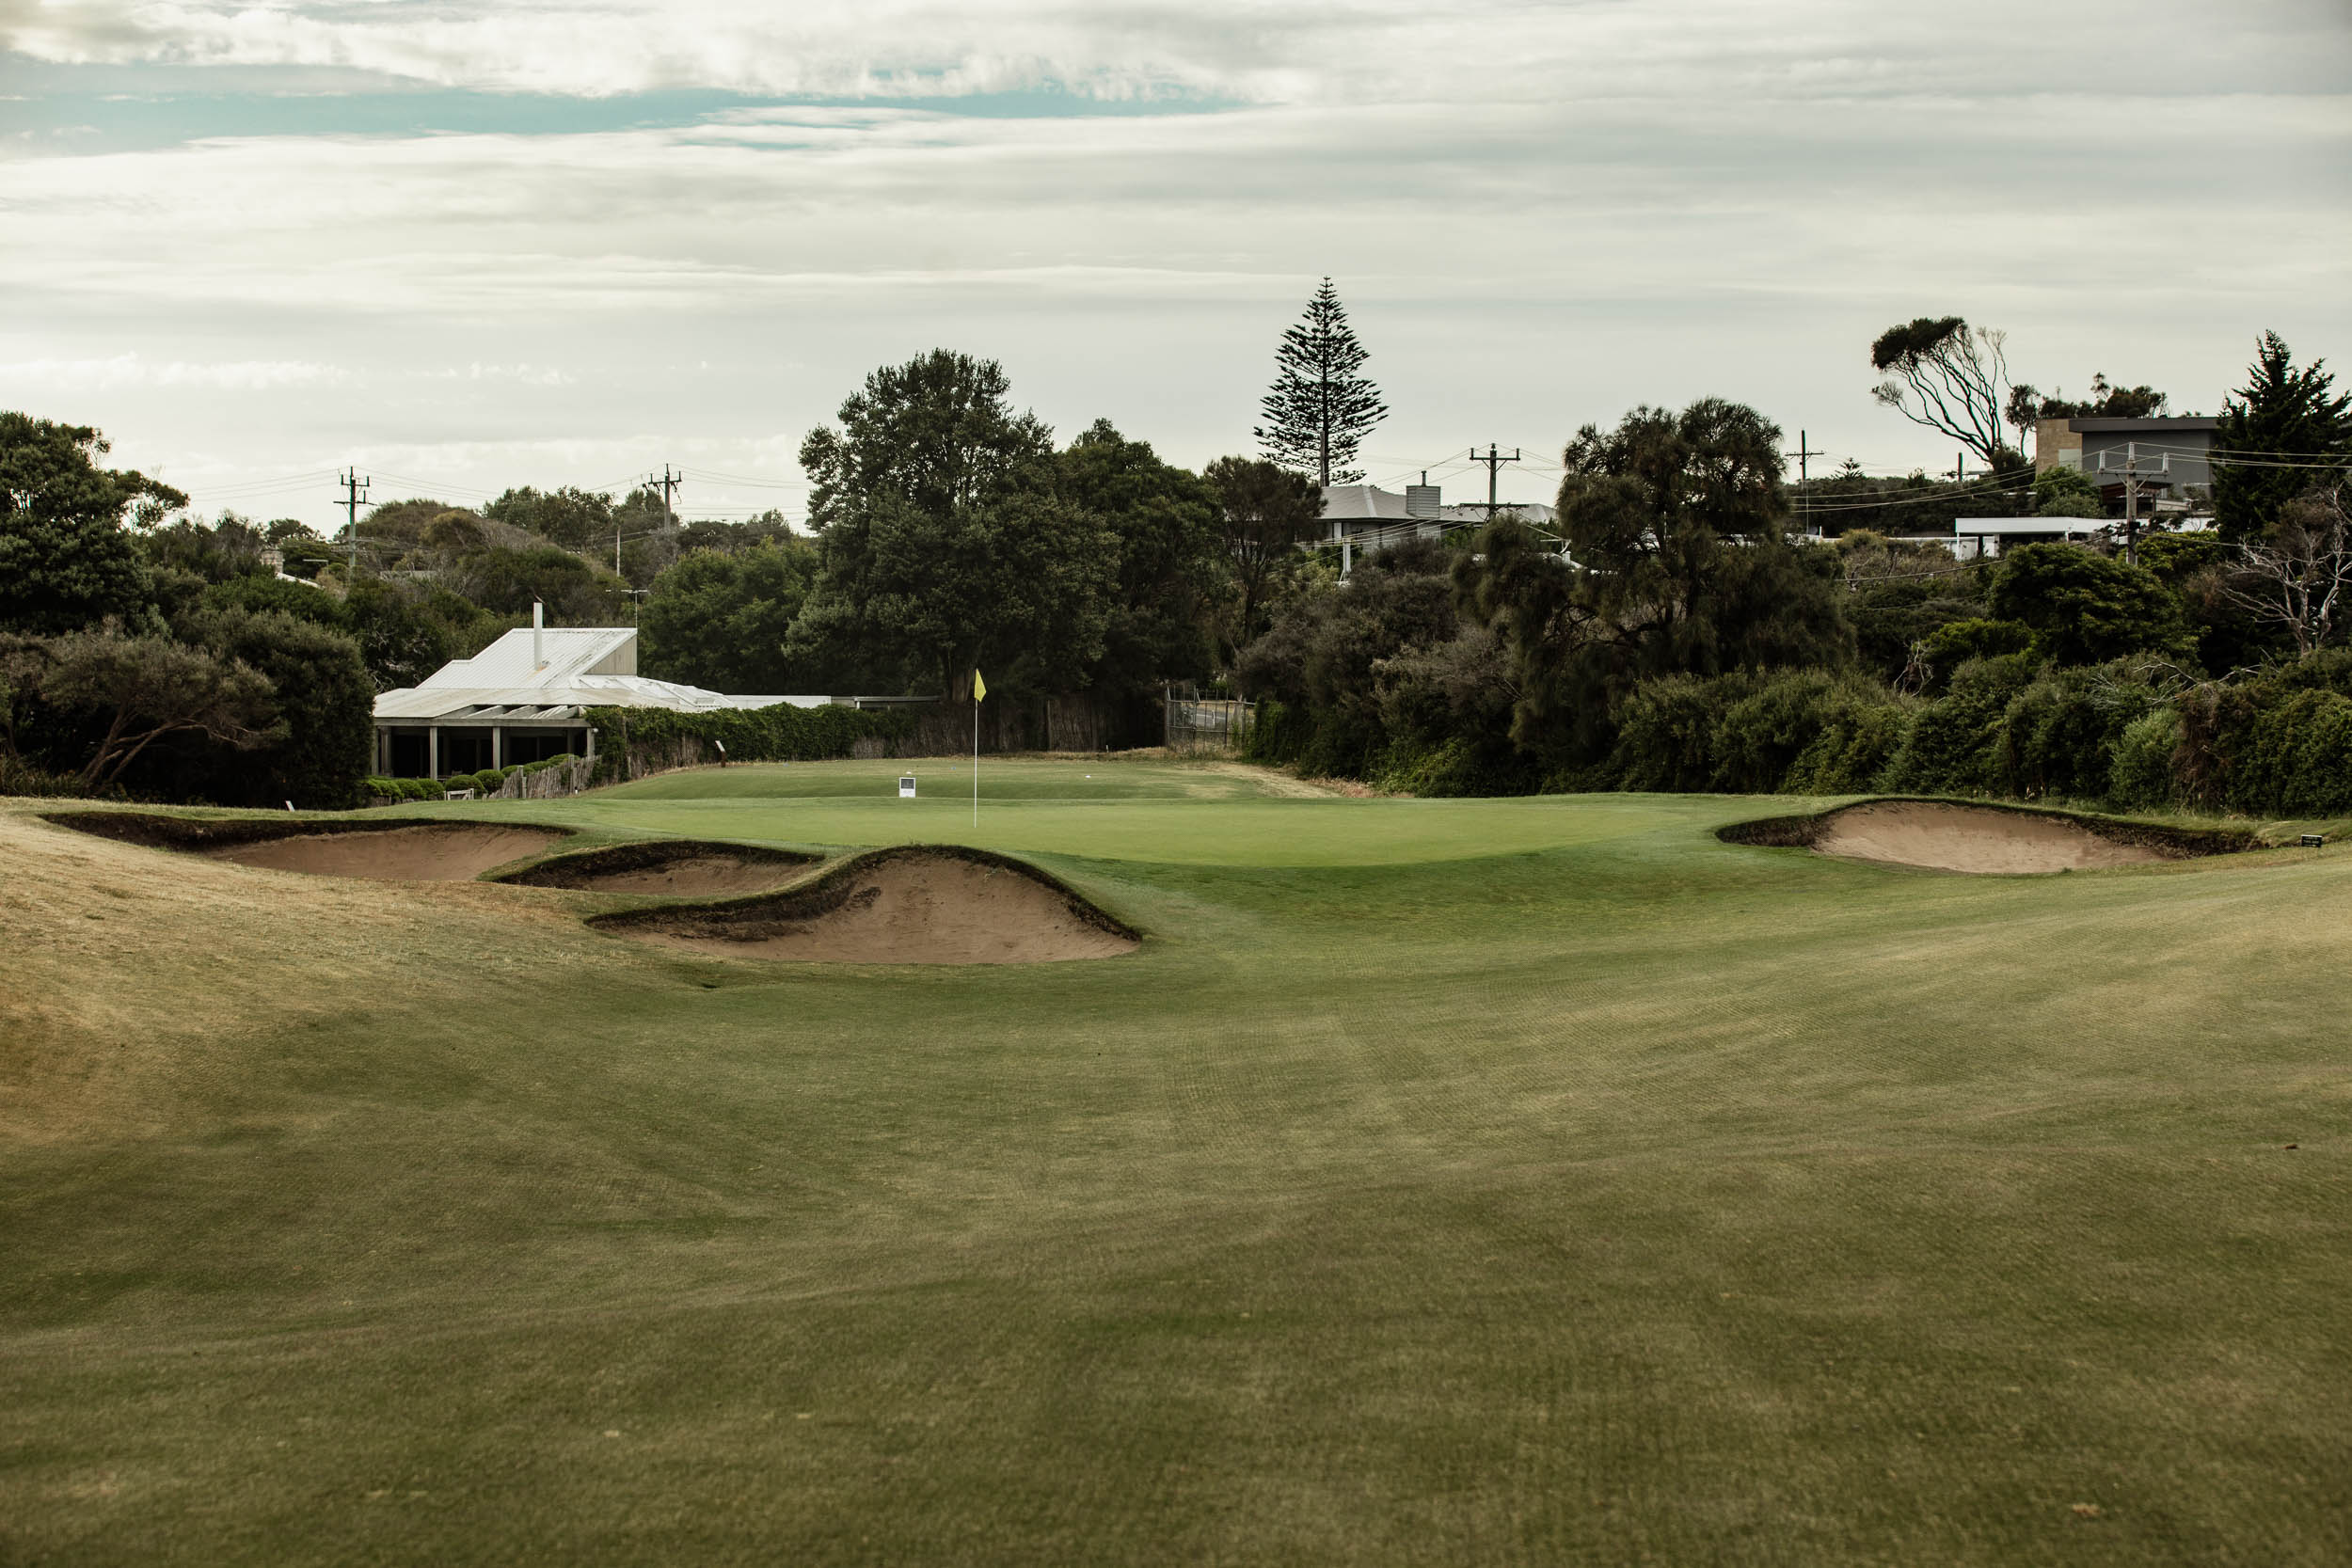
7th Hole
Par-3
Blue Tee: 169m
Red Tee: 150m
Glory Box
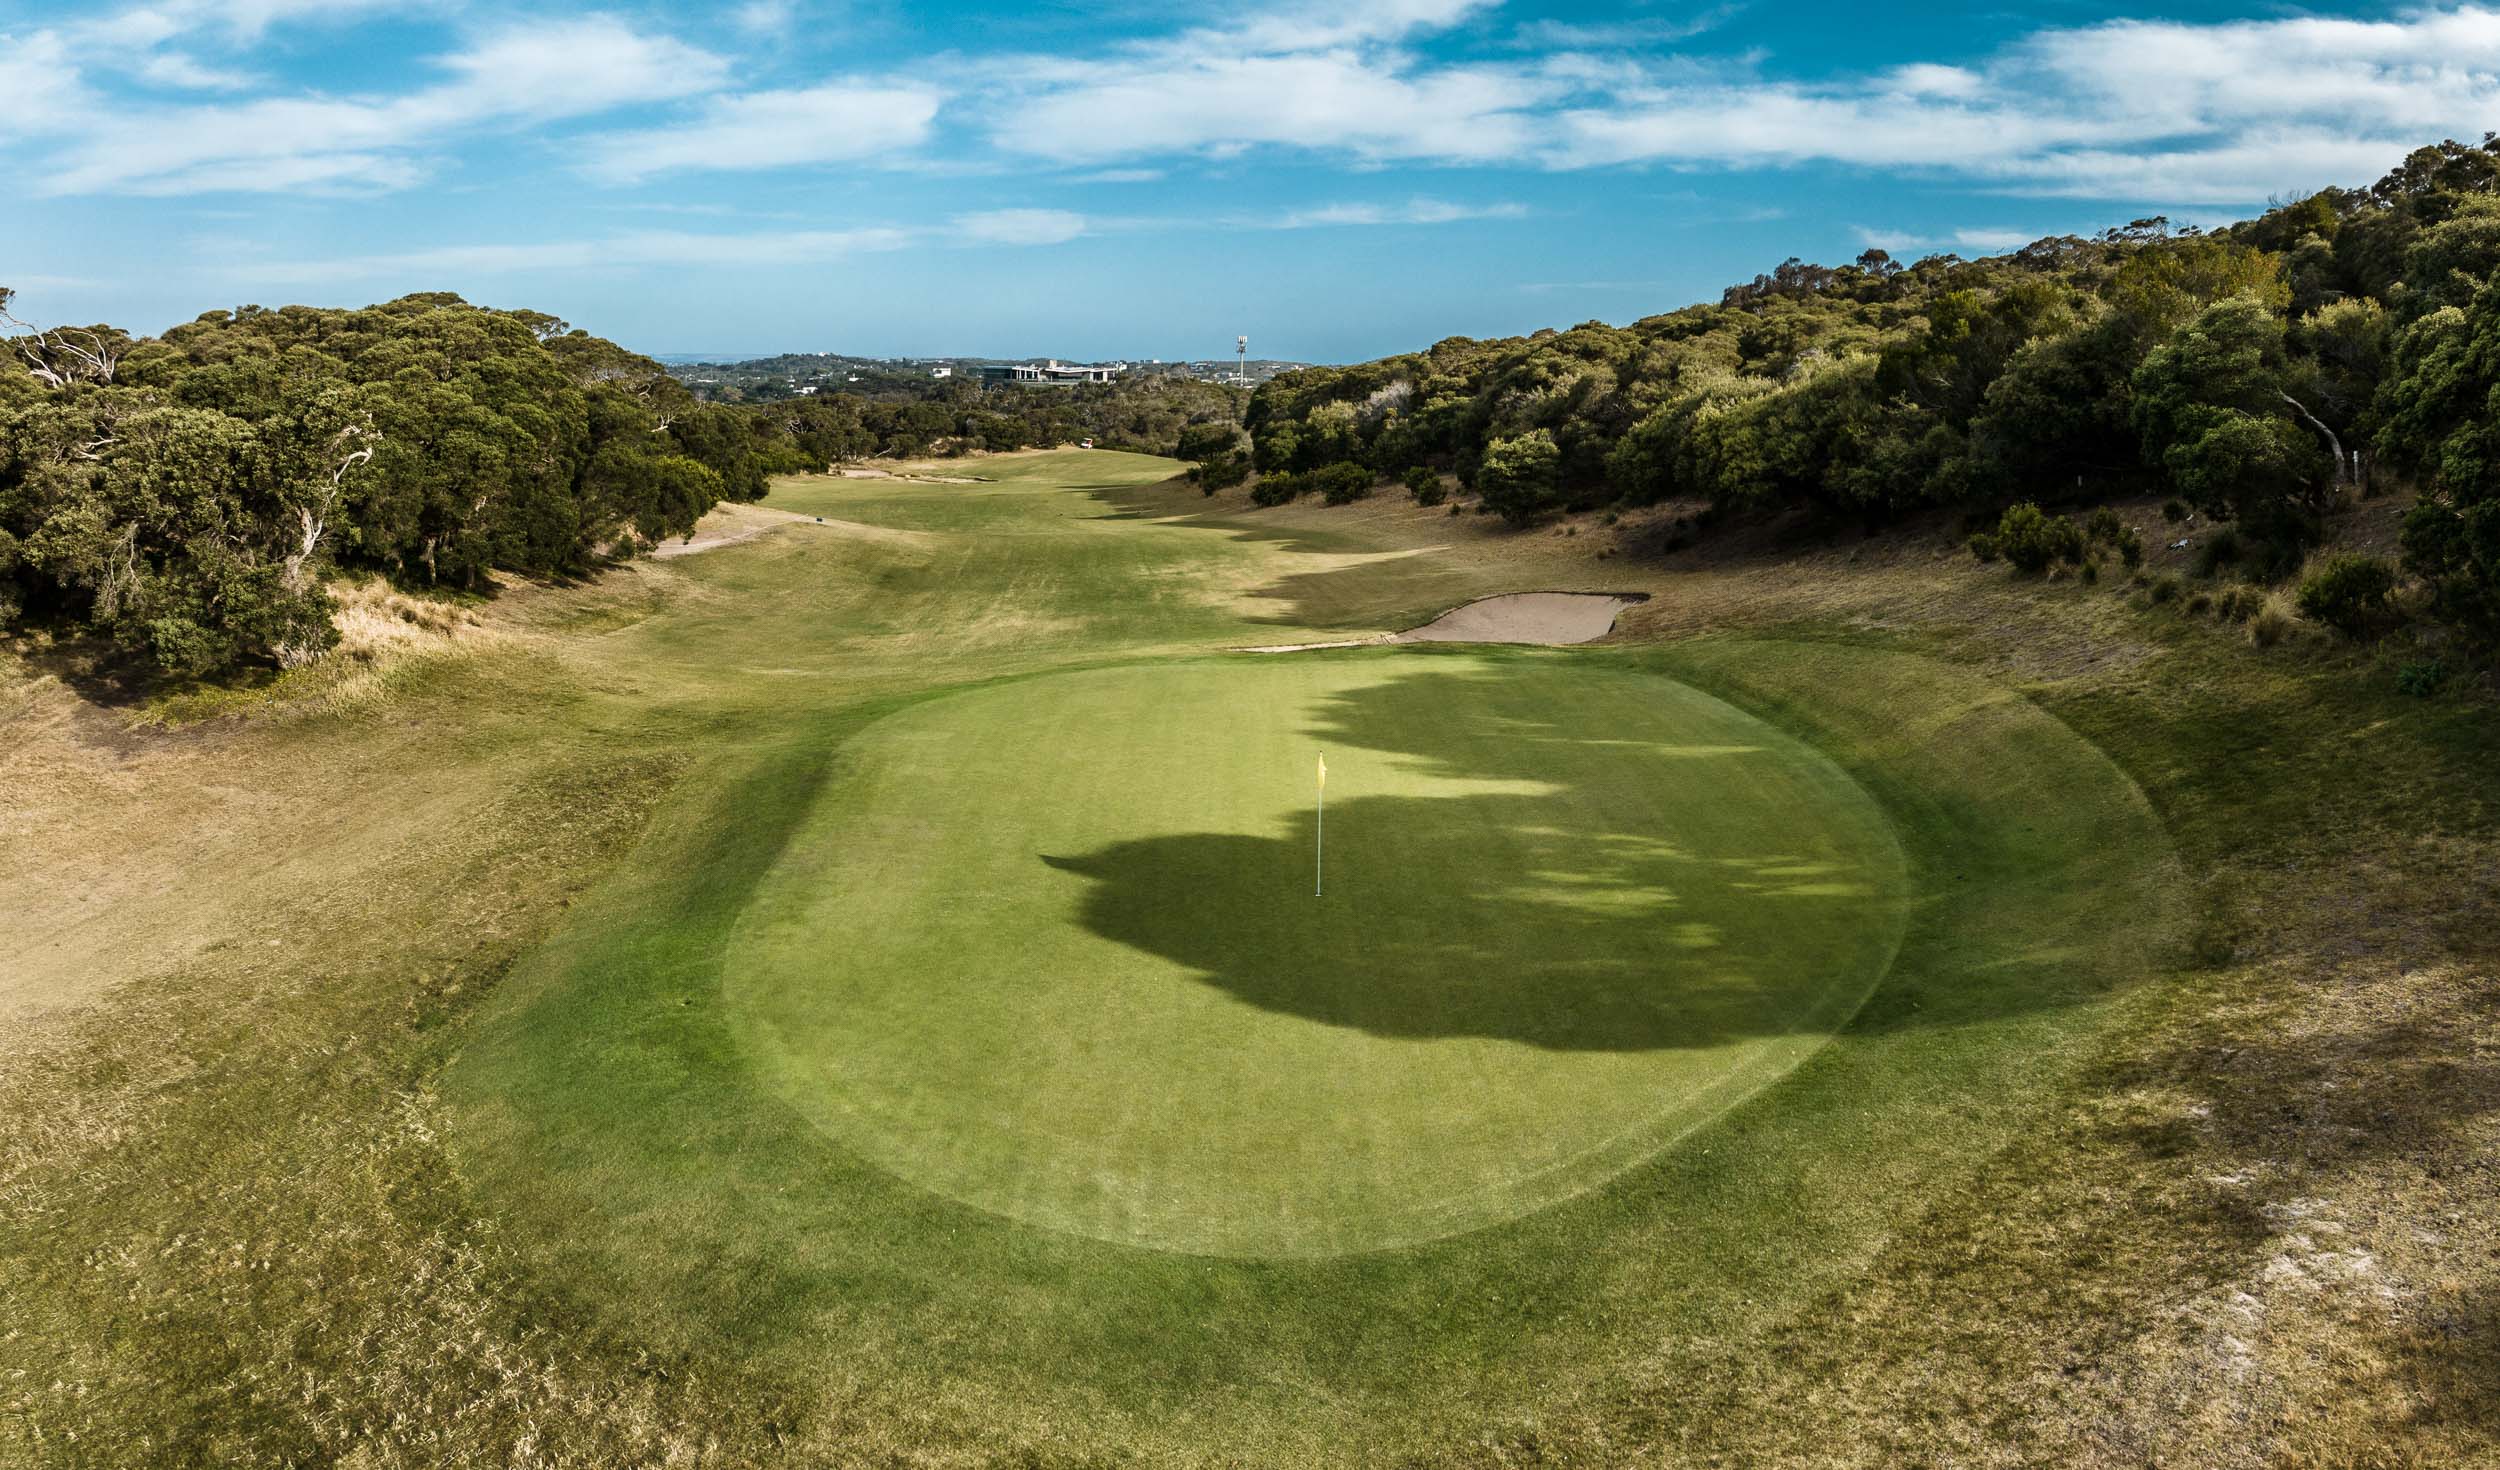
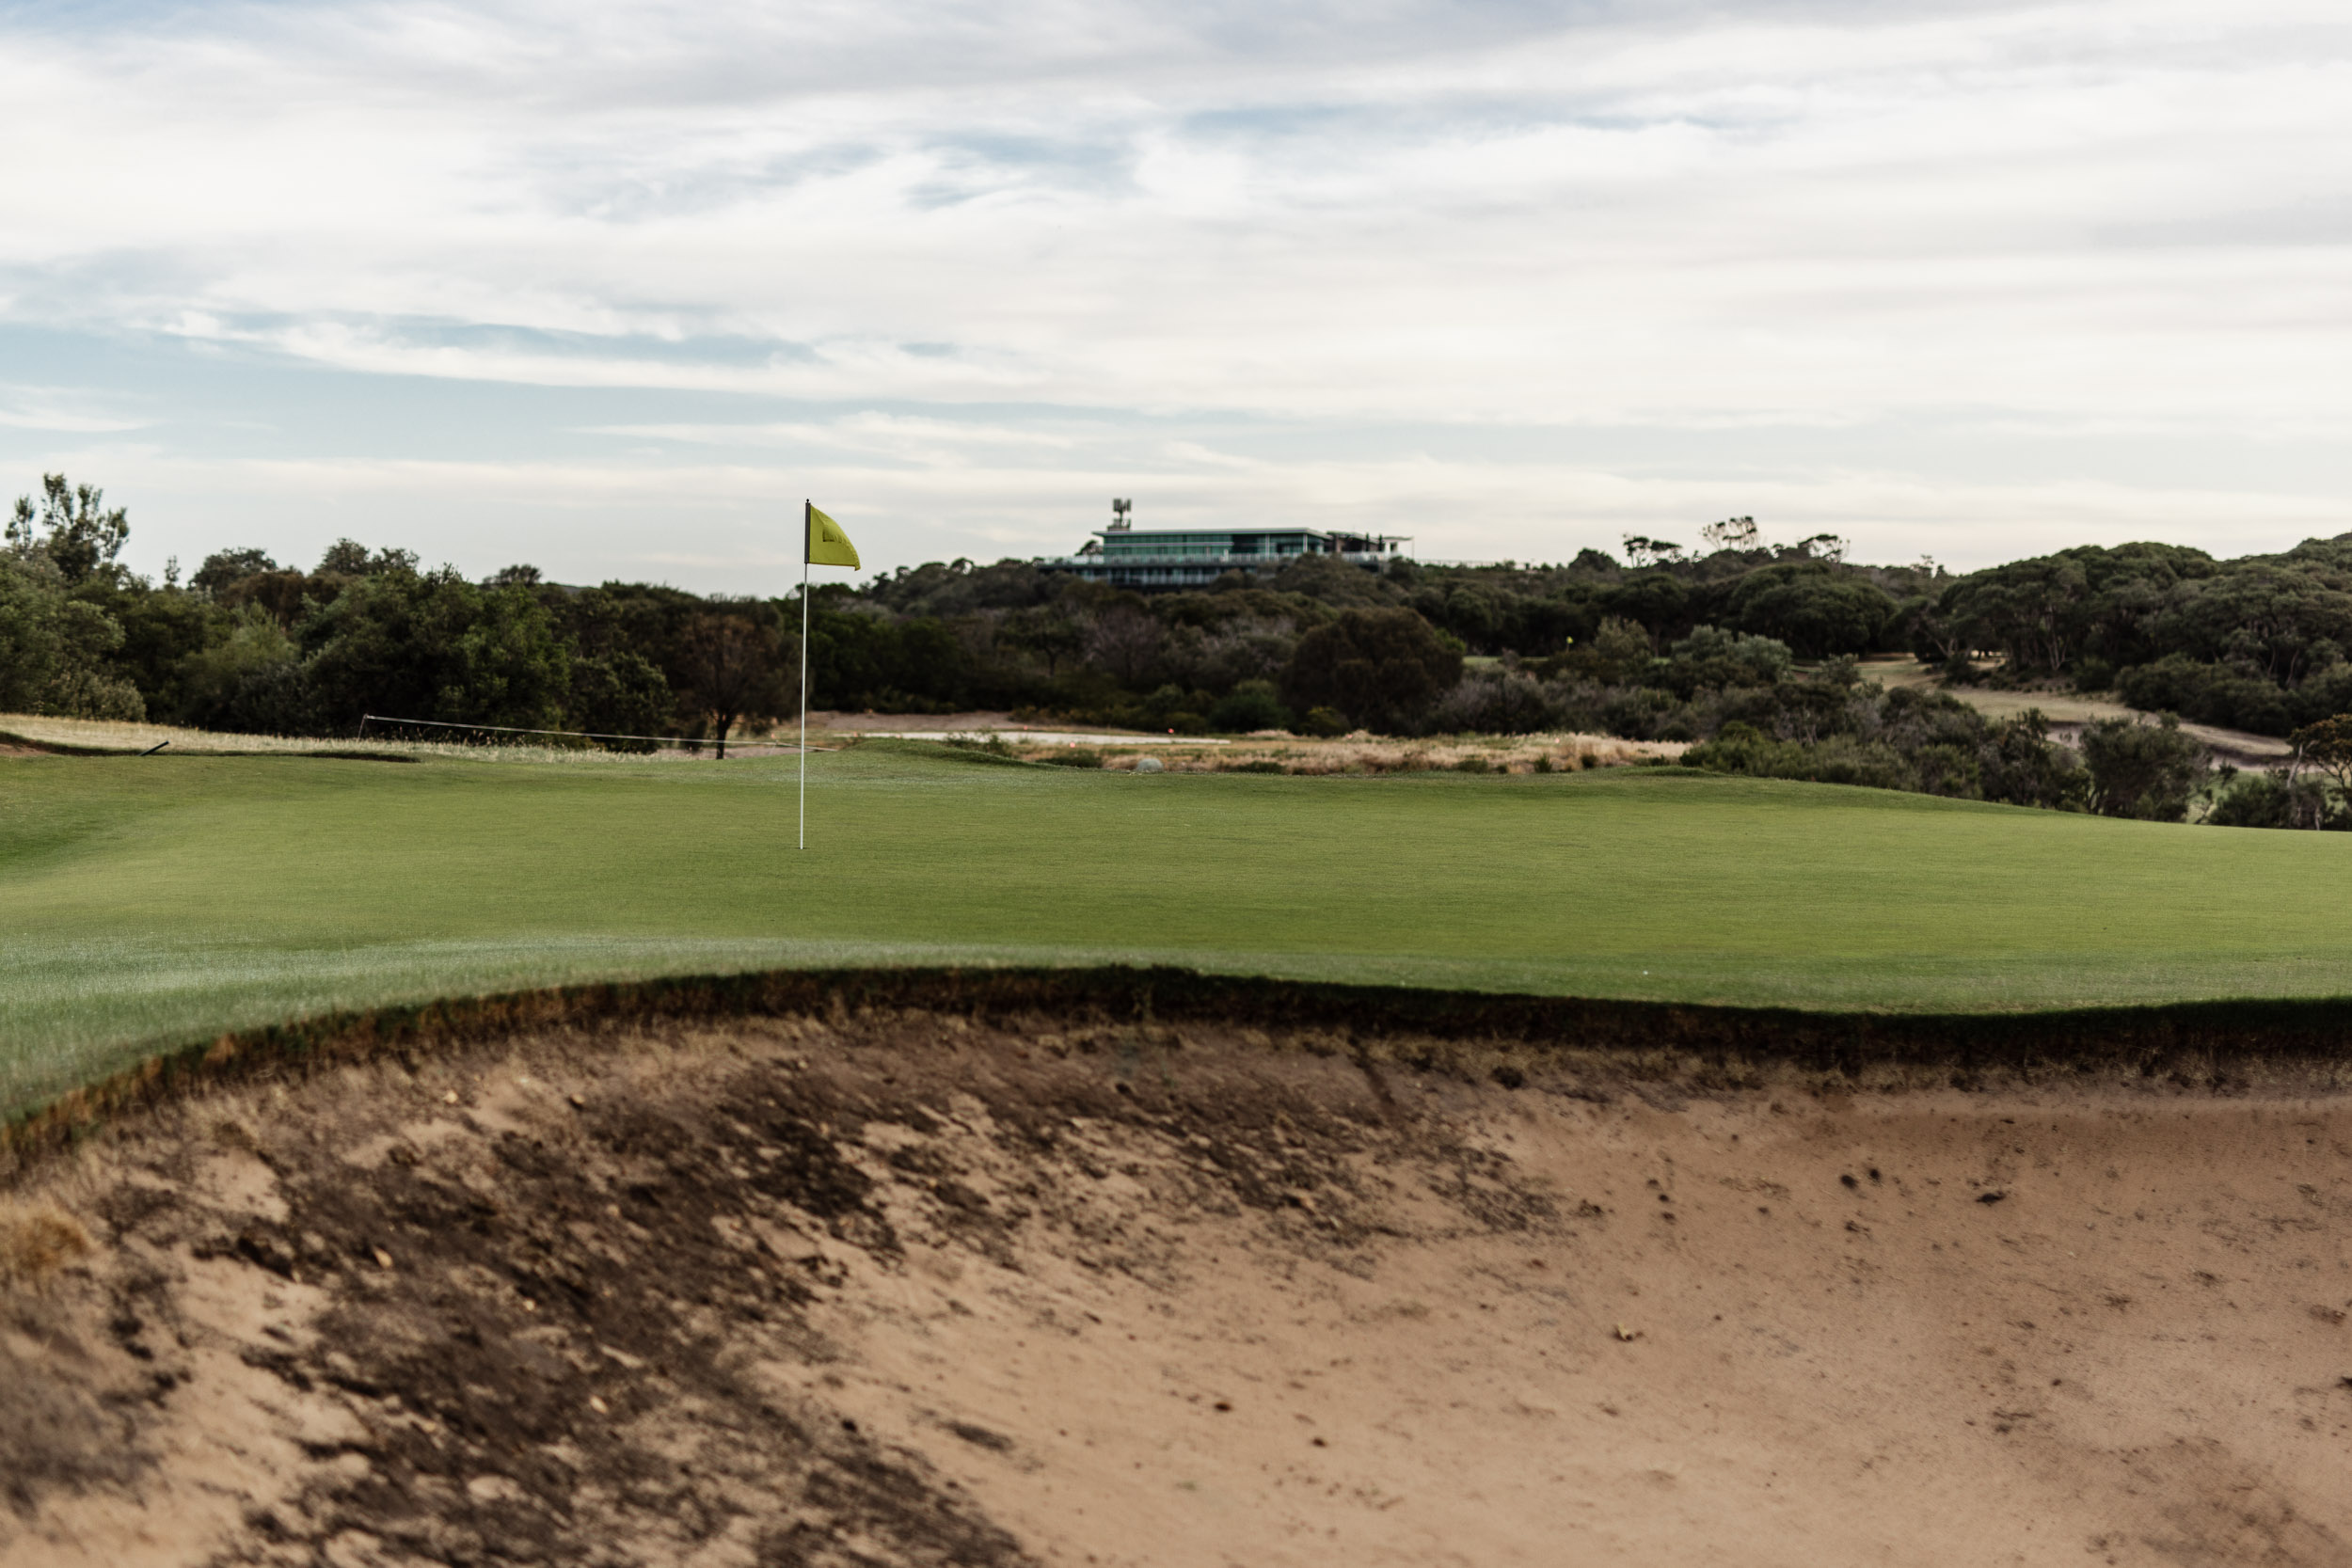
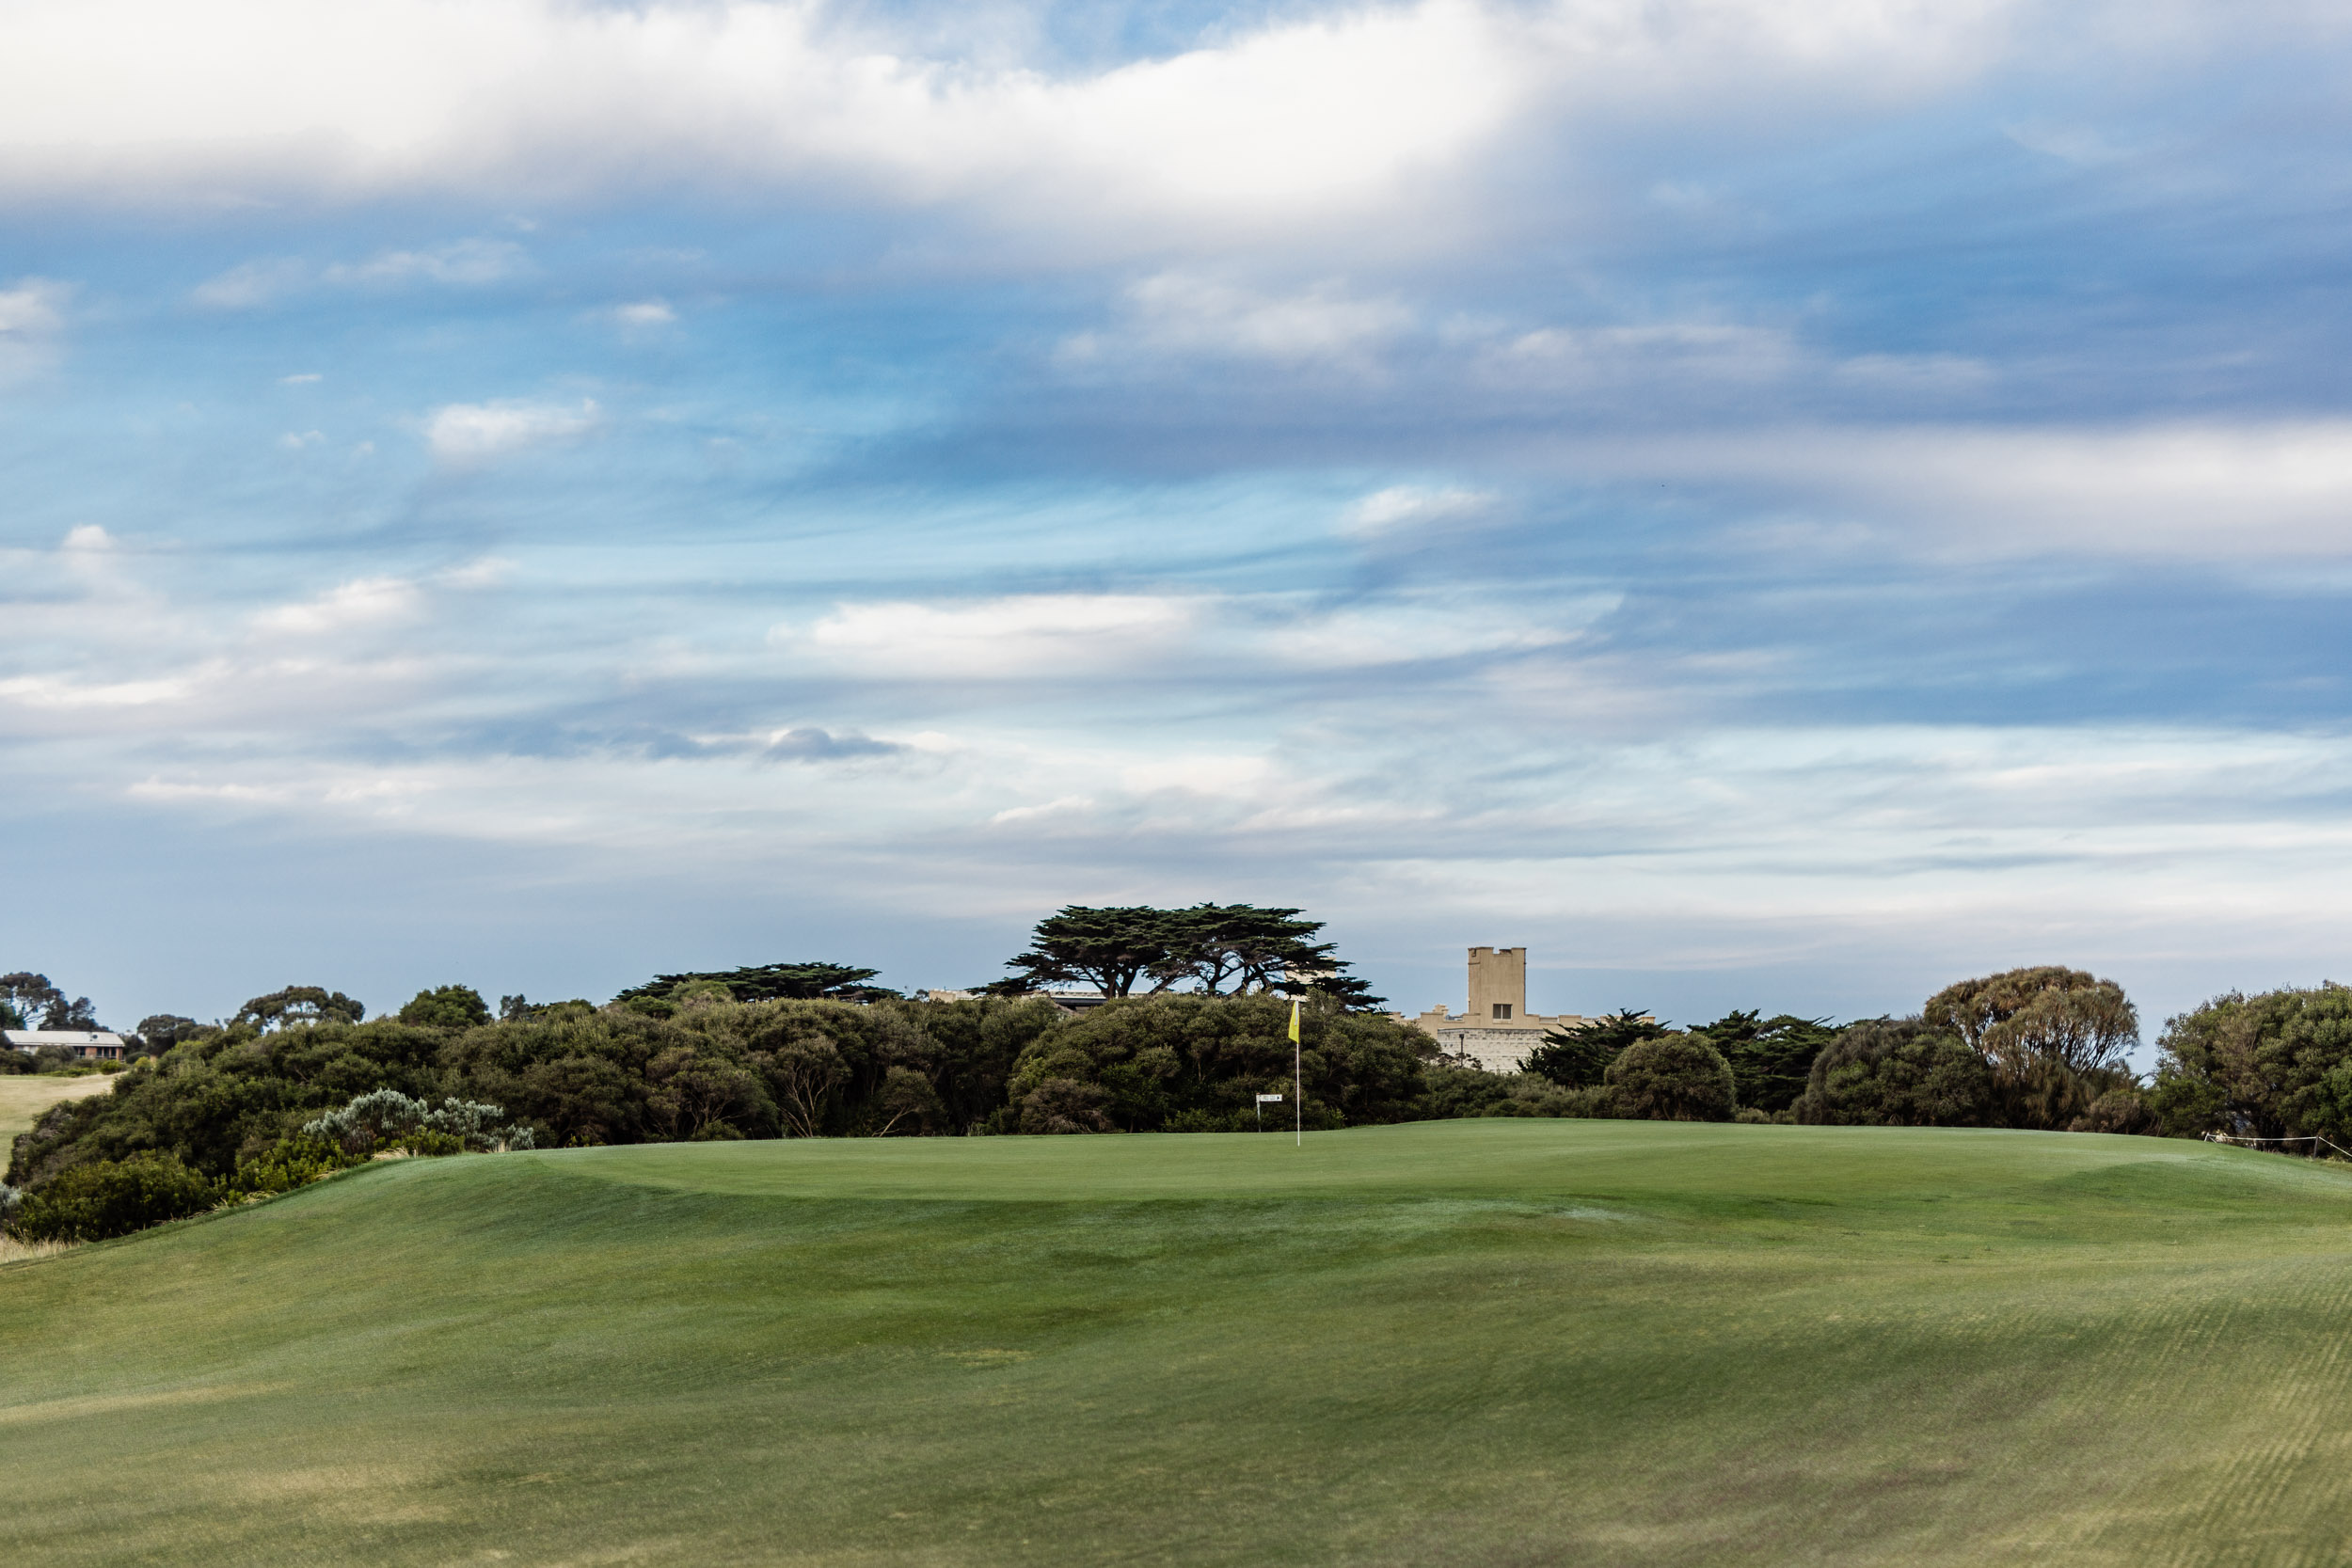
A chance at “Glory” with the clubhouse in the background, this par 3 is the stiffest test of them. Often playing directly into the wind, the hole requires a shot that carries the ball the entire way to the green. Balls that land short usually roll back, asking for a pitch shot onto the green. The green is also well protected with bunkers left, right, and long.


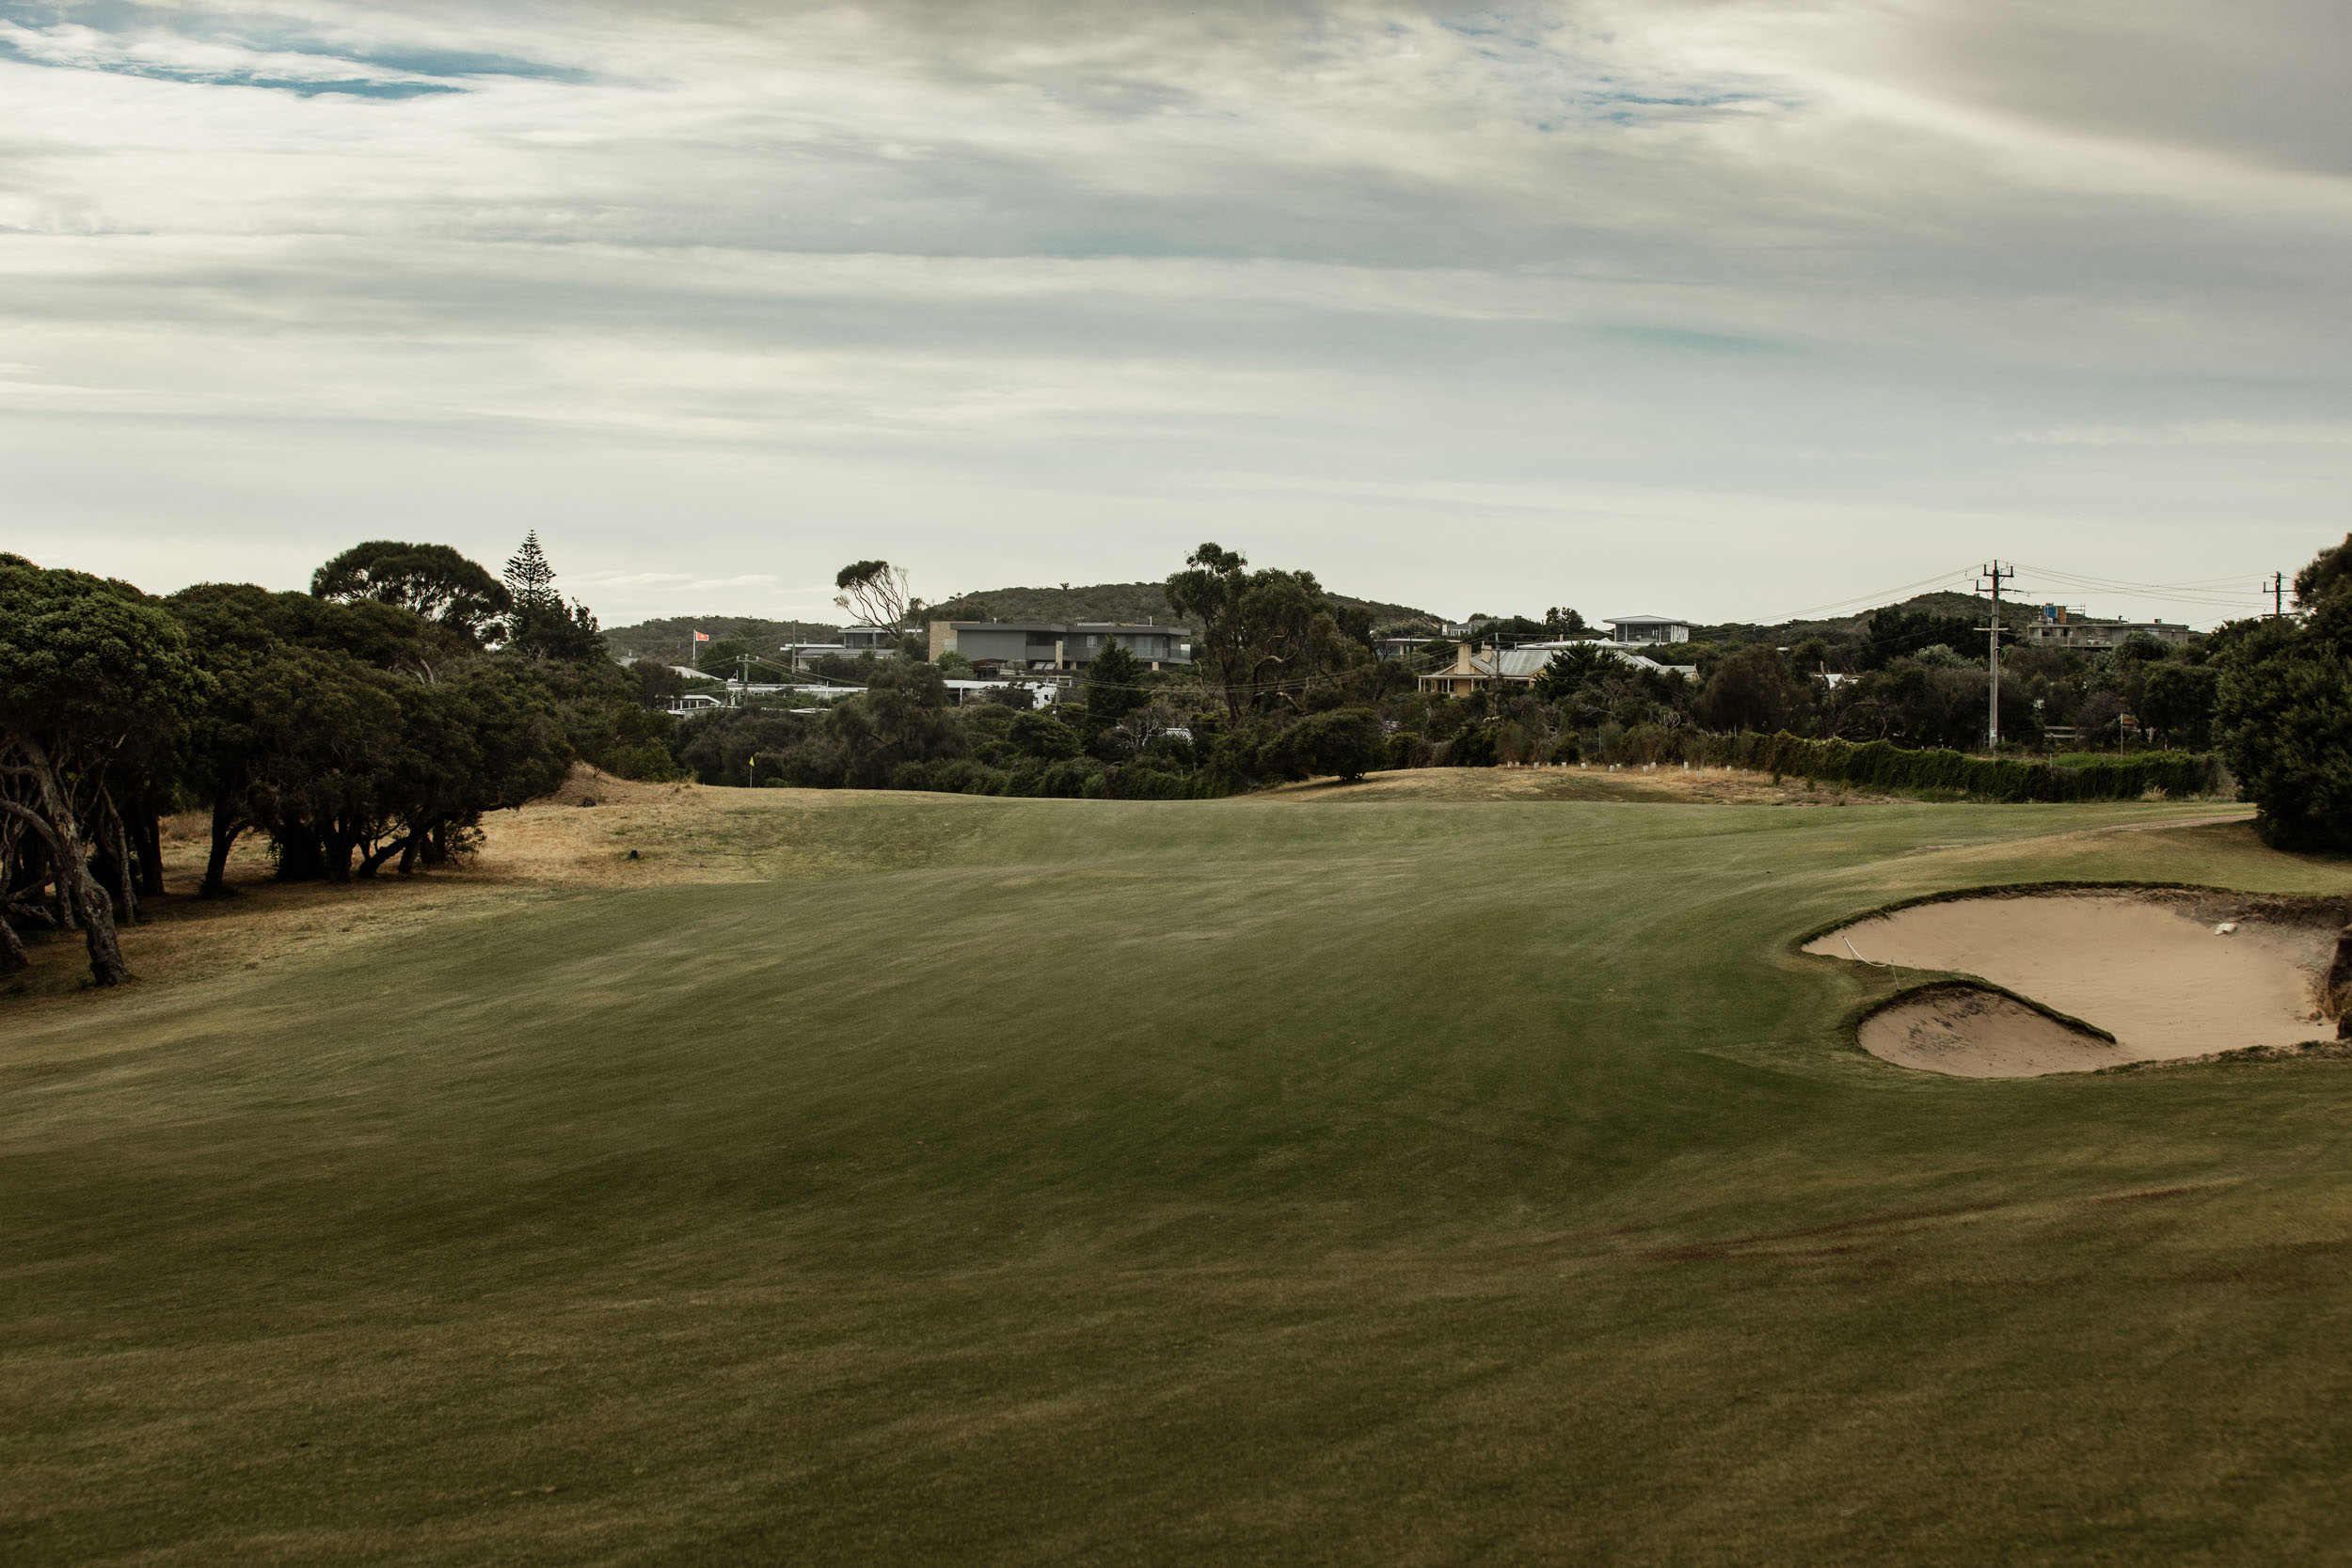
8th Hole
Par-5
Blue Tee: 484m
Red Tee: 465m
The Castle Home
Depending on the tee shot, the course’s longest hole can become much shorter or longer. Take on the hill on the right to ensure you maximise your tee shot. Be mindful of a narrow, firm green, with balls often bouncing through it. The best approach is from the right.


9th Hole
Par-4
Blue Tee: 338m
Red Tee: 303m
Sloan Morpeth
A tee shot of about 180 metres will be rewarded and will catch a slope down towards a collection area. A tee shot played further right will provide the best angle into the green. Make sure you club up when playing your approach, as the usual miss is short.


10th Hole
Par-4
Blue Tee: 256m
Red Tee: 214m
Little Devil
Aptly named, this tempting hole can produce eagles and scores into double figures. Those willing to take on the exposed green – beware – there is no good miss. The layup from the tee is challenging, with only a tiny shelf to hold the ball. A left-to-right tee shot played 60 metres from the front of the green will give players the best chance to hold the fairway.


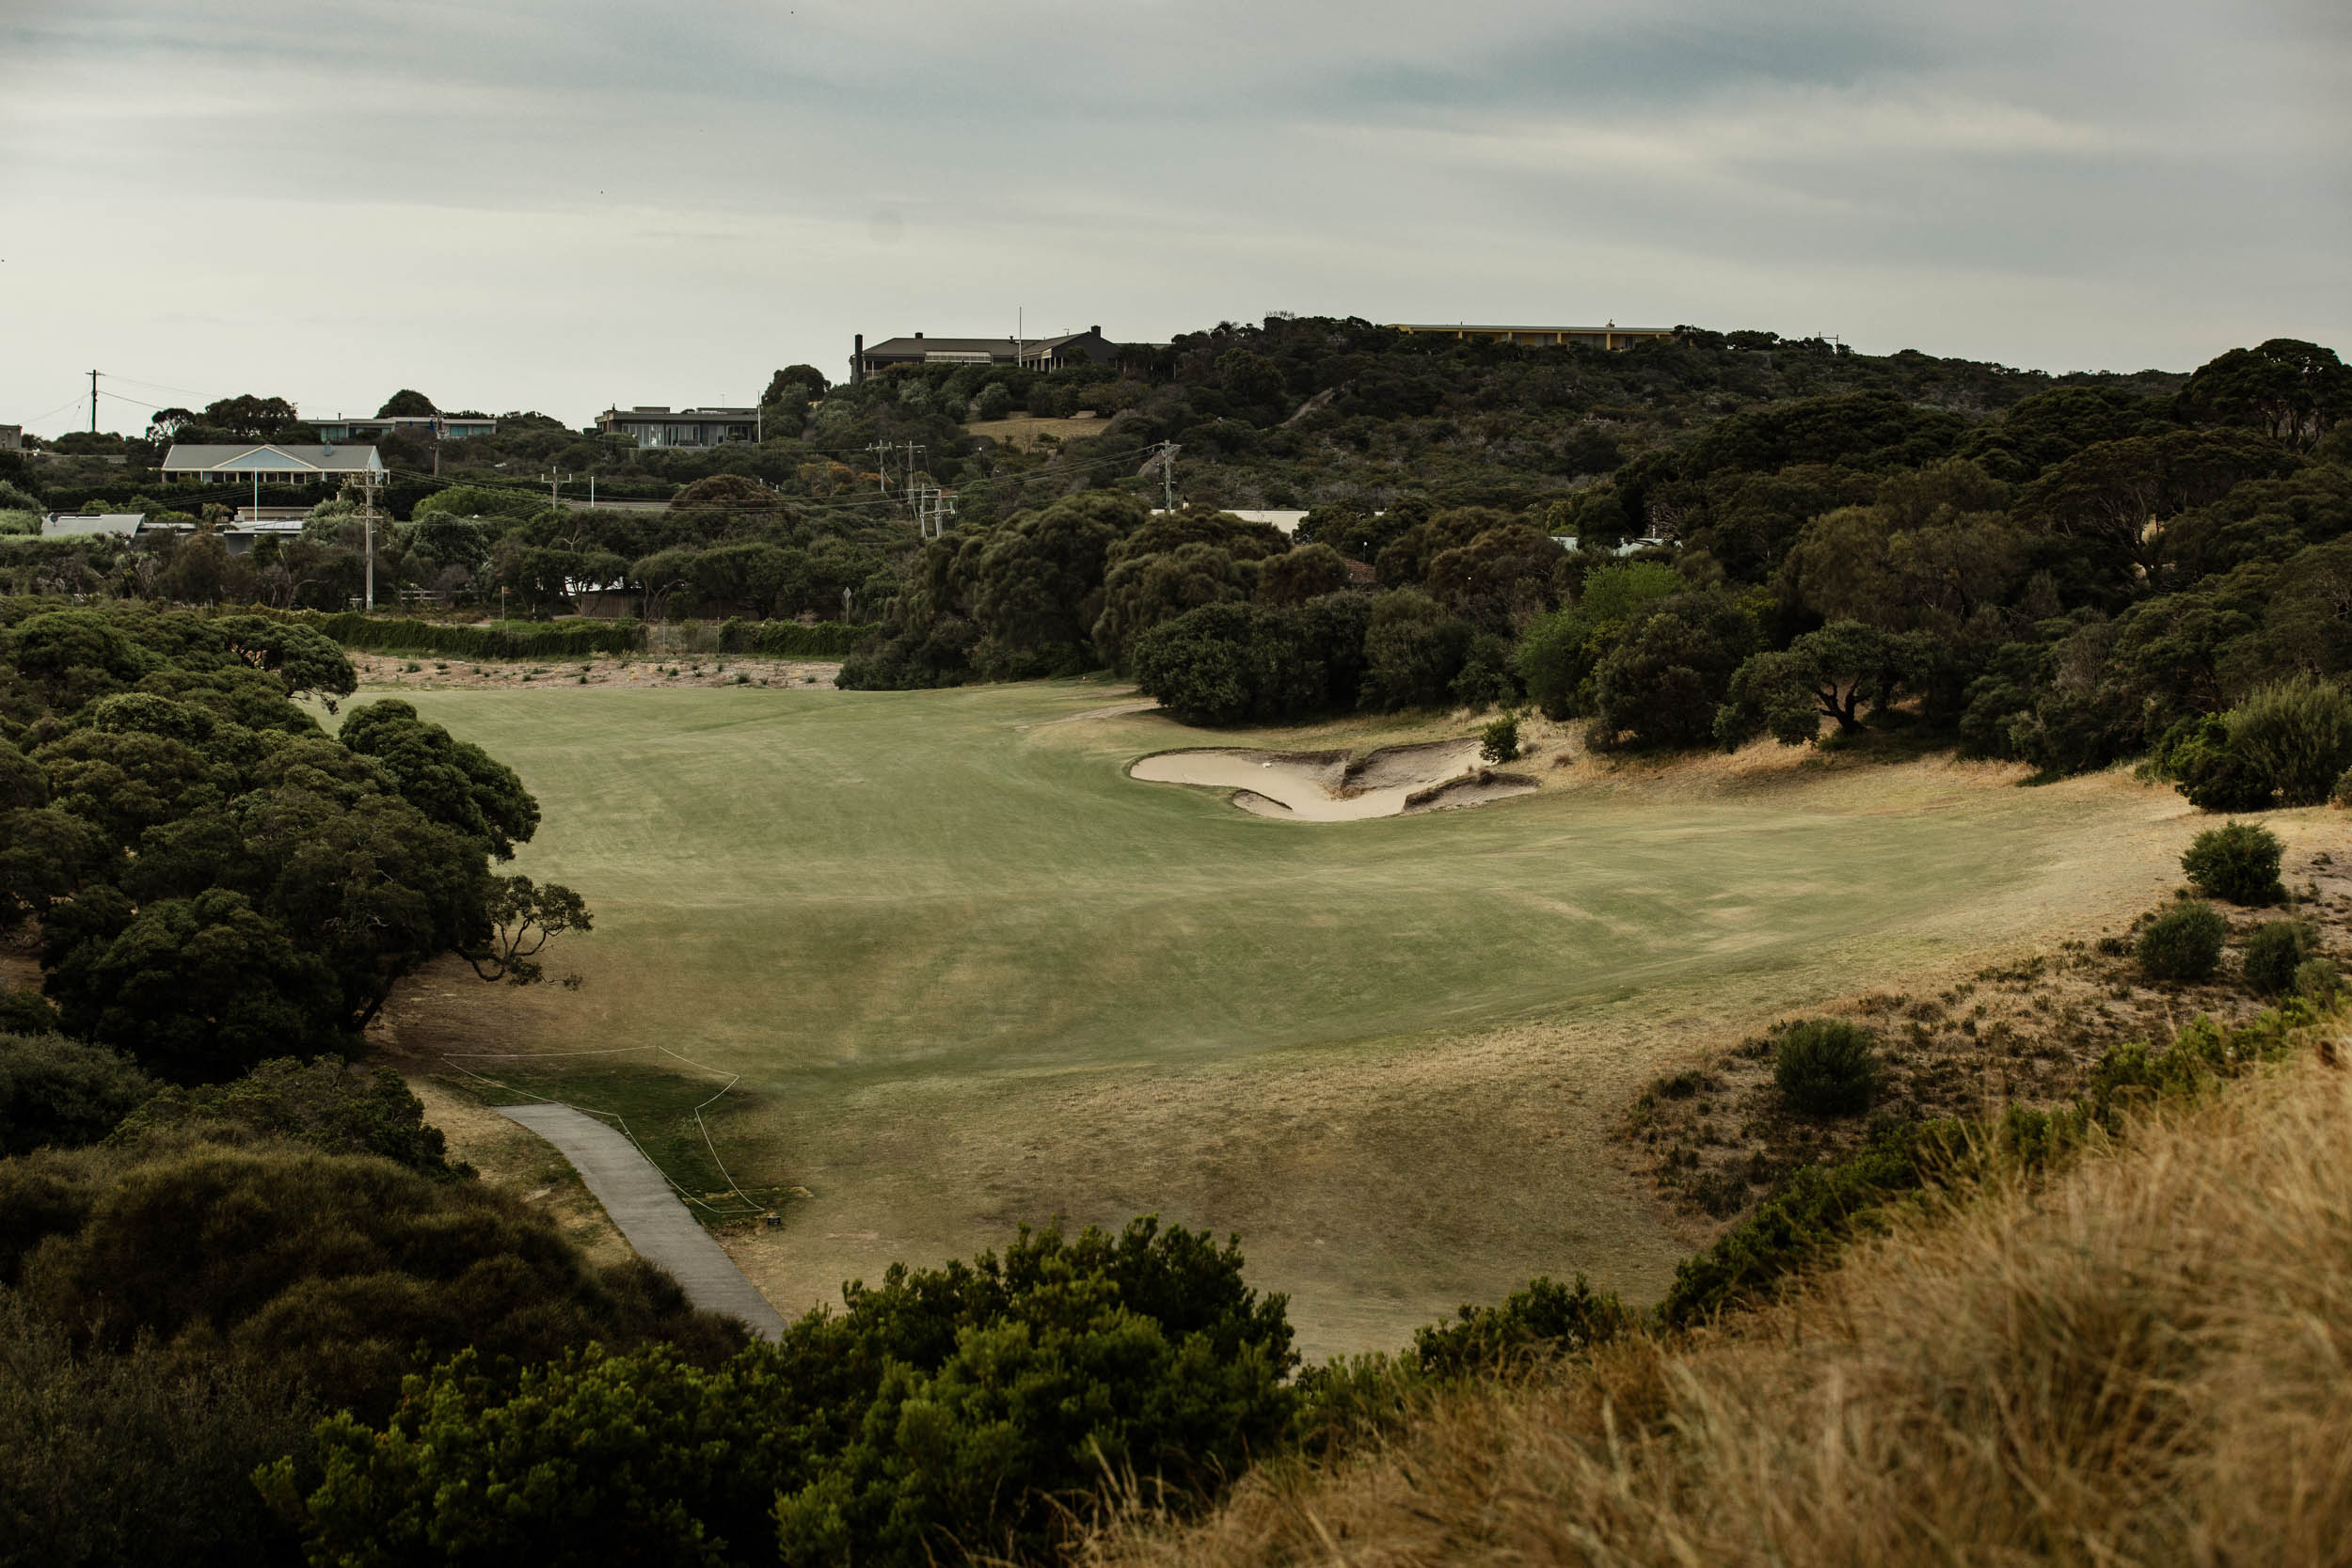
11th Hole
Par-5
Blue Tee: 447m
Red Tee: 395m
Armytage
A demanding tee shot with a fairway that cambers hard from right to left; just missing the fairway bunker is the optimal drive. A blind second shot requires players to aim a little further left than you think. Otherwise, out-of-bounds onto London Bridge Road can come into play.


12th Hole
Par-4
Blue Tee: 372m
Red Tee: 330m
The Emerald
With a wide fairway, getting the ball over the hill is the priority. A longer drive brings trouble into play but gives the player a shorter approach from a flatter lie. Players can choose to use the slopes on the left to get their ball on the green. Short shots can roll back to the player’s feet.


13th Hole
Par-3
Blue Tee: 151m
Red Tee: 118m
Delgany
With a green that angles from front left to back right, offering a strategic opening on the left, those tempted to take on the hole can use the back slopes of the green to get the ball close to any pin location. It’s a much easier bunker shot from the front bunkers than the back ones.


14th Hole
Par-4
Blue Tee: 407m
Red Tee: 330m
Passchendaele
A blind tee shot best aimed at the right edge of the clubhouse will get you in play and reveal a long downhill second to an amphitheatre green. You’ll always have plenty of options when approaching the green, whether high, low or using the back slopes.


15th Hole
Par-4
Blue Tee: 267m
Red Tee: 237m
The Cutting
A short par four with a daunting tee shot, where the fairway is paramount. Missing the fairway can prove costly. Most right-to-left shots will struggle to hold the fairway, and first-time players will often be tempted to try and hit the green with their tee shot, only to lay up the second time they play it.

16th Hole
Par-3
Blue Tee: 158m
Red Tee: 132m
Bank
A mid-length downhill par three, where any shot that hits the green is a great result. Short tee shots can run well away from the green, with anything left finding thick rough. Players should aim to carry the bunker on the right side of the green for the best result.


17th Hole
Par-4
Blue Tee: 365m
Red Tee: 336m
London Bridge
The safe tee shot is over the hill’s flat spot to the right, but a tee shot left-of-centre is ideal and will gain extra distance. However, be warned, London Bridge Road is not much further left, resulting in a quick re-tee. Bailing out to the right on the second shot can often result in one of the most challenging chips at Portsea.

18th Hole
Par-4
Blue Tee: 399m
Red Tee: 311m
Twice Blind
A blind tee shot over the hill will be helped by some significant roll, with the right edge of the old water tank next to the clubhouse being the ideal line. Balls played further right can benefit from even more run but are closer to the trouble. A blind second over bunkers is challenging as anything too far right or left will bounce further in either direction.


Simple Scorecard Table
Front Nine
| Hole | 1 | 2 | 3 | 4 | 5 | 6 | 7 | 8 | 9 | Out |
|---|---|---|---|---|---|---|---|---|---|---|
| Blue Tees | 308 | 151 | 436 | 395 | 314 | 330 | 169 | 484 | 338 | 2925 |
| Red Tees | 284 | 121 | 380 | 376 | 288 | 308 | 150 | 465 | 303 | 2675 |
| Par | 4 | 3 | 5 | 4* | 4 | 4 | 3 | 5 | 4 | 36/37 |
Back Nine
| Hole | 10 | 11 | 12 | 13 | 14 | 15 | 16 | 17 | 18 | In | Total |
|---|---|---|---|---|---|---|---|---|---|---|---|
| Blue Tees | 256 | 447 | 372 | 151 | 407 | 267 | 158 | 365 | 399 | 2822 | 5747 |
| Red Tees | 214 | 395 | 330 | 118 | 330 | 237 | 132 | 336 | 311 | 2403 | 5078 |
| Par | 4 | 5 | 4 | 3 | 4 | 4 | 3 | 4 | 4 | 35 | 71/72 |
Membership and Golf Enquiries
Membership information and golf booking enquiries can be made with our golf operations team using the appropriate form below.
Golf Booking Enquiries
Public availability times:
- Monday
- Tuesday Afternoon
- Wednesday Afternoon
- Friday